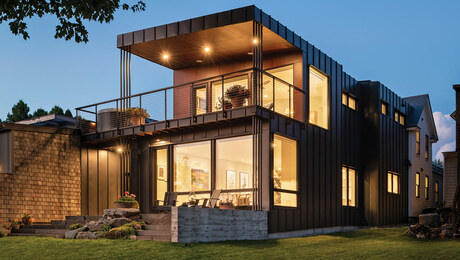
Virtual stair-building, Part 2: Installing risers and treads
In last week’s episode of the Digital Jobsite, we used SketchUp’s dimensioning tools to make easy work of laying out stringers. now it’s time to fill in the rest of the parts of our new staircase.
First Steps
Using the model created in the Stairmathter blog post as a starting point, I begin this session by doing a little “housekeeping”. With the Erase tool and Hide funtion excess geometry is removed to provide a “clean slate” for more in-depth layout and planning work.
Heads Up!
Using various guidelines and other geometry, hypothetical jobsite components ie: floor framing, sheetrock, subfloor are drawn in for reference. With those in place its a simple process with the Dimension tool to establish the stairwell opening measurement that will provide code-compliant clearnace for headroom.
Bear in mind: using calculations from The Digital Jobsite (where the lumber’s straight) for real-world application (where lumber is never perfectly straight) requires some consideration. I tend to think of it like driving that ol’ jobsite dumptruck, the one with non-syncro gears (you know the one, right?) ; to get everything to mesh usually requires some double-clutching. The floor trusses depicted in this model are 18″. Exactly, precicely 18″ when the ones on your project could easily vary by eigths of inches. So be sure to “double clutch” the dimensions you calculate in the digital world when you shift them into the real world. If you fail to do so there may be some serious gear-grinding when the building inspector shows up.
The Last Steps (maybe)
In my thinking this is the fun part of creating a stair model where finish components are added to fill out the framework. Sort of icing the cake, so I appologize for the length of this last video. It ends up running long even though I tried to limit the content to the essentials. I don’t claim editing ability as a strong suit 🙁
You can find the “Steps in the Right Direction” model created in this video series in the Window>Components section in the Google SketchUp Component Warehouse. Click here, then load the model into SketchUp.
Possibilities…
Even though the stairs created here are a straight run with few restrictions, I hope this series helps open your mind to the level of information that can be determined by taking a little time to build your stairs, whether they be straight, straight with landings, winding, curved or spiral on the Digital Jobsite to simplify your job on the Real World jobsite.
P.S.
If you’re not already using this great software, go to sketchup.google.com to download it for free.
Also, you can find and download the models from all of my SketchUp tutorials in the SketchUp 3D Warehouse.
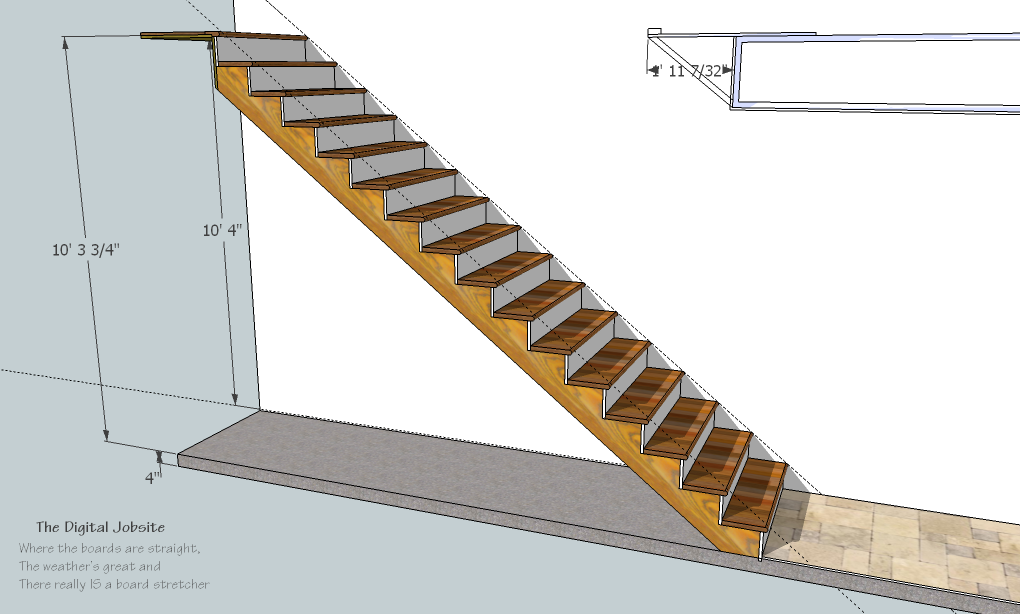
A Step in the Right Direction stair model