4 Quick Cabinet Upgrades
Improve storage and style for a fraction of the cost of new cabinets.
Synopsis: Kitchen remodels are often a homeowner’s dream project, but they can be pricey. Sometimes, a kitchen just needs a little face-lift. In this article, builder Gary Striegler shows how he brought new life to an old kitchen with an upgrade to its cabinets. First, Striegler replaced solid doors with framed panels. For this part of the project, he was able to reuse the old cabinet doors, but gave them a new look. Second, he upgraded the drawers with drawer slides and improved lower-cabinet access with pullout drawers. Third, Striegler made fixed shelves adjustable, which allows the cabinets better opportunity to accommodate objects of different heights. Finally, he added trim to enhance the cabinets’ appearance.
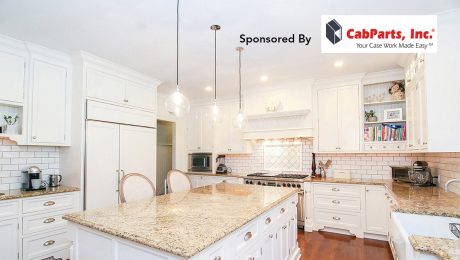
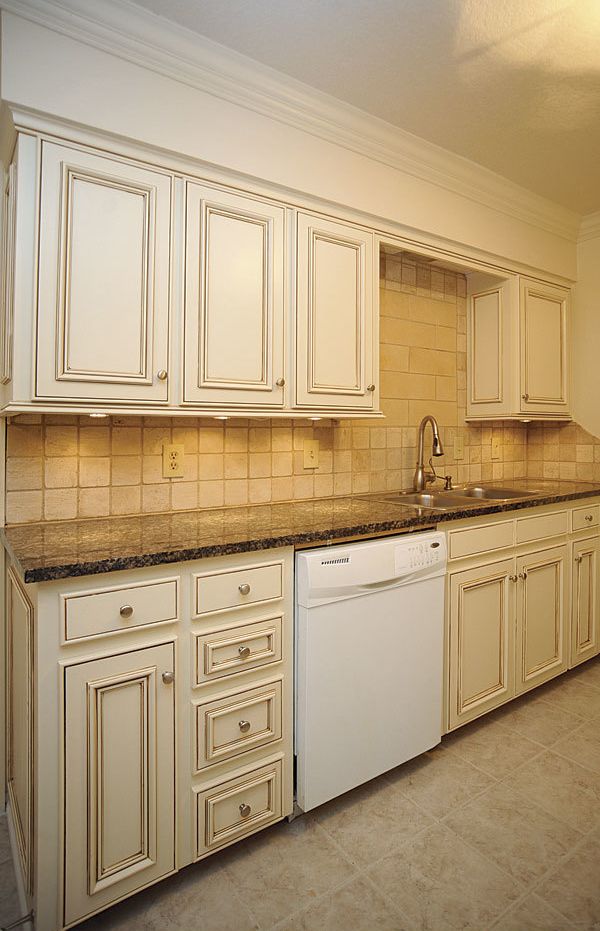
Kitchen remodels are a priority for many of my clients, but some budgets won’t allow me to gut the kitchen and install all new cabinets, fixtures, and appliances. So I’ve developed methods to give clients improved function and a style upgrade without breaking the bank. The concept is simple: give the existing cabinets an overhaul. By adding new doors and drawers, upgrading storage, dressing things up with trim, and then applying a glazed paint job, I can tie the new components in with the old ones for a seamless face-lift. Upgrading these cabinets took me six days and cost about $600 in materials. The backsplash cost about $225 and took another day to install. I hired out the granite countertop and the painting, which cost $1400 and $1000, respectively.
There are a couple of prerequisites. First, the cabinet boxes need to be in sound condition. Adding new doors and drawers to poorly constructed boxes makes about as much sense as building a new house on a crumbling foundation. Second, the existing materials and style of construction are a big factor. The kitchen shown here had site-built face-frame cabinets made with a combination of solid wood and plywood, common in older houses. If the cabinets had been made from particle board or didn’t have face frames, the process would have been more complicated, and the return on investment less promising.
Solid doors become framed panels
On this project, the existing cabinet doors were made from 3⁄4-in. mahogany plywood. The plywood was in decent condition, so I wanted to find a way to reuse it. Most flat-panel cabinet doors tend to be made with 1⁄4-in.- to 1⁄2-in.- thick plywood panels, which are lightweight and inexpensive but also feel cheap in terms of quality. I decided to use the old doors as panels, setting each in a new frame to create a more substantial cabinet door. If I hadn’t been able to use the doors for the new panels, I would likely have chosen MDF, which is extremely stable and takes paint well.
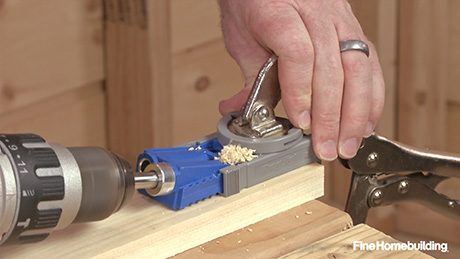
For the door-frame stock, I chose poplar, a relatively inexpensive closed-grain hardwood that looks excellent in paint-grade cabinetry. Other hardwoods like maple and oak are good choices for stain-grade door frames as well. In terms of cost and durability, though, poplar can’t be beat. The door construction is simple. It’s crucial, however, that all of the wood be milled, that the rabbets be cut, and that beaded profiles be routed before the stock is cut to final size, or the cuts may not match up properly.
For more photos and details, click the View PDF button below: