Readers’ Letters: 9 Ways To Build Sawhorses
From simple, site-built work surfaces to carefully fabricated shop furniture, homemade sawhorses are popular with our audience of builders, remodelers, and homeowners.
Reader roundup: At the end of our “Folding Sawhorses” tool test in the October/November issue (FHB #294), we asked you to show us your sawhorses. We had no idea how popular this subject would be. We shared one letter in the last issue, but your messages kept coming, so we’re dedicating even more pages to the topic here.
While you’re here, check out Senior Editor Patrick McCombe’s article on Building Sturdy Sawhorses.
Passed down from Grampa
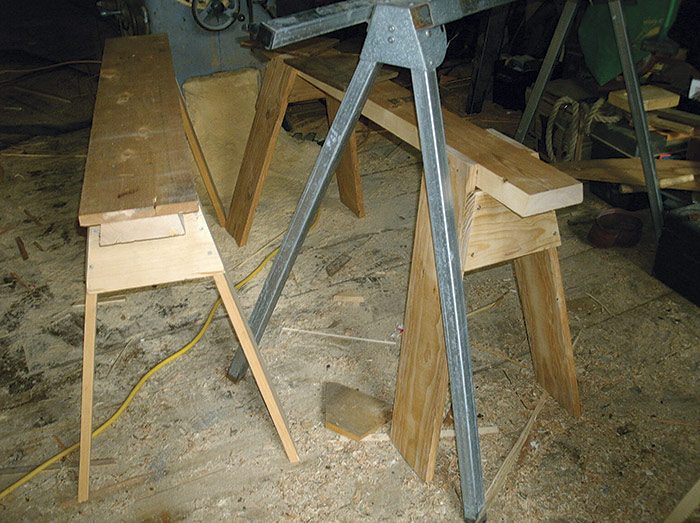
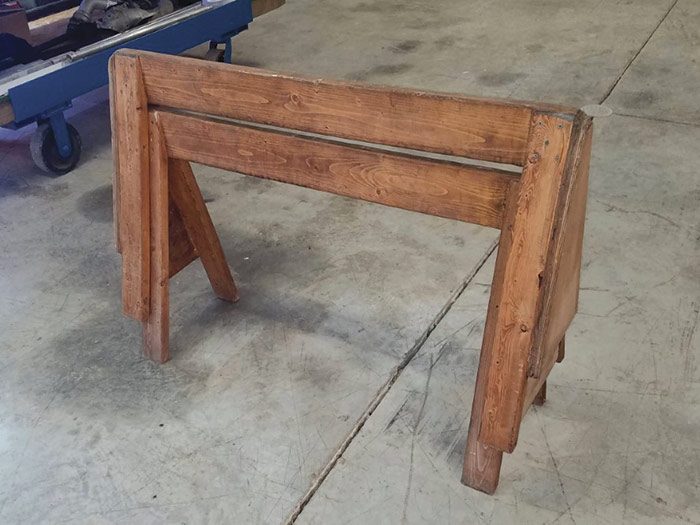
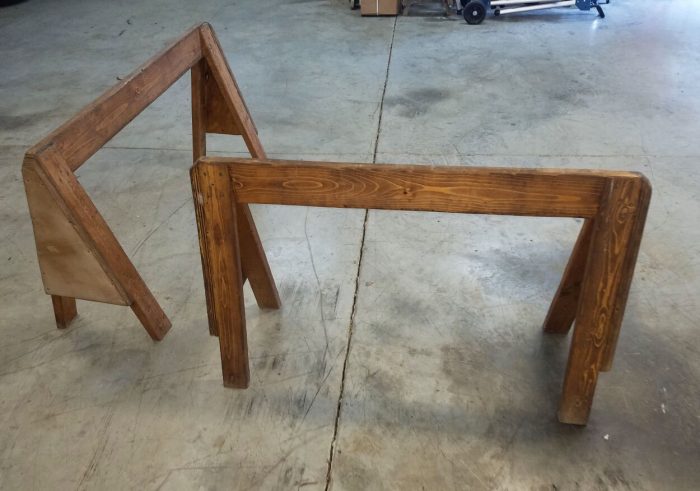
My Grampa—Bob Bowcock—deserves the credit for these sawhorses. He showed Dad—Rod Bowcock—how to build them, and Dad taught me. Each horse requires two 8-ft. 2x4s, one 8-ft. 2×6, and 1⁄2-in. plywood for the sides. The original design had 2×6 beams measuring 47 in. and 48 in., which makes a pair stackable. The 2×4 legs measure 32 in. long to long, with a 15° bevel on the bottoms. The scarf cut at the top of the legs measures 51⁄2 in. long to nothing, I’m not sure of the angle. All cuts can be made on a miter saw, carefully. I beefed up my most recent pair by laminating two pieces of 1⁄2-in. plywood for the sides, using exterior-grade screws and Liquid Nails on the miters. And I lengthened the 2x6s to 51 in. and 49 in. to accommodate a 19-in. brake (vs. a 14-in.). Overall height comes in at 31 in.
—Sam Bowcock
Northern Kentucky
 |
 |
Sawhorses for a healing back
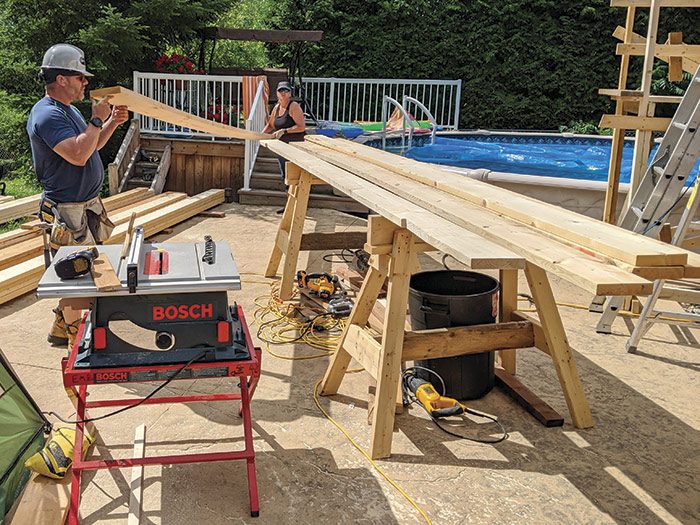
Late last year I suffered a lower back injury. As part of my recovery I was encouraged to lift nothing heavier than 15 lb. and to avoid bending over. I thought about the many jobs carpenters do—framing walls, installing decking, moving lumber—and how doing these jobs would sacrifice my recovery. It was clear to me I had to take a break from building projects. Months later, my parents hoped we could help them build a shed roof over an existing shade shelter. My fiancée and I wanted to help, so we made the agreement I would stay off the tools and would focus on laying out, directing, teaching, and just some of the complicated cutting. It was time to build a set of sawhorses that stopped me from bending over and putting stress on my spine.
 |
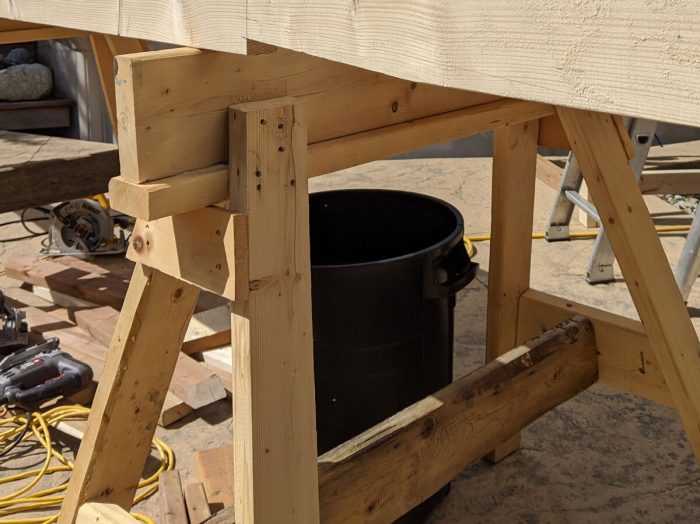 |
We collaborated to build these 42-in.-tall sawhorses simply, with some 2x4s, 2x6s, and a small 1×4 ledger to help support the top and tie the legs together. This pair of sawhorses is plenty stable and strong, with compound-angled legs that easily support the heavy stacks of our roof-framing package. More importantly, because they’re 42 in. tall, no one has to bend over to make cuts, do layout, or read the plans. These sawhorses mostly stayed in one position for the duration of the job due to their hefty weight, but excelled in helping all of us be more ergonomic and upright during the project. These are not the sawhorses to lug around to job sites, but are excellent for ongoing building projects. If I build a pair of these again, I would drive galvanized nails for longevity instead of the bright nails we used.
—Eric Blimkie
Peterborough, Ont., Canada
Site-built sawhorses
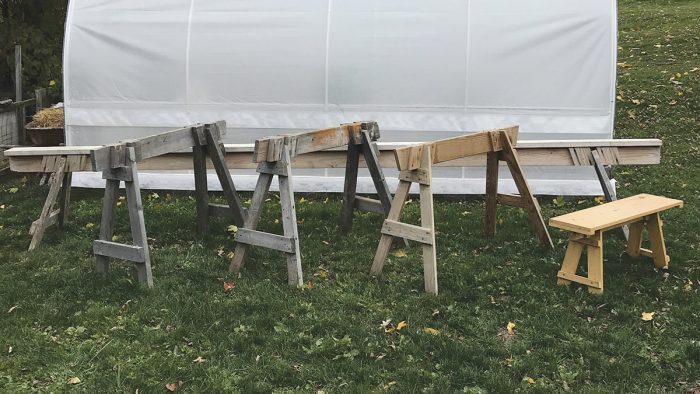
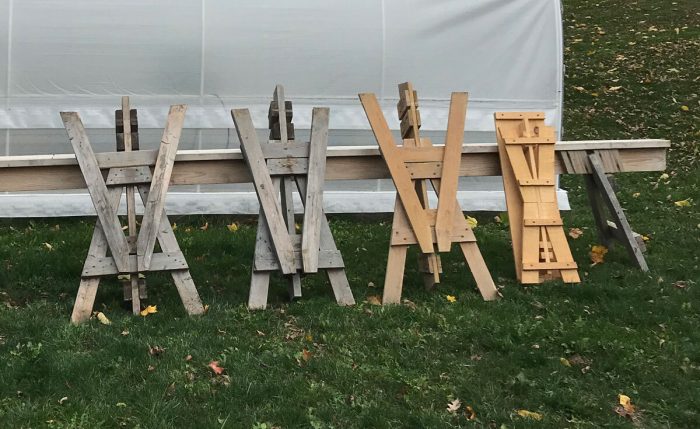
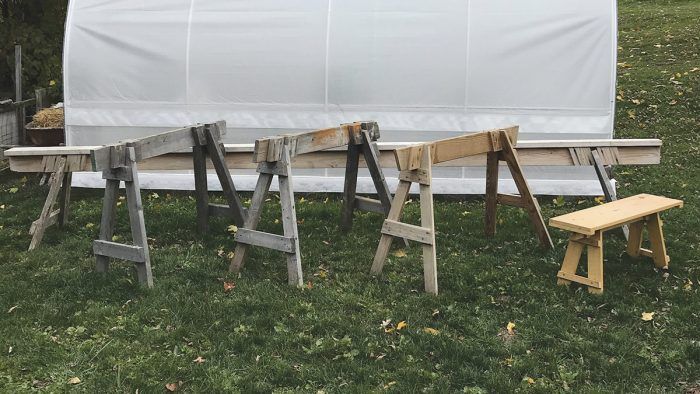
I remember seeing a sawhorse of this type when I was a child. Once I was working in the construction business, I started using framing lumber to build them on-site. They have so many uses. I use 11° for the angle cuts. Based on the task or need on the job, they can be built very quickly to suit any size. Most of mine are 40 in. The standard horse is used as a sawyer bench. It can hold large amounts of lumber and you still have space to work. The lightweight horse is made from 1x lumber. This horse is great for interior work, as a painter’s table or drying racks, and using the rack underneath gives additional space. The long, 16-ft. horse is used for wall framing. I build the wall on the horses, thereby eliminating kneeling on the floor. It also works great for platforms. The little bench is very versatile. It is used for seating people or things. All of the horses can be disassembled in a minute, stacked, and stored. These sawhorses can make a great gift. And there’s one more great use—say you just hired someone who says they are a carpenter. Give them the task of building one, and you will know if they’re any good.
—Mark J. Beigle
Altoona, Pa.
Sawhorses in an hour
I apprenticed in the United Brotherhood of Carpenters and Joiners of America beginning in 1958 in Anchorage, Alaska, and ending in New Orleans in 1962. Later, as I worked in seven other states and provinces from New England to the West Coast, the same horses always seemed to be the rule. In fact, it was often a qualifier for employment that you cut out and put together a pair, with handsaws, in one hour.
These horses were only made of high-grade lumber. They were 2 ft. high and 4 ft long. The legs had compound angles. I used 13° both ways, but slight variations in angle preferences were common. The legs were attached to a top beam 3 in. or 4 in. from the end, putting the bottom of the legs vertically below the end of the top beam. A carpenter can stand on the very end without tipping; the load is directly over the toes of the legs. These horses are easily stacked for transport or storage and you can carry a stack of four.
Nowadays, with compound-miter saws, anybody can build a horse fast—it doesn’t take a carpenter. The first time I was paid as a sawman, I was a third-year apprentice and the first man on the job, and the job was to cut and assemble 50 sawhorses. The power saw was a 16-in. DeWalt radial-arm saw, which made short order of cutting 200 legs and 100 gussets. Ripping the 2×6 tops was a little tricky, but I had all the horses nailed up in 12 hours or so.
I now build heavy-timber houses, lodges, and shops, sometimes with 12×12 posts and 12×18 beams, so our horses were beefed up a little for these loads by adding a cap on the beam. This has an added advantage of being easily replaced when accidentally sliced in use. A pair of these easily holds a ton.
—Old Bull Carpenter
Homer, Alaska
A metal fabricator’s take
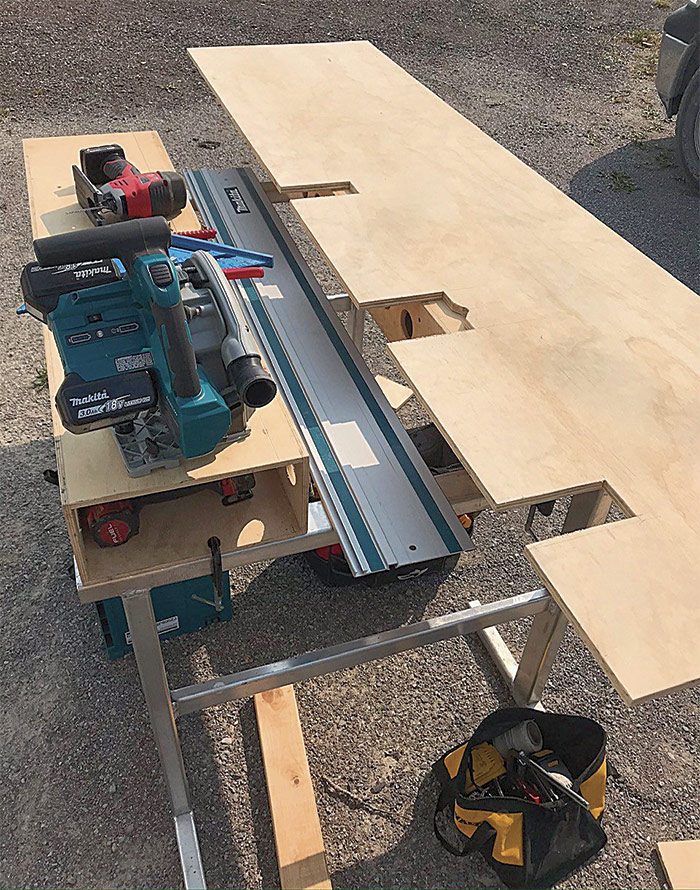
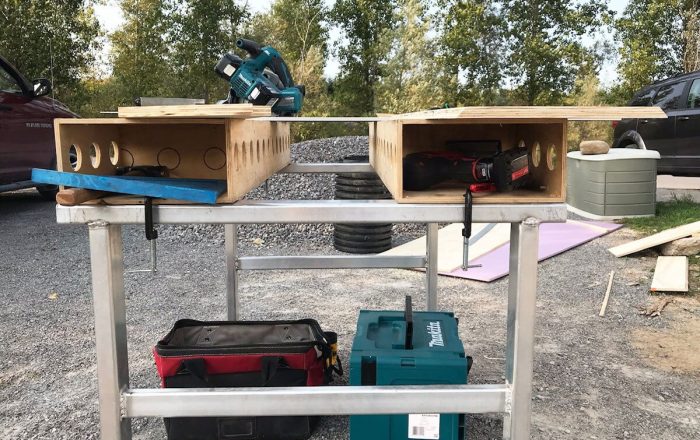
Although I’m a metal fabricator first, I often end up doing odd carpentry, remodeling, and installation jobs. I designed and built these simple, durable aluminum horses and dedicated box-beam toppers to be superlight, useful for a wide variety of different tasks, and strong enough to stand on when they inevitably get used for a leg up. With the boxes on, they help me plane the edges of boards, break down sheets with a track saw, and store hand tools below the surface in the cubbies. The horse alone is conductive and gets used for welding and grinding.
 |
 |
—Tom Doughty
Peterborough, Ont., Canada
A chiseling challenge
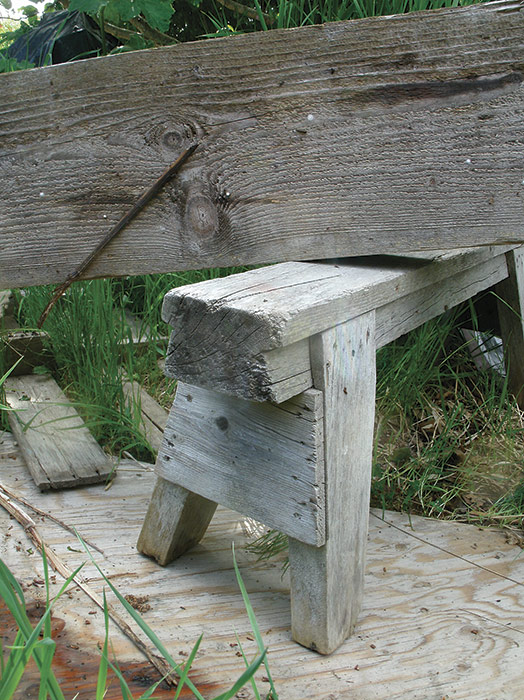
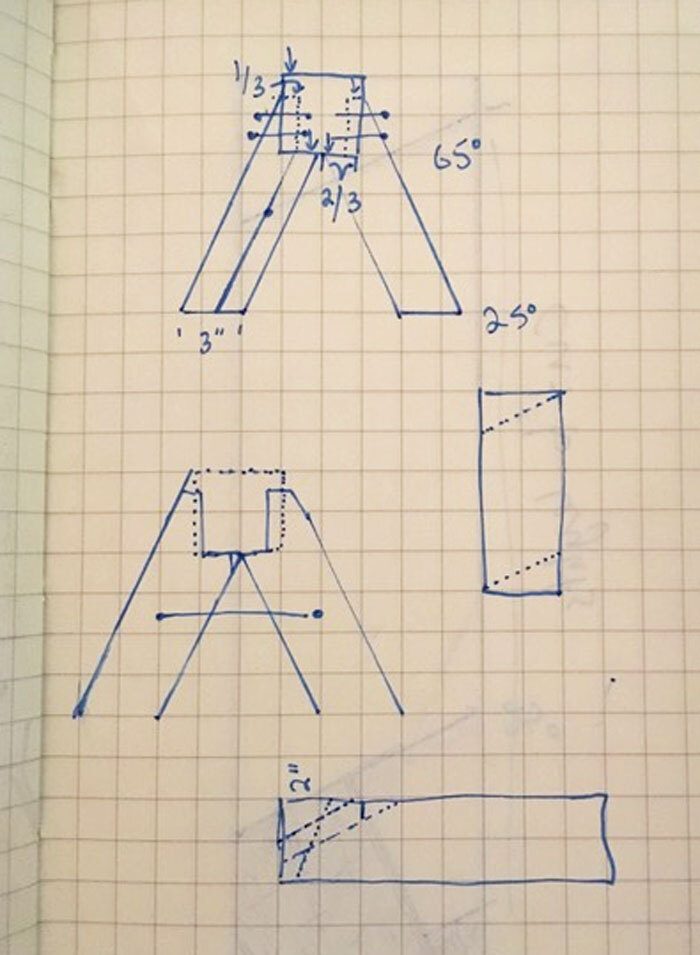
Just got my first issue and saw you’re looking for examples of sawhorses. I built these sawhorses—or saw ponies, depending on how you look at it—this summer as a pet project to use up some old hemlock 2x3s I had kicking around. I’ve built a few of the classic horses, but as a new woodworker thought I’d challenge myself. Getting the angles right was finicky, but the chiseling was the biggest challenge. I can’t say they came out perfect, but I love the clean concept. Made of hemlock, they are relatively light—one could argue with a shorter stature they use about the same mass of wood as a classically made sawhorse. Probably not a quickly built, on-site sawhorse, but I didn’t see anything like this on your website, so I thought it was worth sharing.
 |
 |
—Alex Bunten
Charlotte, Vt.
Harbor Freight, upgraded
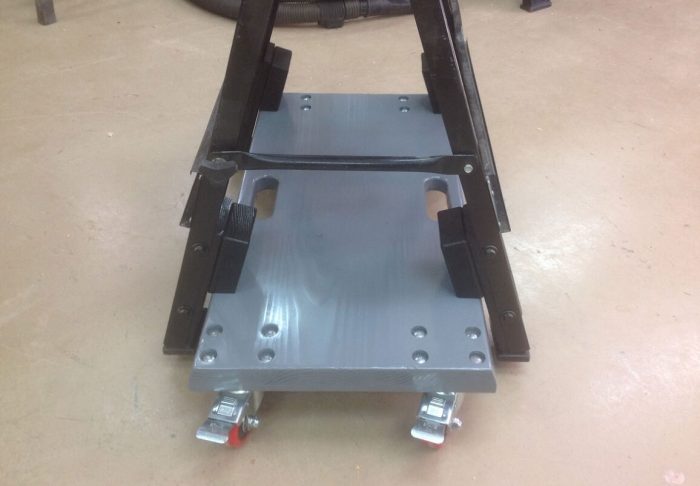
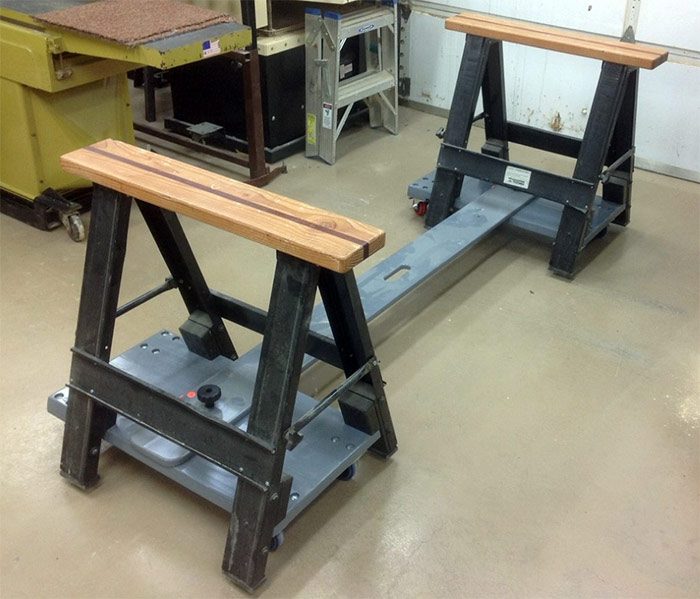
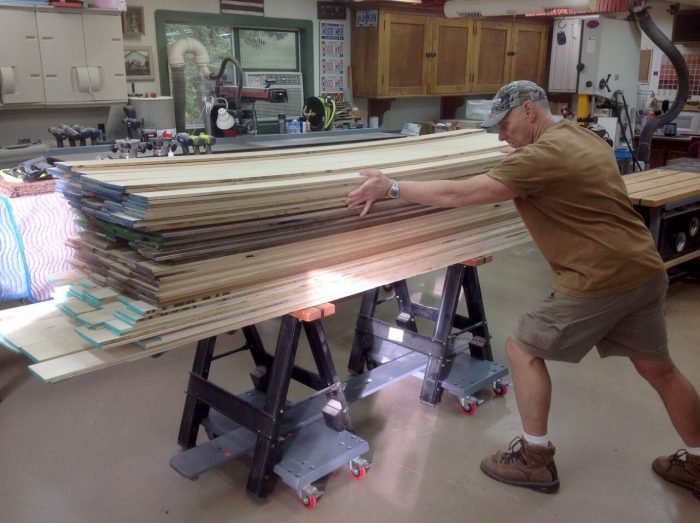
I thought I would send you some pics of the upgrade I have done to my Harbor Freight folding sawhorses. Out of the box and after assembly, they have a particleboard top and not-so-solid plastic floor protectors. I upgraded the top and replaced the feet with UHMW plastic pads on 2×4 support pieces. I added gussets to the legs and built two rolling support bases from glued up 2xs with locking casters on one end. There’s a handhold on each side for carrying the bases, which can be stacked for easy storage when not being used. I made an adjustable connecting board from a 1×8 so the horses can be spaced from 8 ft. to 6 ft. to 4 ft. on center. This setup works best in a shop atmosphere where you can roll around the bases on a hard floor. You can also just use the horses by themselves if you are on an irregular or outdoor surface. It’s pretty much basic woodworking to put a set or two of these together, but they have been invaluable in my shop for the constant movement of stock.
 |
 |
 |
—Larry Noworyta, Nova Woodworks
via email
Surprising strength
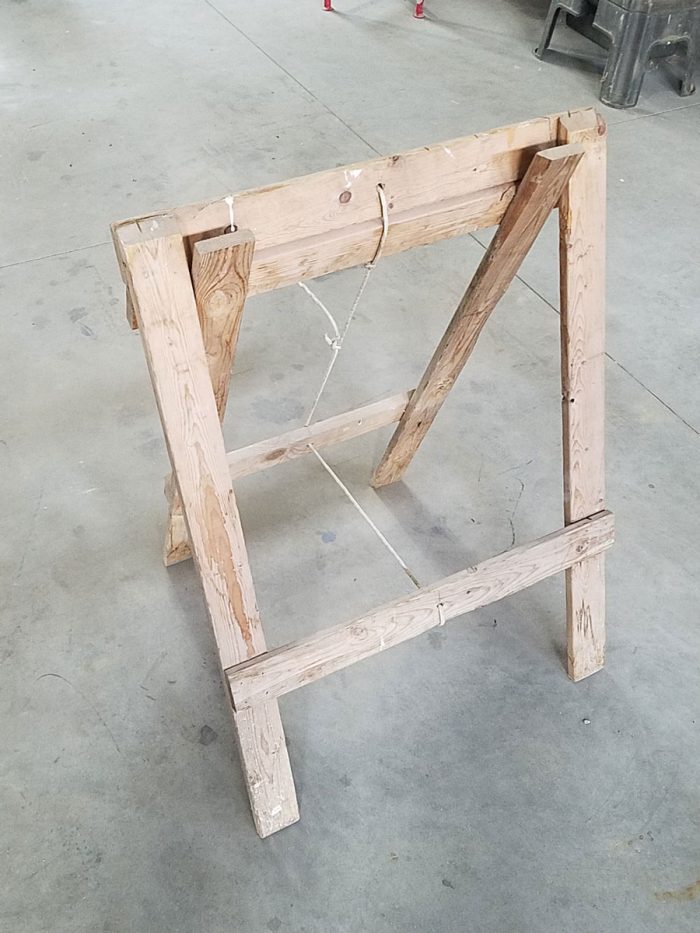
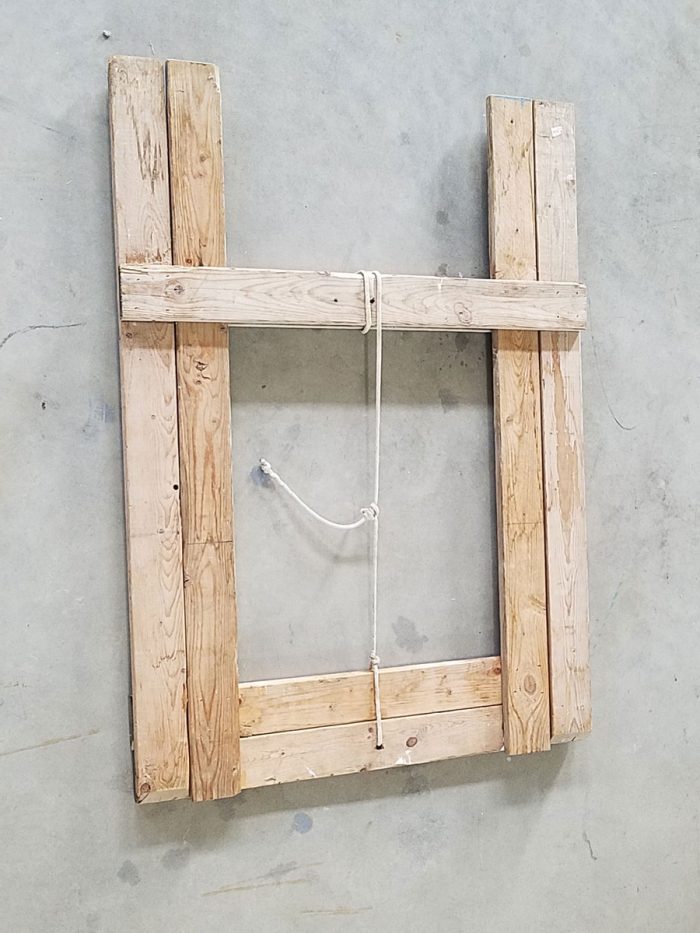
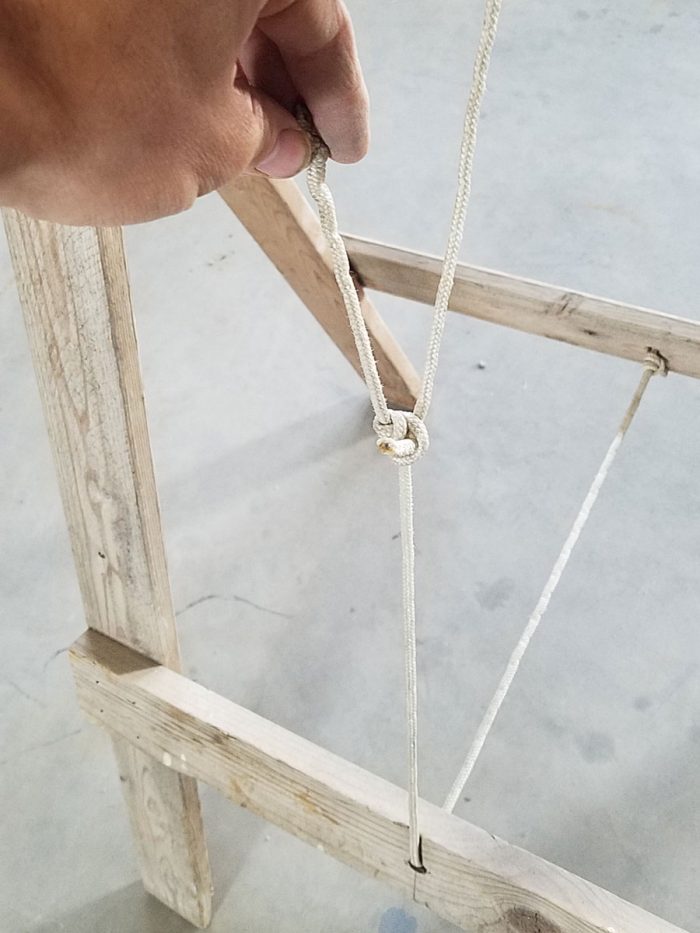
Here are some folding sawhorses I came up with many years ago. The two halves are held together by the rope at the top. The rope has a “slide-and-grip” knot that allows adjustment of leg spread and secures the halves snugly when collapsed. These were made from 1×3 stock, but I’d consider upgrading to 1×4 if I made more. Connections were glued and nailed with several short 16-ga. finish nails from each side. Next time I’d use longer nails and clinch them. These horses are cheap, handy, and have proven strong enough for a surprising amount of static weight.
 |
 |
 |
—Eric North
via email
 Building skills with sawhorses
Each year since 2001, I have participated in the Appalachia Service Project program, in which groups of adult-led high schoolers travel to the poorest region of our country to repair homes, making them “warmer, safer, and drier.” More than 15,000 volunteers serve with ASP each year. We repair roofs, walls, floors, foundations, and bathrooms, in addition to making homes accessible. This year, due to COVID-19, the volunteer part of the program was cancelled. It would have been my 19th consecutive year.
I bring this up because of your sawhorse tool test in issue #294, in which you asked for photos of homemade horses. In a typical year, prior to the summertime trip, the adult volunteers in my group set up some team-building days during which we teach the basics of tool use and safety. One of the projects we have them tackle is building a light-duty sawhorse that I designed. I wanted the horse to be simple and something that could be produced from the smallest amount of wood with the least waste. Each horse is made from one 8-ft. 1×4 and one 10-ft. 1×3. We made about a dozen each year for two or three years.
If you look at the plans, some of the dimensions might seem odd, but this was done deliberately, as accurate measuring is one of the skills we want the young volunteers to learn. That’s also why precise screw locations are spec’d. The legs are held in the spread position with a piece of knotted line, and when fully opened, the top can pinch a piece of 2x to act as a sacrificial surface. When folded, the horses are just about 3–1⁄4 in. deep.
The kids were proud of their work and autographed some of the horses. I still have two, but we usually leave them with the homeowners.
—Gary Dieckman
Pleasantville, N.Y.
Fine Homebuilding Recommended Products
Fine Homebuilding receives a commission for items purchased through links on this site, including Amazon Associates and other affiliate advertising programs.
Milwaukee 18v Cordless Reciprocating Saw (2720)
DEWALT Impact Driver (DCF885)
Milwaukee Cordless Tablesaw (2736)
