Curved Doors
A design with a circular closet in the center of the house calls for some special techniques.
Synopsis: An interesting discussion of how the author makes curved frame-and-panel doors for both a circular storage closet and cabinets. Rails are steam-bent to a form, and he has a clever and easy way of making tenons. Illustrations give a good overview of the process.
Several years ago, I was hired to redesign a small, single-story house to accommodate a family of three. The bungalow had been chopped up into a number of little rooms, and the new owners wanted more convenience and openness. It was obvious from the start that storage was going to be a big problem in this 24-ft. by 28-ft. space, and I wanted to make use of spots that might otherwise be wasted.
I began by dividing the floor plan into quarters and drawing in corner cabinets. Then I sketched in the bathroom and a short hall to get to it, a process that transformed the four corner cabinets into a single discrete structure at the center of the house. This pushed me out on a limb. Putting major storage dead center in a house plan isn’t exactly a standard design solution. But it occurred to me to play with the idea of round storage space in place of the square closets or shelves, and I liked the result. With the rest of the house still laid out with straight walls, curves at the center would give it a sense of depth and spaciousness that might be surprising and delightful in such a small space.
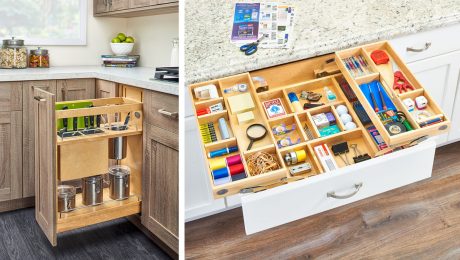
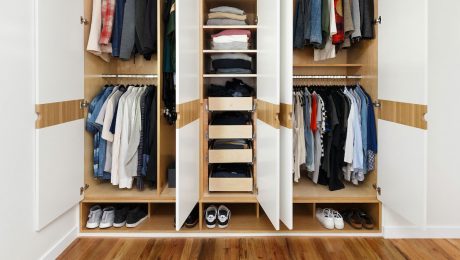
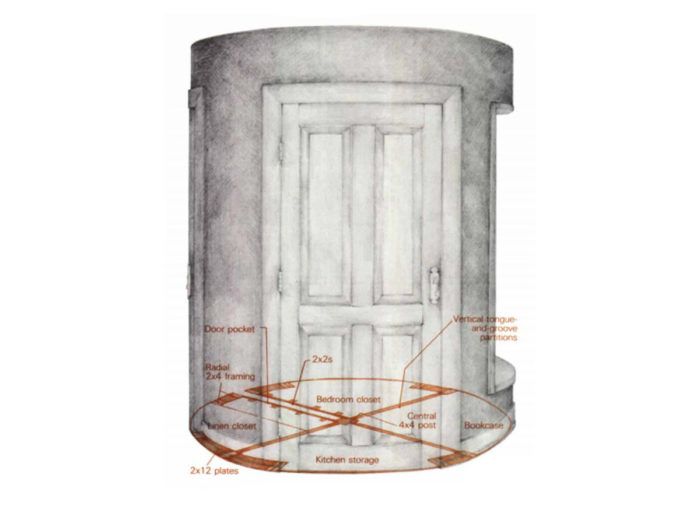
Getting down to design details, I decided that the closet would be 7 ft. in diameter, containing kitchen storage, a linen closet and a bedroom closet, a sliding door pocket, and a bookcase. A short section of curved wall in the bathroom hall would be the arc of a 14-ft.-dia. circle swung from the same center. I’d recently found a quantity of butternut at a good price. I had never worked with this wood, and was eager to give it a try. My clients liked the way it looked, so we decided that all of the woodwork in the house would be butternut. As it turned out, the wood worked beautifully, and hand tools left it with a lovely, bright surface.
My crew’s first job was to remove the existing partitions. Then, using trammel points, we traced the curve for the rough frame onto 2x12s. We bandsawed our top and bottom plates from this stock, and installed the top plate first, dropping plumb lines to locate the position of the bottom plate. We toenailed in the radial 2×4 studs of the closet’s exterior walls, and installed door headers and cripples.
The door pocket was framed up out of 2x2s. Because of the curving surfaces, we decided to use plaster instead of drywall, so once the framing was done, we installed plaster grounds. These are 5-in.-wide strips of wood that are nailed around the rough openings to be flush with the finished plaster surface. They look somewhat like casings, but are meant to act as guides or screeds while the wall is being plastered. They were removed and replaced with the actual casing after the plasterers and painters had finished their work.
For drawings and details, click the View PDF button below: