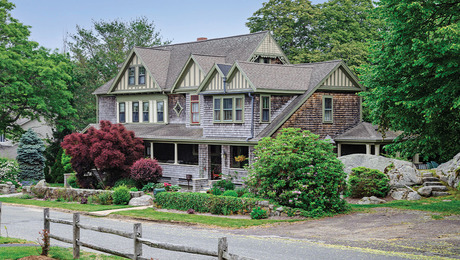
Roof Shingling
With only a few rules to follow, putting on a wood roof can be relaxing work with pleasant materials.
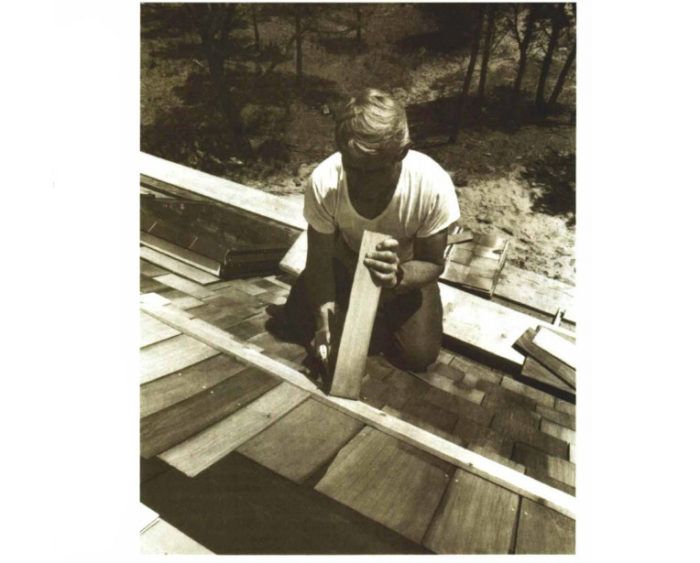
Synopsis: This article explains how to install a classic cedar-shingle roof over skip sheathing. It’s written by an experienced Massachusetts builder. A sidebar tells you how to estimate how much material you’ll need.
Shingling is one of my favorite tasks in building houses. Even though roofers may be a little faster, I like to do this work myself. Shingling is the kind of job that requires little calculating and a minimum of physical effort. You can think of other things as you work. You don’t have to manipulate unwieldy boards or carry heavy loads. Shingle nails are fairly short, so swinging the hammer is easy on the arm; and if you have the time to invest in the old-fashioned methods of making hips, ridges and valleys, there’s just enough cutting and fitting to make the job interesting.
Wood shingles are typically three or four times as expensive as asphalt shingles, but they give a roof a texture and color that you can’t get with petroleum products. A wood roof is also much cooler in the summer, and will last nearly twice as long as one covered with conventional asphalt shingles. The only major disadvantage to wood shingles is their flammability; but chemical treatments, along with spark arrestors on fireplace chimneys, can minimize this liability.
In the past, shingles were commonly made of cypress, cedar, pine or redwood. My favorite is cypress, although red cedar is what’s most available these days. It too is excellent for roofs because the natural oil in the wood encourages water to run off instead of soaking in, and it helps prevent the shingles from splitting despite wide fluctuations in humidity and temperature year after year.
Wood shingles are a delight to work because they’re already cut to length and thickness from the best part of the tree, the heartwood. Shingles are sawn flat on both faces, which distinguishes them from shakes, which are split out along the grain. Wood shingles come in lengths of 16 in., 18 in. or 24 in., and taper along their length. The exposed ends, called butts, are uniformly thick for each length category of shingles. This measurement is always given in a cumulative form — 16-in. shingles, for instance, always have butts that are 5/2. This means that five shingle butts will add up to 2 in.
Tools
Tools for shingling are few and simple. I have put on many shingles using a hammer and a sharp utility knife. Most pros use a lathing or shingling hatchet. A shingling hatchet has an adjustable exposure gauge on the blade; however, a mark on your hammer handle works almost as well. Two good features of the hatchet are the textured face on the crown, and the hatchet blade itself. The mill face or waffle head is less likely to glance off a nail onto a waiting finger, especially when the head of the hammer strikes a blob of zinc that hot-dipped shingle nails often have. The sharp blade and heel of the hatchet are useful in squaring shingles, and in trimming hips and rakes. I also use a block plane to trim hip, valley and ridge shingles for final fit.
For more photos, drawings, and details, click the View PDF button below:
Fine Homebuilding Recommended Products
Fine Homebuilding receives a commission for items purchased through links on this site, including Amazon Associates and other affiliate advertising programs.
Roof Jacks
Flashing Boot
Plate Level
