Starting Points
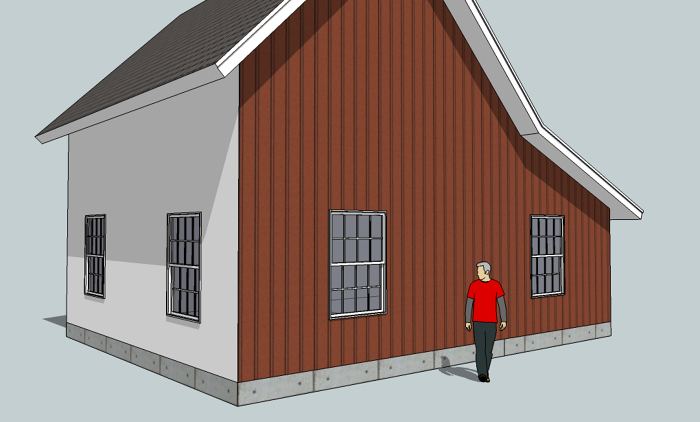
Pat plans to use Silverline windows for his new studio/workshop because their look is consistent with his home, which is located on the same property. As far as SketchUp is concerned, the brand is irrelevant for this example of how to create and place window components. This process could be used for any brand, type and configuration.
I covered working with door and window components in earlier Digital Jobsite episodes, so this may be a reveiw process for some of you; if not, check out our earlier episodes. As it turns out, unlike Marvin, Silverline doesn’t (yet?) offer 3D SketchUp models of their products in the Google 3D wharehouse, so I went to their website and printed out a size schedule and schematic drawing for use in creating this window component model.
The Hole Truth
A good way to begin drawing a window component is with a hole. Drawing a hole in the Studio wall the size of a Model 3901 3/8 x 5/2 double hung window, and saving the hole as a component, makes the window cut its own hole on whatever surface it is placed. An added benefit of this ability is that, if you decide to delete a window, doing so removes the hole at the same time. No additional clicks are needed to patch in the face of your model. This clip demonstrates the process:
Sash Component
Using configuration and dimension information from the Silverline schematic, creating a sash component is the next step, as shown here:
No Pane, No Gain
The following clip shows methods for using SketchUp’s handy “divide” feature to layout muntins and divided lites in the sash without using a calculator or jotting down dimensions. Using a translucent “paint” provides a realistic appearance for glass in the sash component. Chuckle along while watching this clip, as I draw and copy 4 glass panes, but repeatedly narrate the quantity as 3. This will remove any possible remaining doubt that I’m a carpenter, not a video producer/editor…
Moving Forward
With this window component created and added into the Studio/Workshop model file (available here), Pat can work with it for the final quantity and layout. Using the methods described and shown here, various other window sizes, styles, and configurations can be created and placed for the desired look and function of the building. Later in this design process, we’ll be adding an additional shed roof to the back of the structure. plus, we’ll add doors using a process similar to the window installation shown here…. stay tuned.
Fine Homebuilding Recommended Products
Fine Homebuilding receives a commission for items purchased through links on this site, including Amazon Associates and other affiliate advertising programs.

A House Needs to Breathe...Or Does It?: An Introduction to Building Science

Code Check 10th Edition: An Illustrated Guide to Building a Safe House

All New Bathroom Ideas that Work
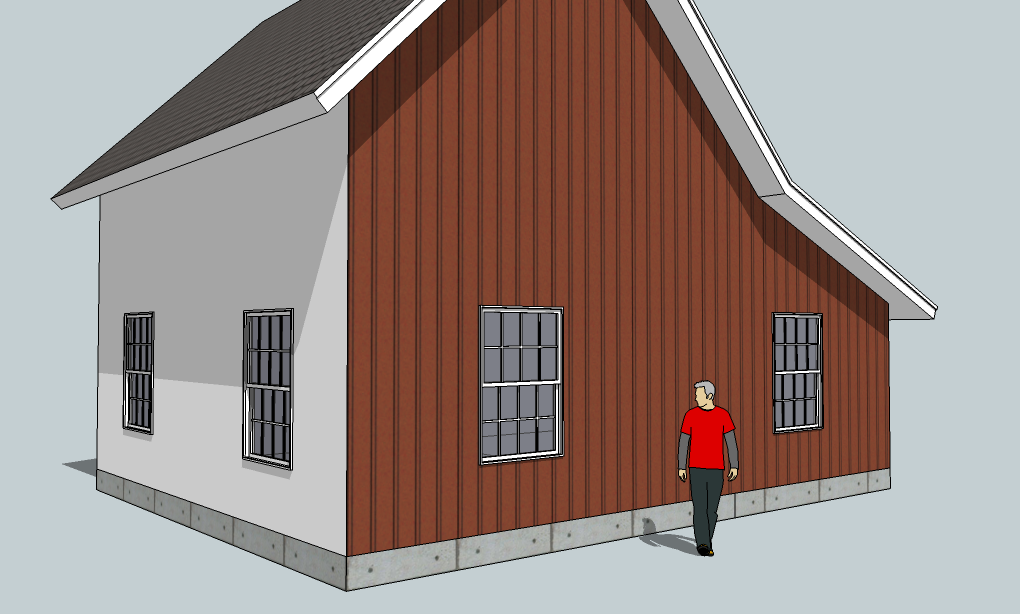
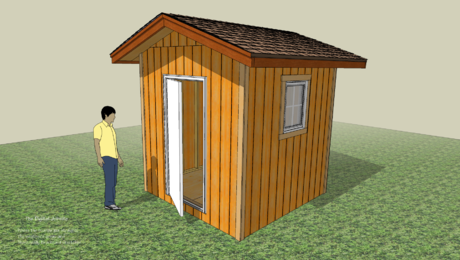
Windows add light and ventilation to the McCombe Studio/Workshop model


View Comments
Hey, wait a minute. What happened to the painter who was working on painting that white wall red?
https://www.finehomebuilding.com/item/14634/from-cardboard-and-cutter-to-click-and-drag-studioworkshop-design-in-the-digital-age
Did he repaint it white?