Bluestone Entry
Rather than dither away downtime, we upgraded the entry slab with a bluestone cap in a long day's work effort
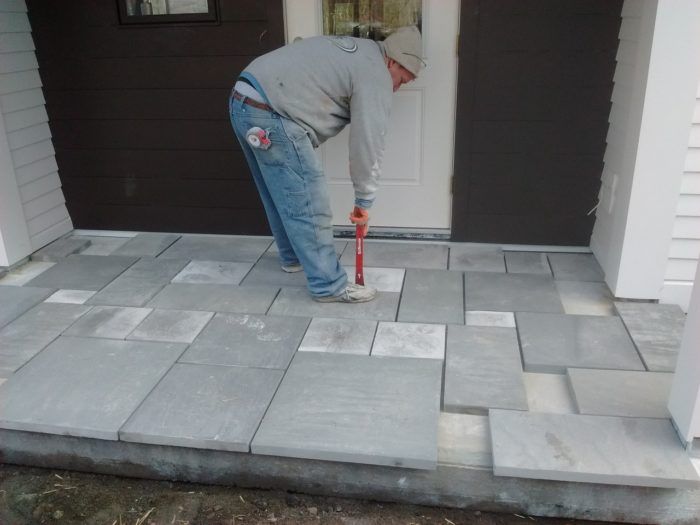
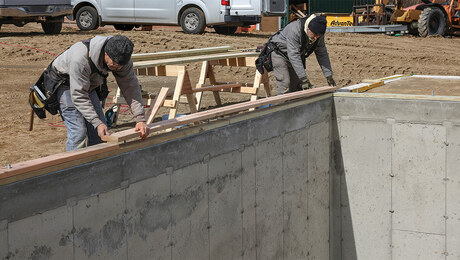
I wasn’t sure how the budget would look toward the end of construction, so I was noncommittal when it came to the 75-sq.-ft. bluestone entry. When Bruce and I formed and poured the entry slab, we set the grade 3-1/2 in. below the door threshold so we could cap the slab with stone at a future time. And we finished and edged the slab so if I couldn’t afford the bluestone, the entryway would still look good.
Even without being certain of the budget, I moved on the bluestone. Bruce and I had several days with little work to do on the house while waiting for trade contractors to finish up and the forecast was for above freezing both day and night. So we picked up a truckload of bluestone and laid out a randomized pattern.
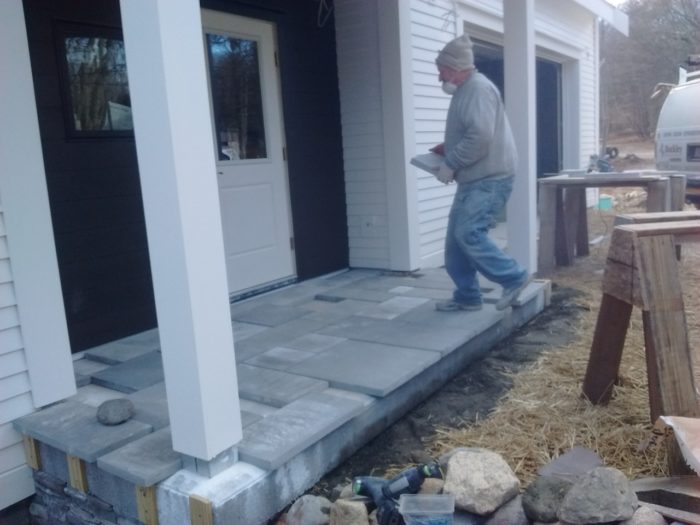
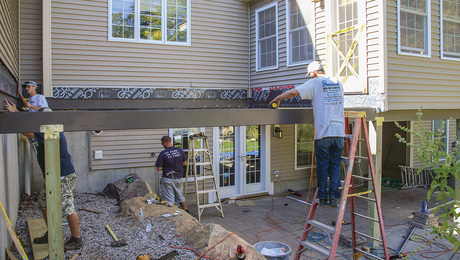
Bruce took the lead with the layout and the cutting. He had plenty of experience laying a 1,400-sq.-ft. patio a couple years ago so this job was simple. He started by laying out the stones for equal overhangs at the sides and front. Because the slab wasn’t designed for full-sized stones I padded the edges where needed with pressure-treated lumber and Boral TruExterior trim. This eliminated the need to cut the perimeter stones.
Most of the stone cutting was for non-stock sizes the design required — 4×18, 6×9, 9×12, and 12×15. The only custom-cut pieces were around the posts.
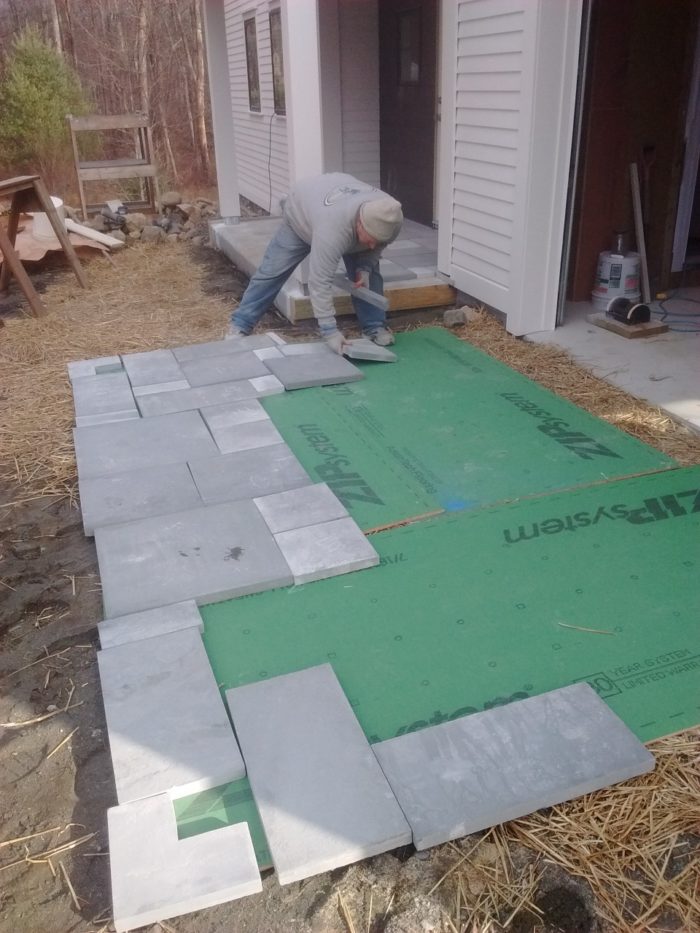
After all the stones were finished and dry-fit we dismantled the design and placed the stones in order on sheets of OSB. The design was complicated enough that if we didn’t lay out the pattern on the sheets we could have easily mis-set some of the stones.
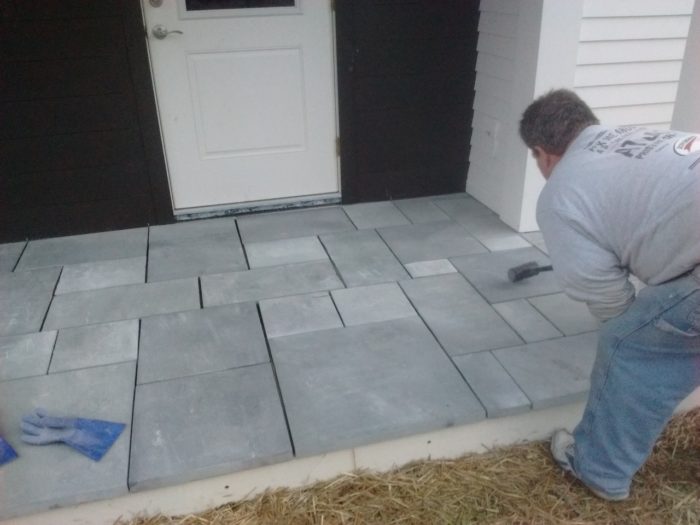
We mixed batches of modified mortar and screeded a 3/4-in.-thick layer to set the bluestone in. The stones were fairly close in thickness but a few varied. We troweled extra mortar under thin stones and used a dead-blow hammer to rap high stones into the mortar bed.
In a few days after the mortar hardens we’ll grout between the stones to lock them in and finish off the project.
Old House Journal Recommended Products
Fine Homebuilding receives a commission for items purchased through links on this site, including Amazon Associates and other affiliate advertising programs.
Plate Level
Original Speed Square

100-ft. Tape Measure














View Comments
No mention of flashing? Where I live I've seen a few examples of bluestone that has popped off from freezing water.
Flashing? There is flashing installed where the slab meets the house. Any exterior patio surface applied over a concrete substrate can suffer from freeze-thaw cycling. The two things to reduce the chances for debonding are the mortar used to set the stone in place and the mortar / grout between the stones. Blocking the opportunity for moisture to collect between the stone and concrete slab is critical. Here we used a polymer modified stone-setting mortar. We combed the mortar and then used a dead-blow hammer to drive out air pockets beneath each stone. Rapping on the stones caused the setting bed mortar to rise between adjacent stones so we were pretty confident the air pockets pretty much gone. The polymer grout is highly water resistant so I think we reduced the risk of water getting beneath the stones. Plus we sloped the slab 1/2 in. per foot so there is no puddling of water - another culprit to water pooling under the stones.
Only time will tell if we missed something. I generally guarantee my work for my lifetime and regularly return to homes I built 10, 15, 20 years ago to take care of latent problems. Though the guarantee isn't as good as it was earlier in my career (figuring I'm getting on in age) it's still something that clients can count on.
It was my understanding that when installing a tile/bluestone layer to a concrete porch, that a second flashing should be installed directing water on top of the added layer, rather than to the joint. Thank you for the improved explanation for ensuring the added layer remains bonded.