Framing Interior Double-Stud Walls
Learn how builder Ian Schwandt built and raised the double-stud walls on his custom high-performance home.
We chose to build double-stud walls for our house, not just for the ease of building, but also for the added room for insulation. Sparing a bit more time to frame these walls will go a long way to providing my family extra comfort. Here’s how we built them.
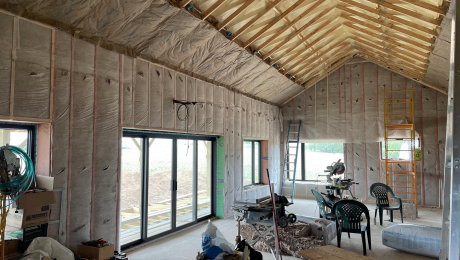
The walls are 12 in. apart, outside to outside, and our layout process starts by marking the inside corner of the two walls. We use a three-beam laser to project a square and plumb line across the floor and ceiling and snap a chalkline to transfer the marks.
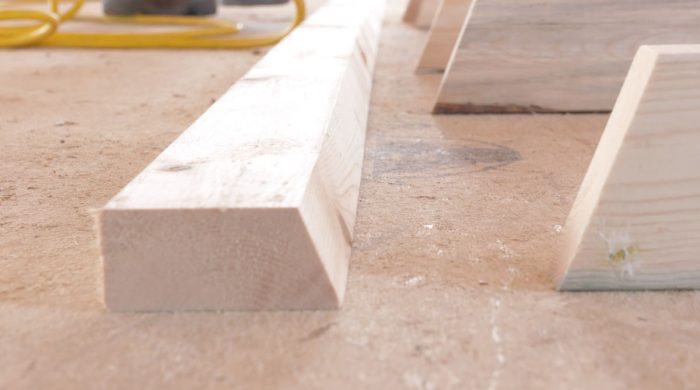
We used the existing wall as a guide to lay out the wall plates, and because we have cathedral ceilings, we beveled the top plate to match the ceiling angle. We held the first stud in place and transferred the ceiling angle to it with a pencil line. Then we subtracted a 1-1/2-in. for the top plate, and cut the stud to length and used it as a template to mark the rest of the studs.
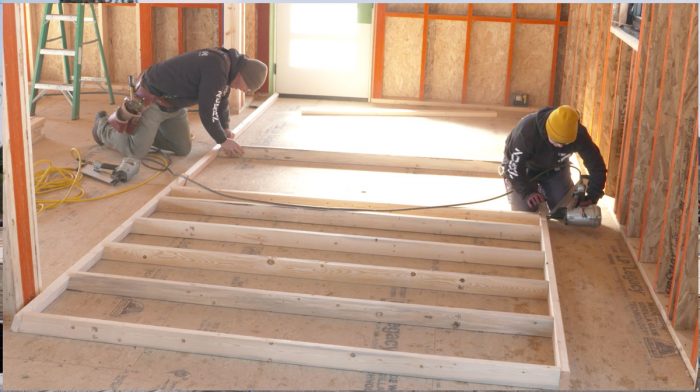
Laying out the wall is a similar process to that of the tall gable-end walls—laying it out on the floor makes for an easier installation. We positioned the studs 16-in. on center and fastened them to the top and bottom plates. The cathedral ceiling makes standing the walls easy since it’s not as tight a fit as you’d have with a flat ceiling. Just push the wall up until the top plate is snug at the bottom of the rafters, and nail it into place once positioned on the chalkline on the floor. If you do have a flat ceiling, framing your wall 1/4 in. shorter will help keep it from binding when raised.
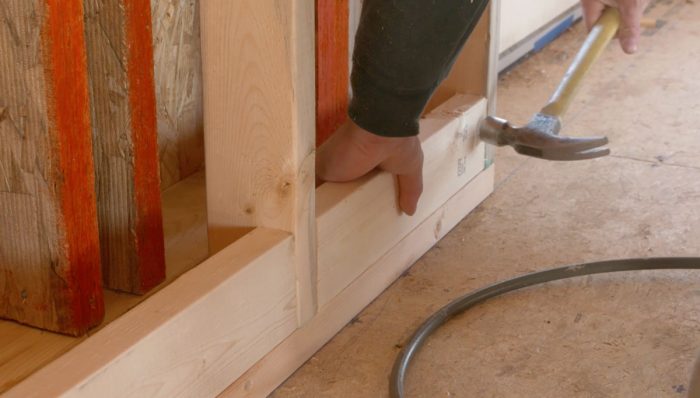
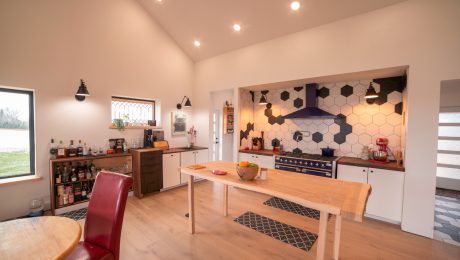
Our house will have a modern trimless interior. For fastening, we have added additional 2×4 blocking at areas where drywall reglet will transition between the drywall and the floor.
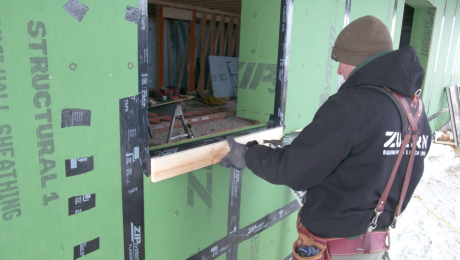
We’re installing drywall returns at the windows and doors, which require backing or a window box to be installed at the rough openings. I used cutoffs of ZIP System sheathing leftover from sheathing the walls and the roof to create these. This was an easy task that simply required measuring and cutting each side to length and nailing them into place. Then I used a portable planer to soften the rough edges before moving on to the next window.
RELATED LINKS

