Humbled by Design
I took on an extremely difficult project recently: create a logo for a new website using graphic design software. I downloaded the free Gimp Graphic Design software and dove right in. What would have been a simple task in SketchUp left me exasperated in this new graphic design software paradigm. Everything looked so clear to me: just cut, copy, click and drag, right? Wrong, very wrong. Like diving into a frozen swimming pool where everything looks clear from the diving board I soon smacked my head on the thick ice of an impenetrable layer of unfamiliarity that prevented entry into the enticing pool of potential below. I was completely humbled by this design program! After bumbling around for hours, accomplishing exactly nothing, I recalled a similar feeling during my first exposure to SketchUp. Determination lead me to some helpful Gimp Tutorials that started with core graphic design basics which helped thaw the ice. I realized, once again, the immense benefit of going through an apprenticeship to get familiar with new tools on a new job on a new, unfamiliar jobsite. To that end I put together a 3-part 3D Modelling Aprenticeship in hopes of making the process of “diving in” for beginners a little less painful.
Diving In:
One you’ve downloaded the free SketchUp 8 software and open up the program you’ll be staring at an unfamiliar landscape, one of colors and lines with a full array of shiny, new tools. There is no lumber around. Without anyone around to explain things, the array of new tools can seem, if not be, utterly useless. The good news is: you’ll never draw blood by using them wrong. The greatest loss you face might be hair folicles lost from pulling them in frustration. Before you surf off to a guaranteed hair restoration site, check out this rather long (but hopefully) thorough “first day” apprenticeship introduction:
Hint: If someone sends you back to the truck to grab the board stretcher, you’ll quickly find it for them. If you’re sent for donuts though, grab a chocolate glazed bismark for me, wouldja?
Parallel Universe:
Early on I realized that 3D modelling is a bit like a parallel universe to building in the “real world”. Many things are similar; working with lumber, measuring, cutting, fitting, assembling. There are many differences as well, starting with my tagline items; straight boards, great weather and a board stretcher. In addition, materials cost money, boards must be mechanically fastened and jobsite safety is a constant requirement. The point, as I see it, is that we can maximize productivity in both worlds by working through an apprenticeship phase until we attain a level of knowledge that allows us to advance on our own. The transition point is when we advance from learning from other’s mistakes to learning from our own.
I hope the Carpenter’s Introduction to 3D modelling series will help you make the transition to less frustrating, more productive “building” with SketchUp
Moral to the story:
If my recent experience with graphic design software taught me any moral it all, it would have to be:
It’s better to thaw the ice of unfamiliarity with insight than try to bust through it with my noggin!
To Be Continued:
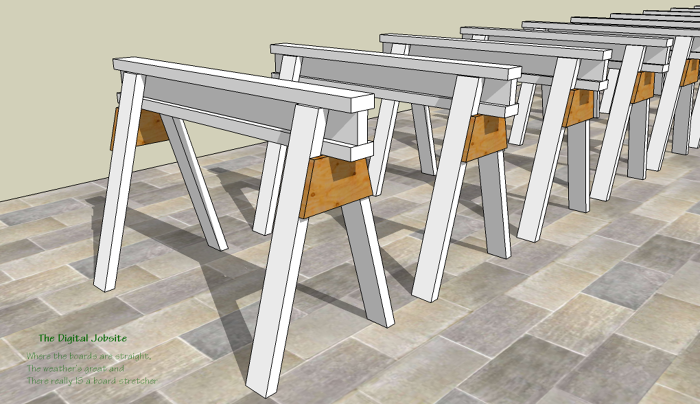
In a future “Day Two” of this Introduction series I’ll go through making legs for the stackable sawhorse model started with this blog post. It will compare using Groups and Components with some insight into when and why each are useful. “Day Three” will complete the first sawhorse and, in a flurry of mouse clicks, make the remaining 99. I’ll include a link to the sawhorse model created in this series at the SketchUp Component Warehouse in the Day Three tutorial blog post which might help you work up the 3D modelling learning curve.
Stay tuned for the future episodes and, as always, thanks for stopping by The Digital Jobsite… its been great workin’ with ‘ya.
Fine Homebuilding Recommended Products
Fine Homebuilding receives a commission for items purchased through links on this site, including Amazon Associates and other affiliate advertising programs.

Handy Heat Gun

Reliable Crimp Connectors

8067 All-Weather Flashing Tape
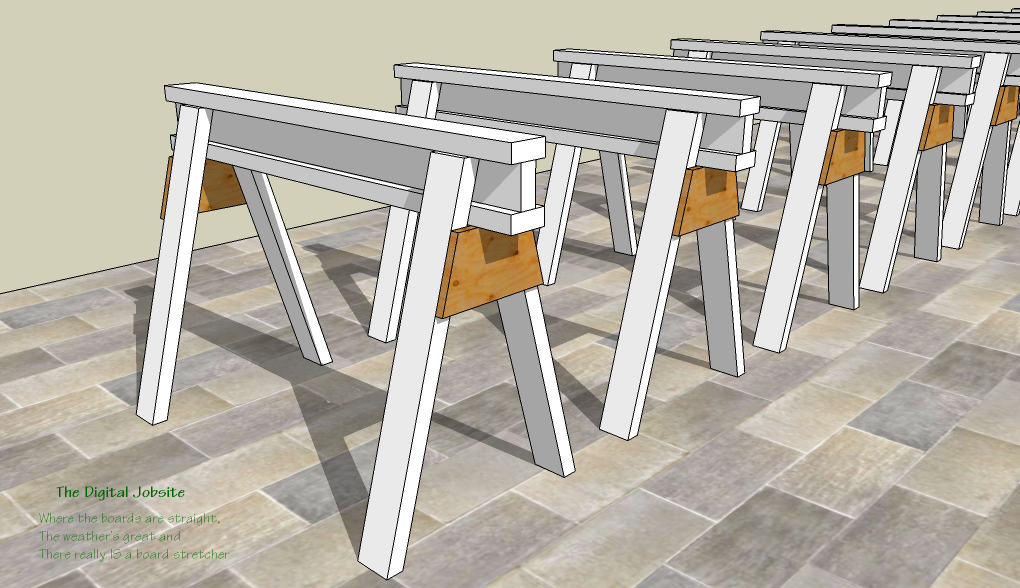
Build a hundred stackable sawhorses during your 3D apprenticeship.
