
How To Build a Craftsman-Style Fireplace Mantel
Simple joinery and layered construction create a rock-solid, refined fireplace centerpiece.
Synopsis: Trim carpenter Gary Striegler outlines the step-by-step process of building a traditional-style mantel with modern materials and methods. A detailed illustration showcases the many layers that make up the mantel, some of which aren’t seen in the final product, while a series of photographs go through the process of building, assembling, and gluing the legs and topping them off with the shelf, corbels, and cove molding.
Building mantels has always been one of my favorite finish-carpentry jobs—I’m pretty sure I’ve built more than 200 of them. I love highly detailed mantels, but a lot of fireplaces today have a simple timber mantel or no mantel at all. So I was thrilled when a client asked me to build what I call a craftsman- style mantel. There are some distinguishing characteristics of this style, notably tapered columns, straight lines, and the use of stain, rather than paint, to accentuate the use of natural materials. The biggest difference between my version and the original craftsman pieces is the construction. Building with traditional joinery and solid wood is expensive and time consuming. To lower the cost and build time, I used a mix of Baltic-birch plywood and solid poplar, and put it all together with a variety of fasteners and wood glue. The homeowner loved the finished piece, and immediately asked about adding other trimwork to the job. That is the greatest compliment a trim carpenter can receive.

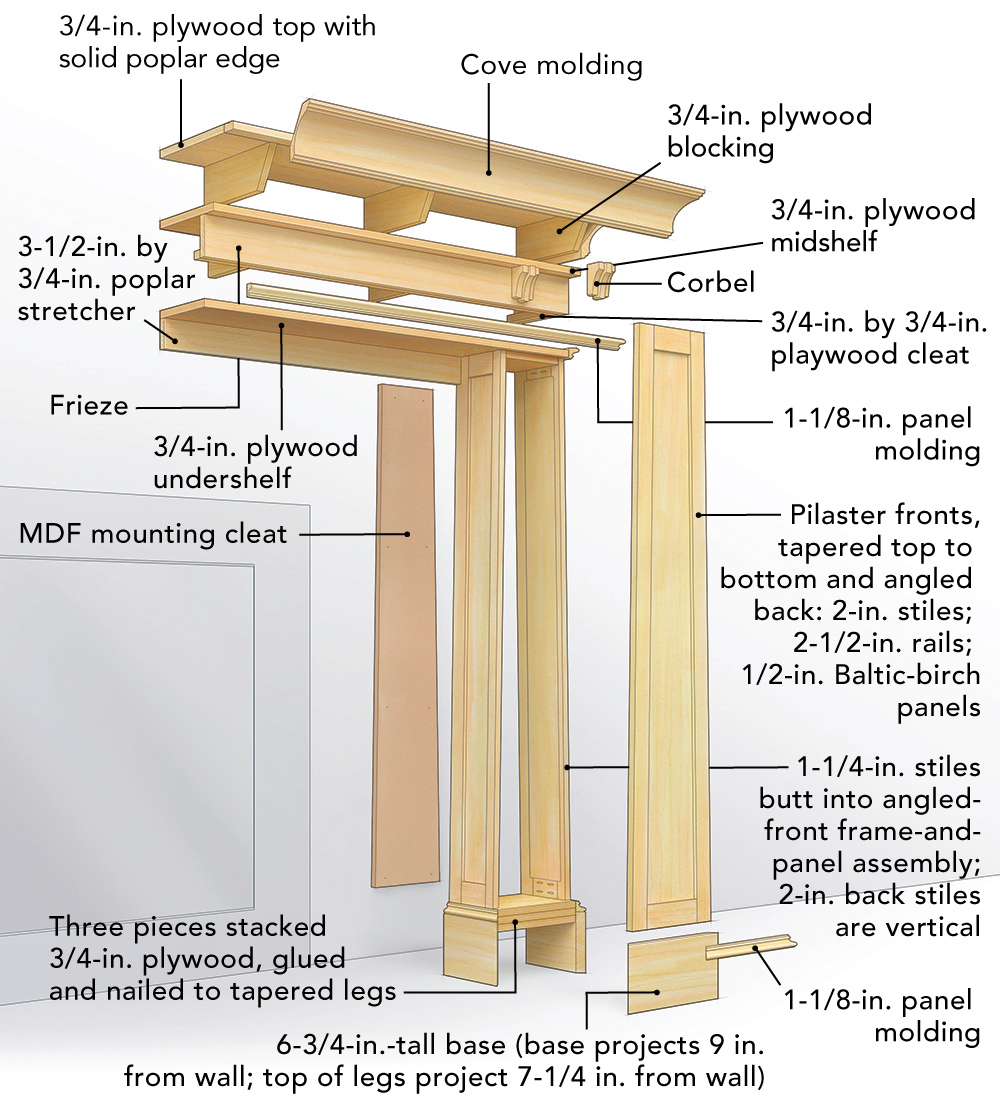
Mantel makeup
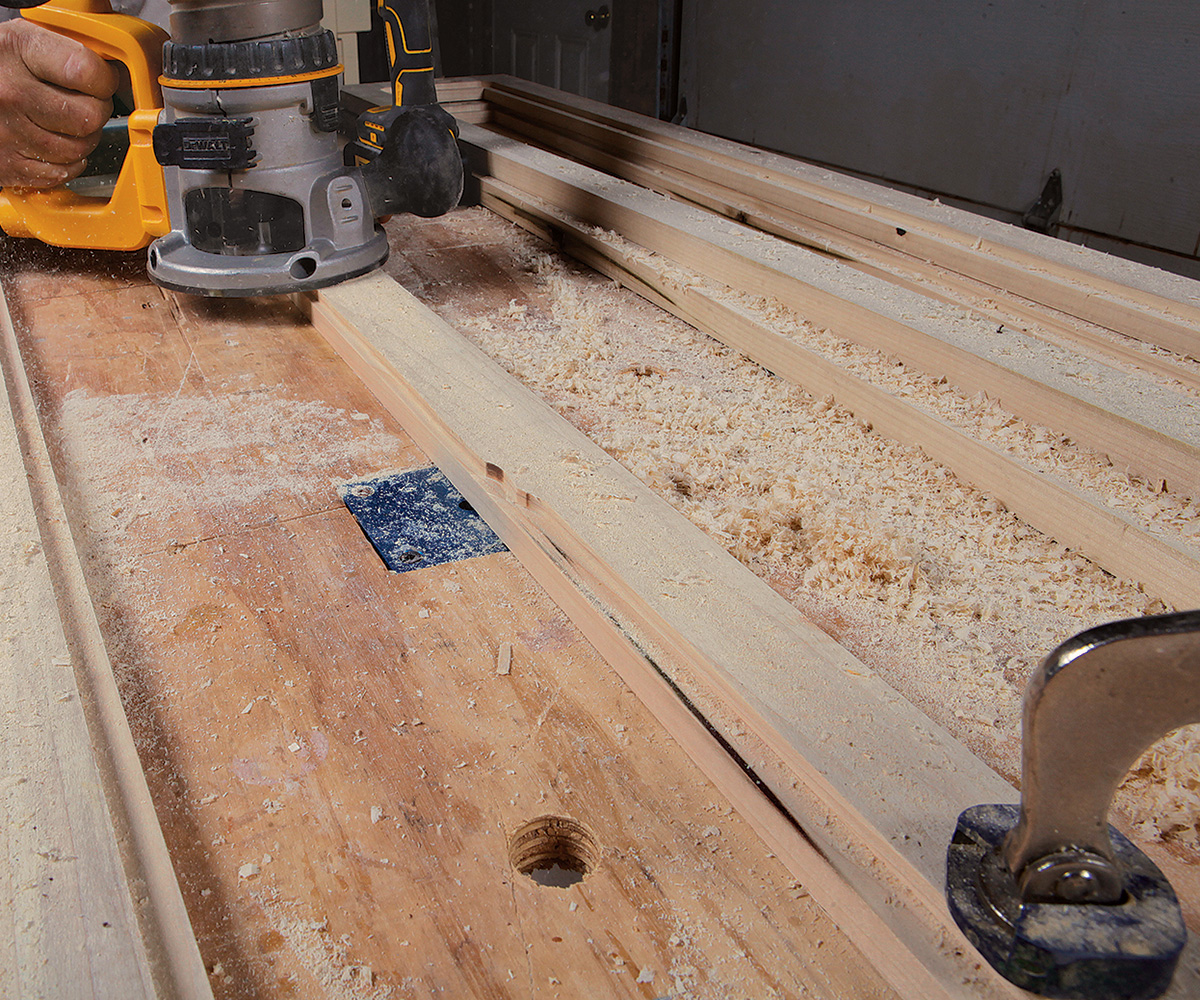
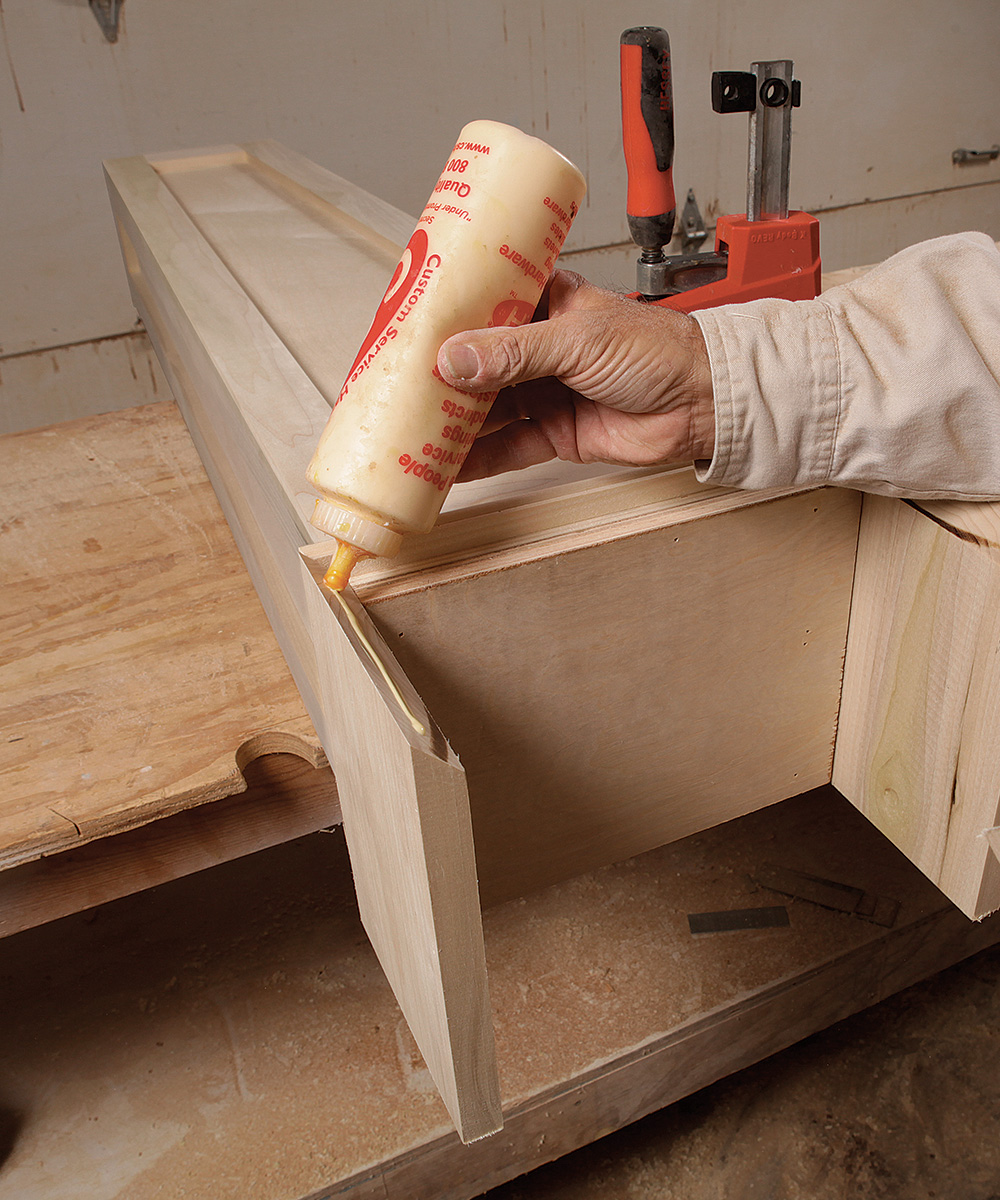
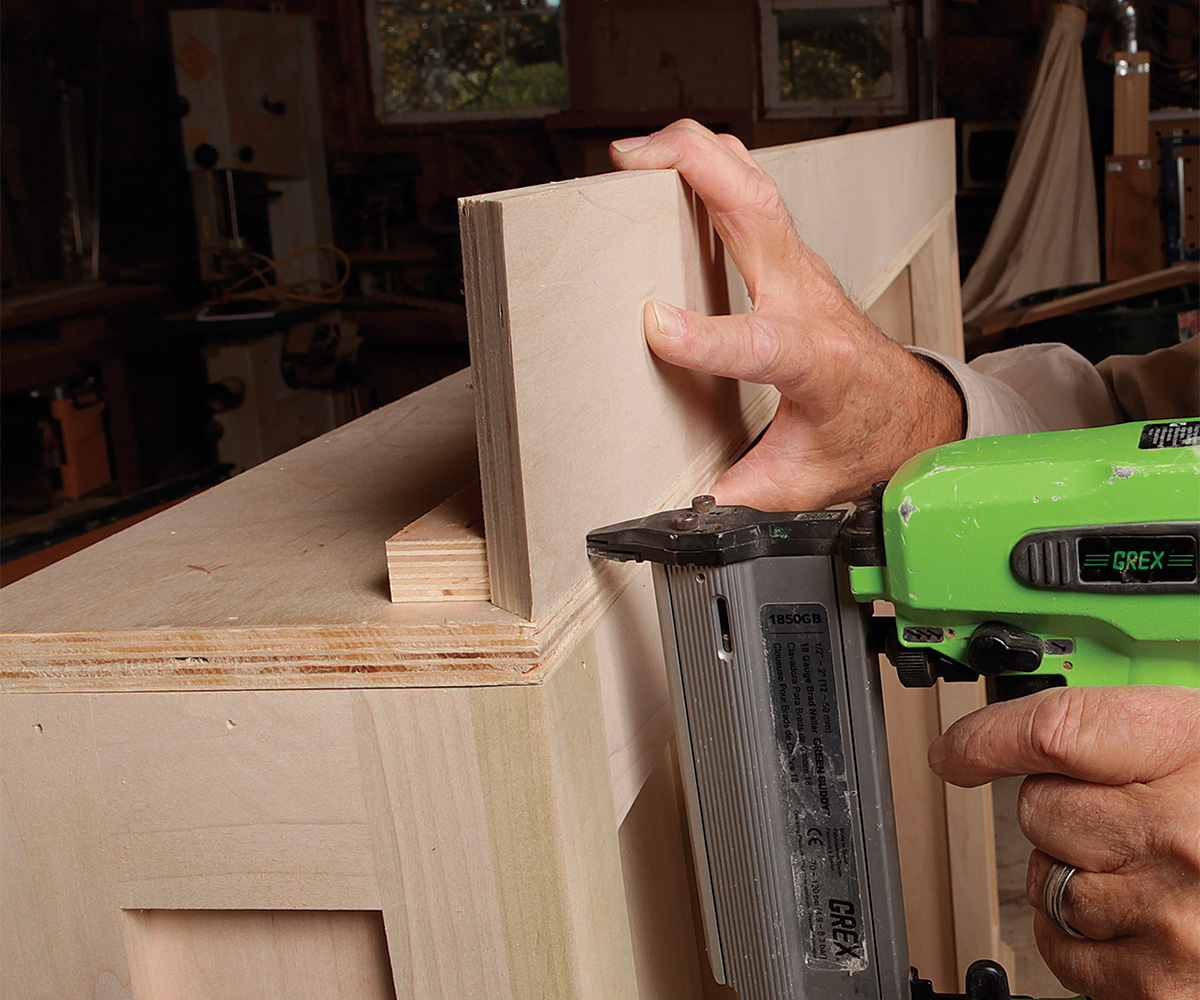
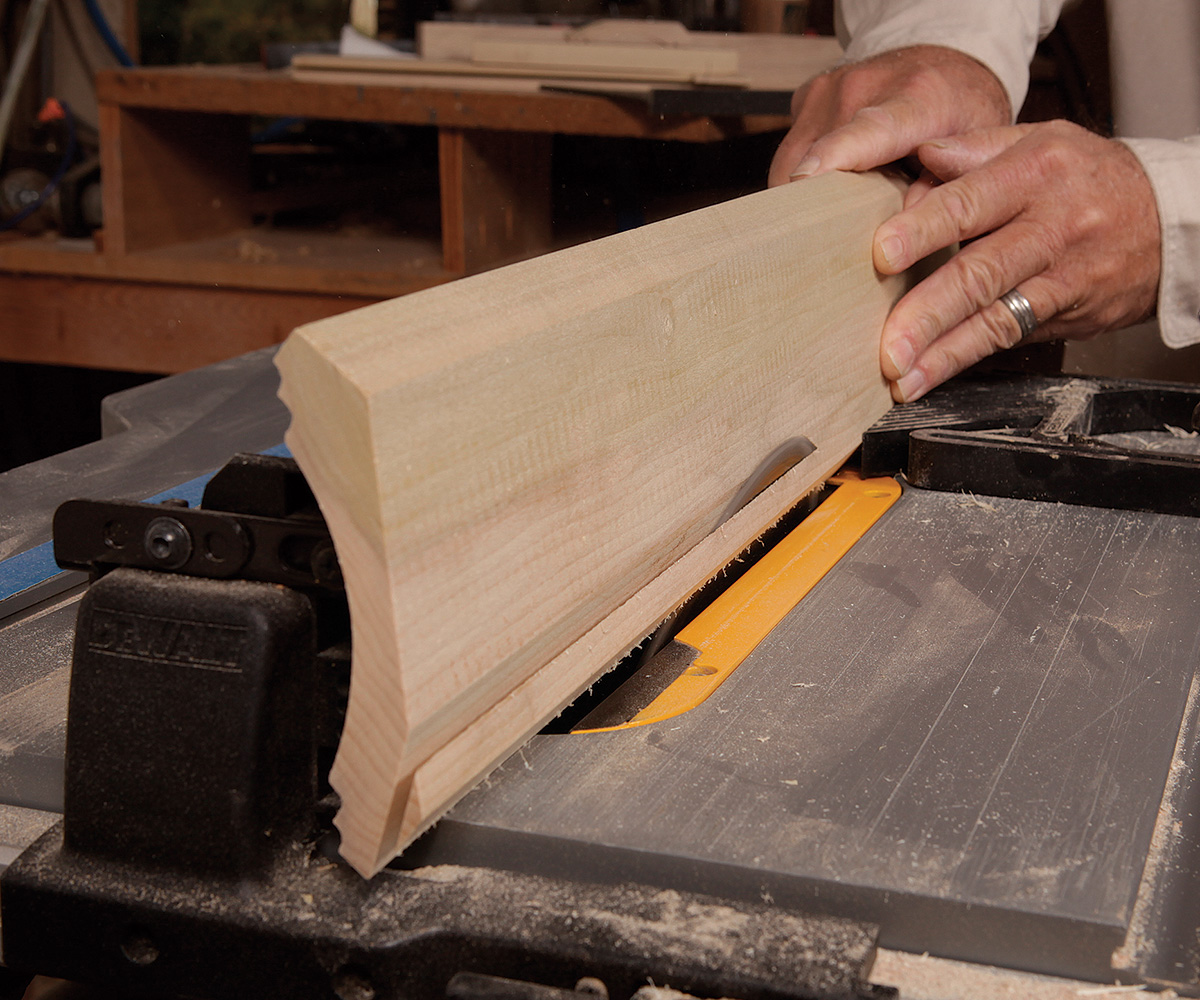
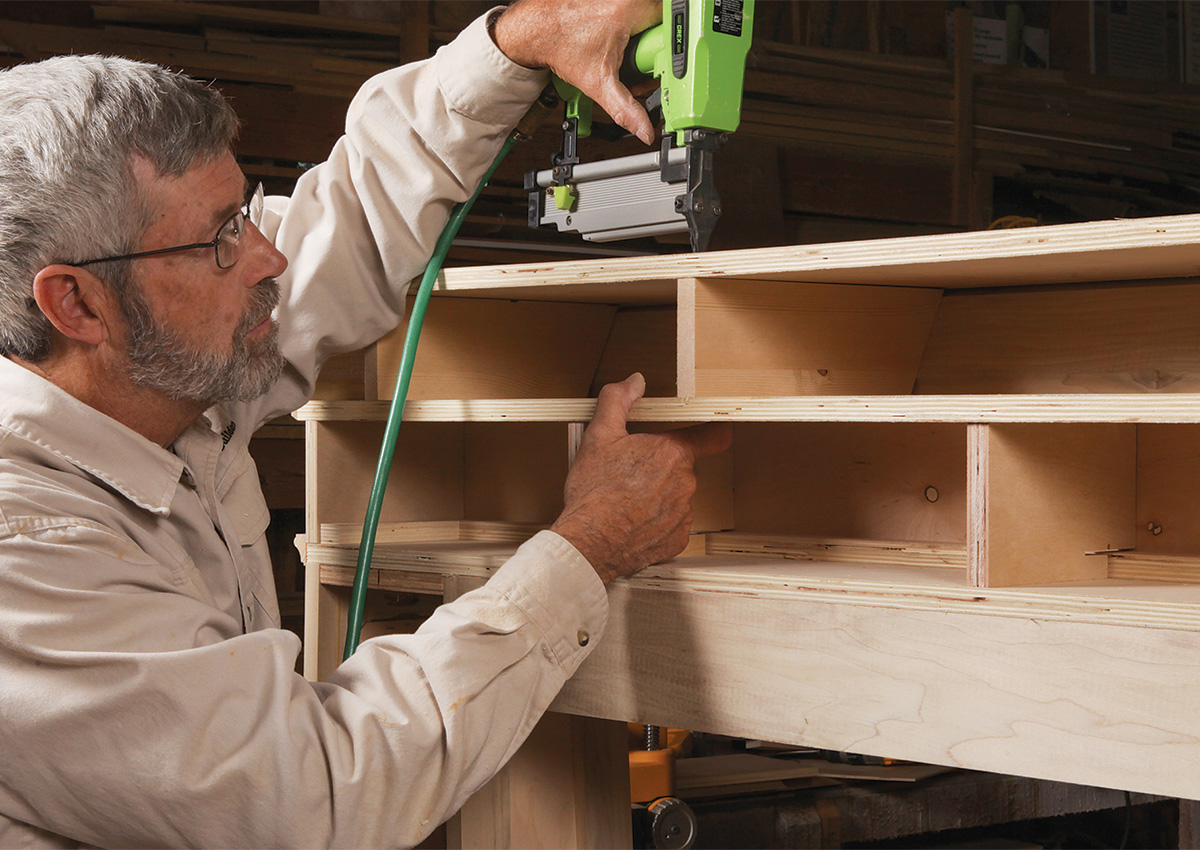
This mantel is made from many layers—some visible and some not. Those that aren’t seen in the final product add rigidity and strength, and provide backing for nailing other layers. Moldings are used strategically to hide plywood edges and joints. The joinery is kept simple for quick production and minimal fuss. Though it looks complex, I built this in my shop in a day using basic carpentry tools.
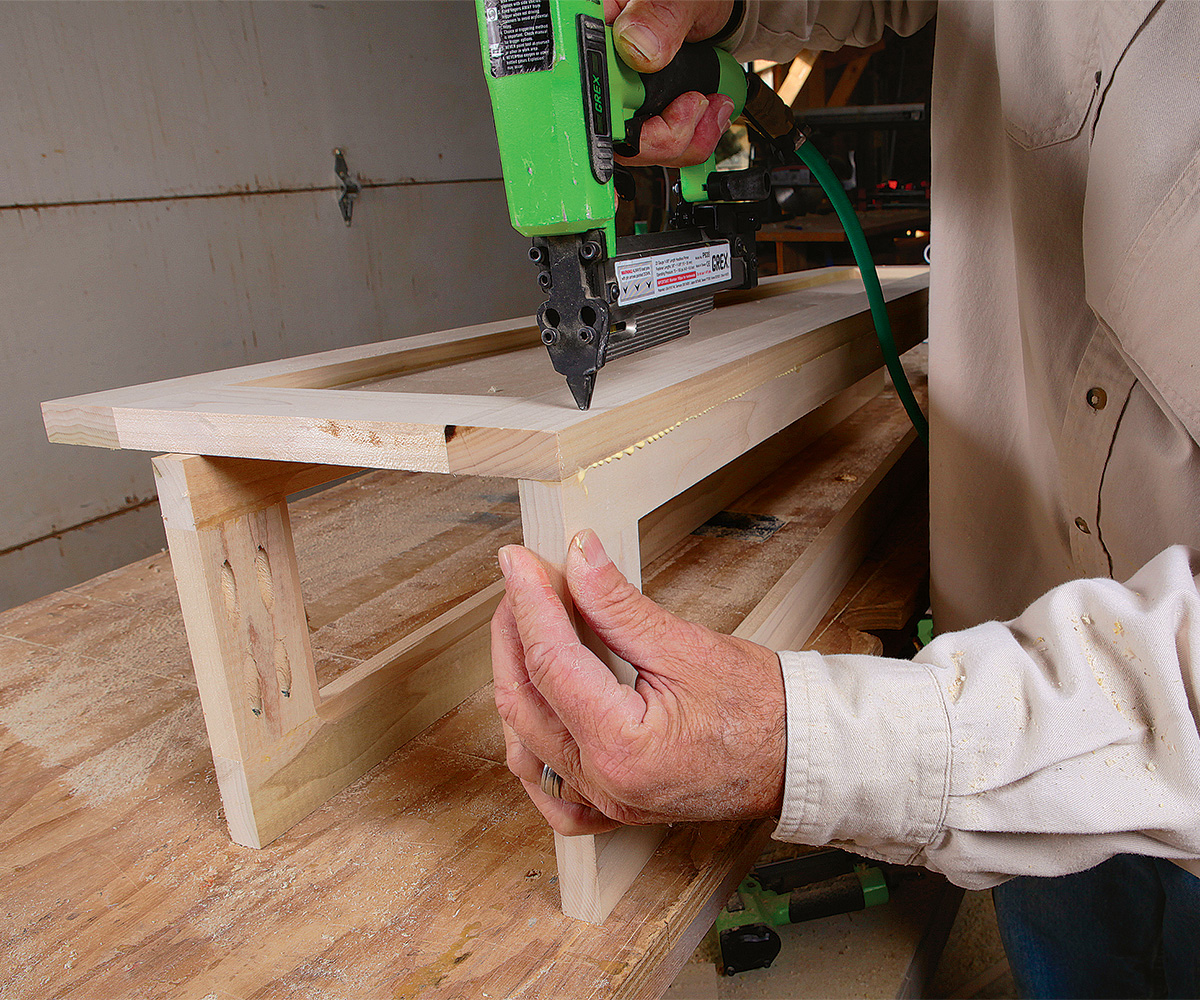
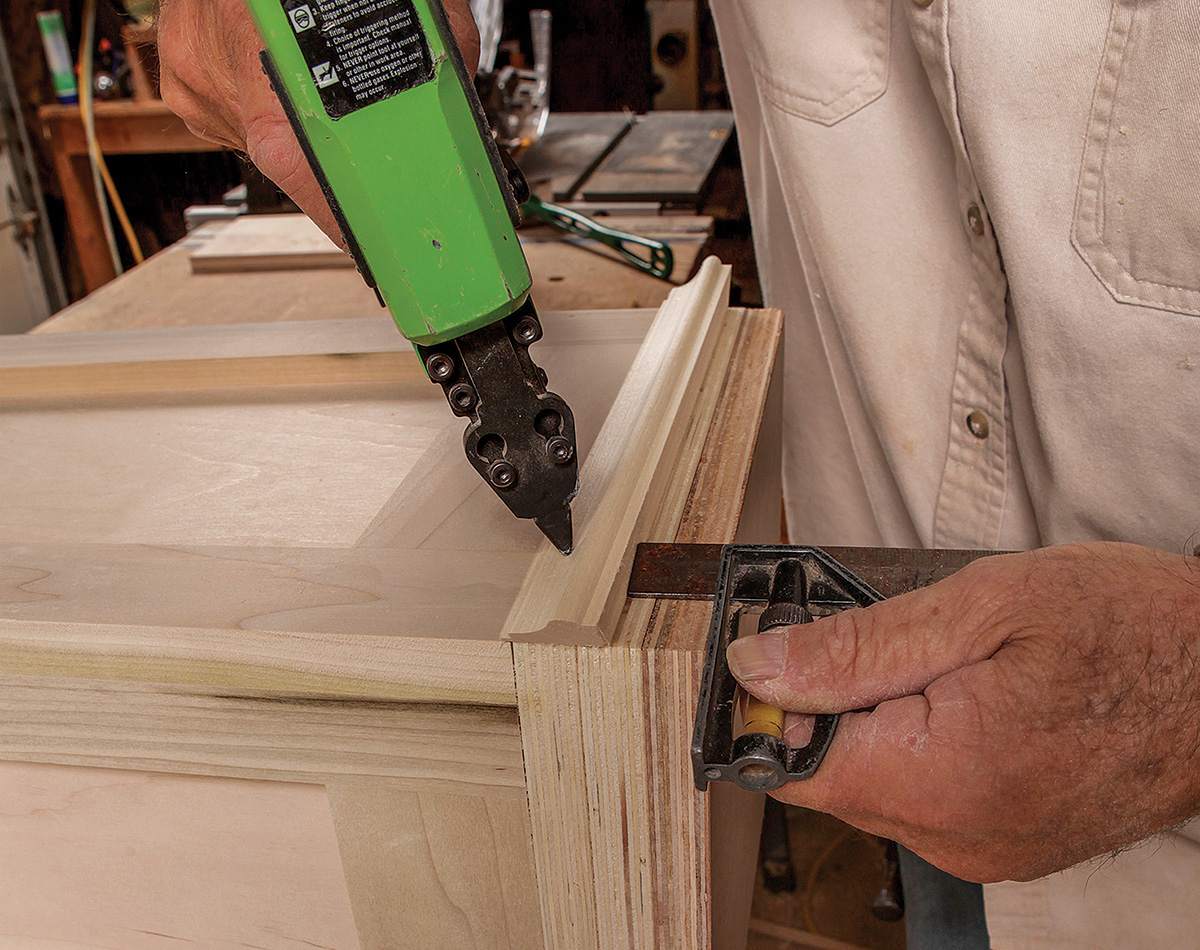
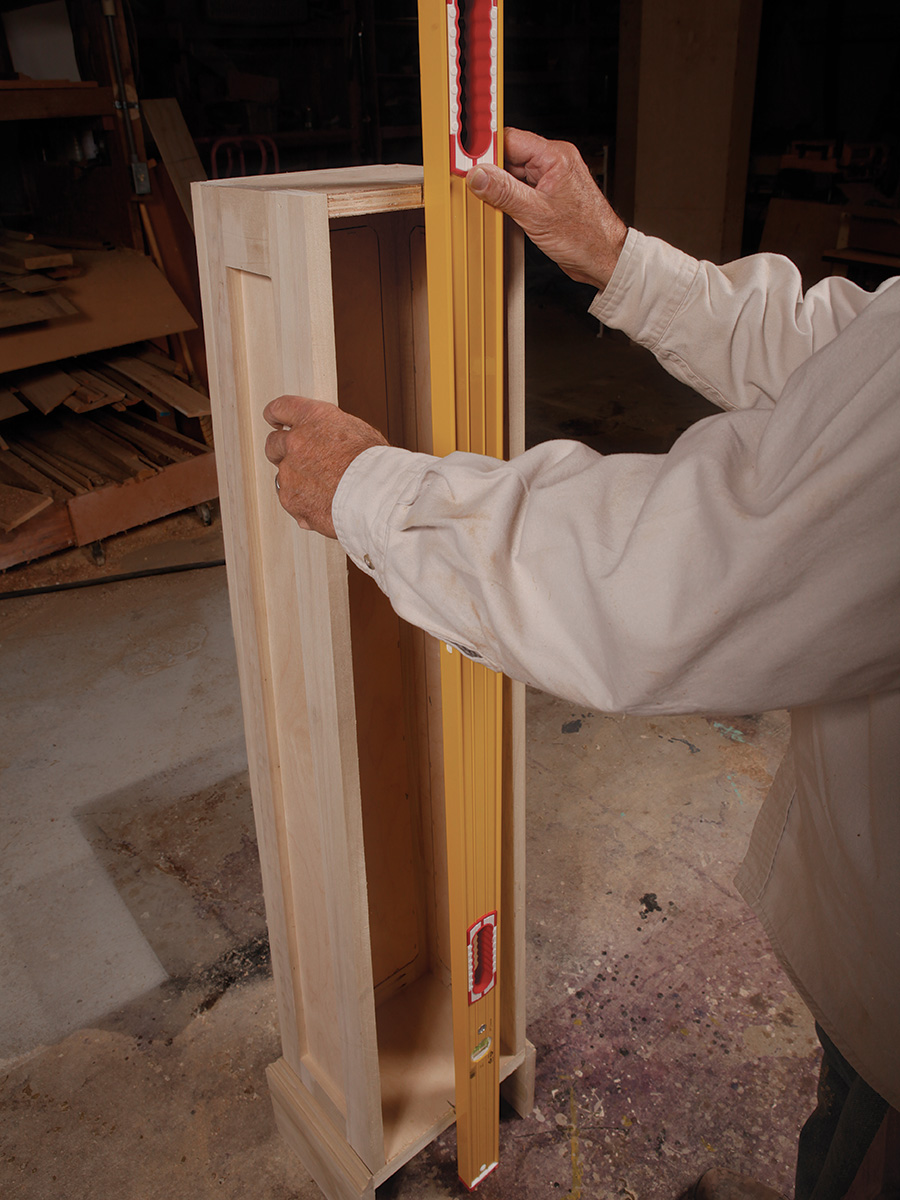
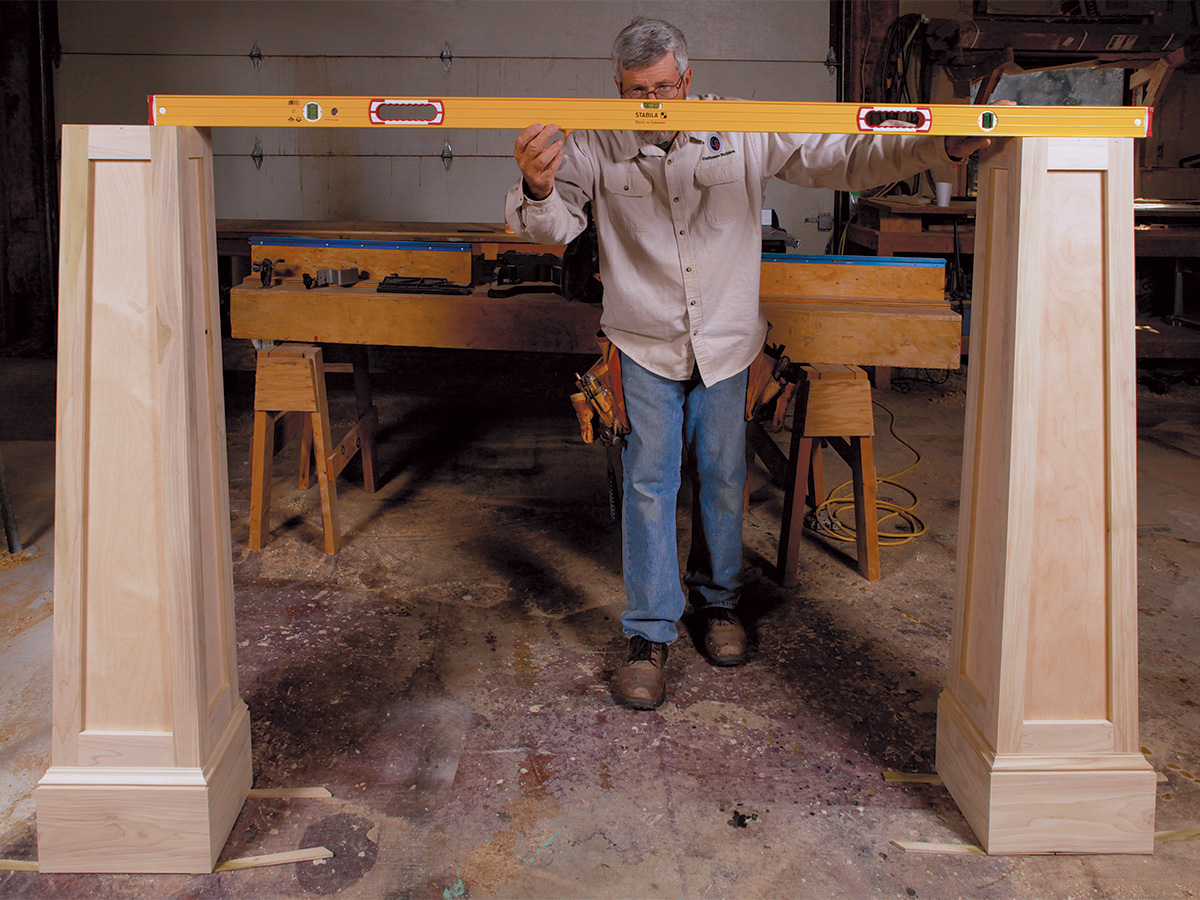
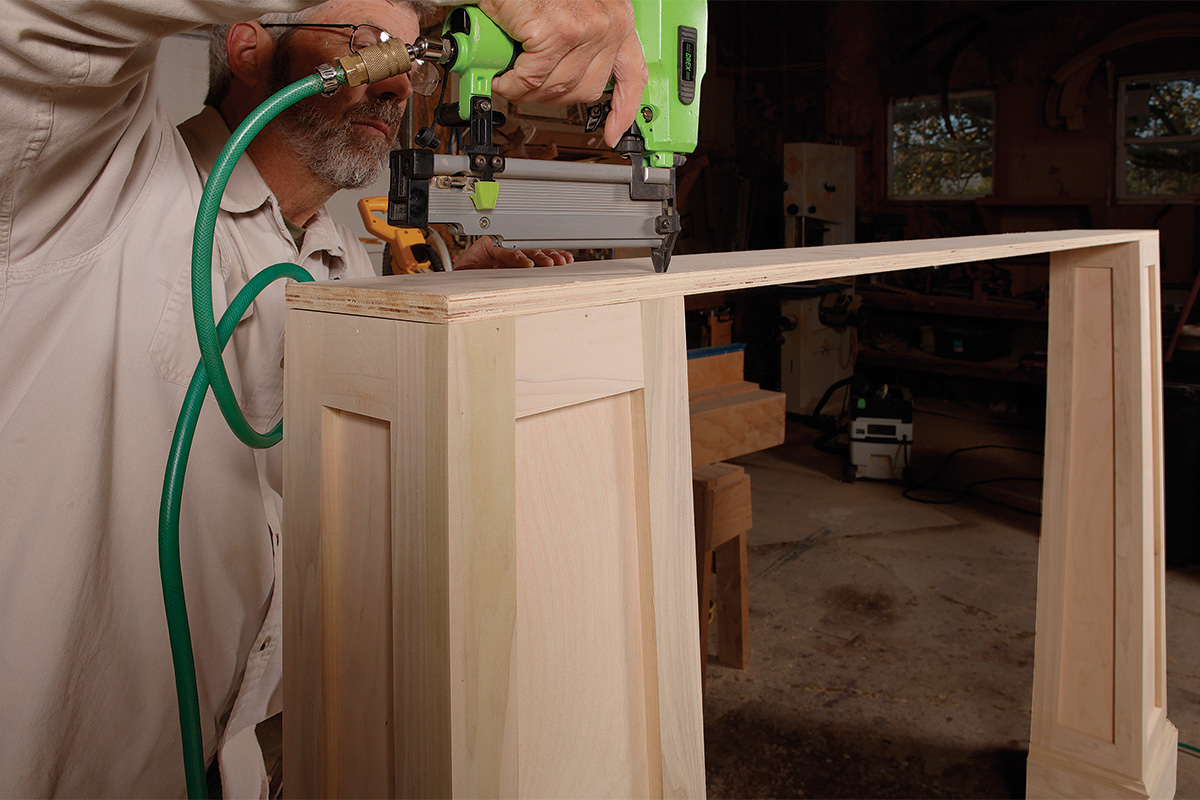
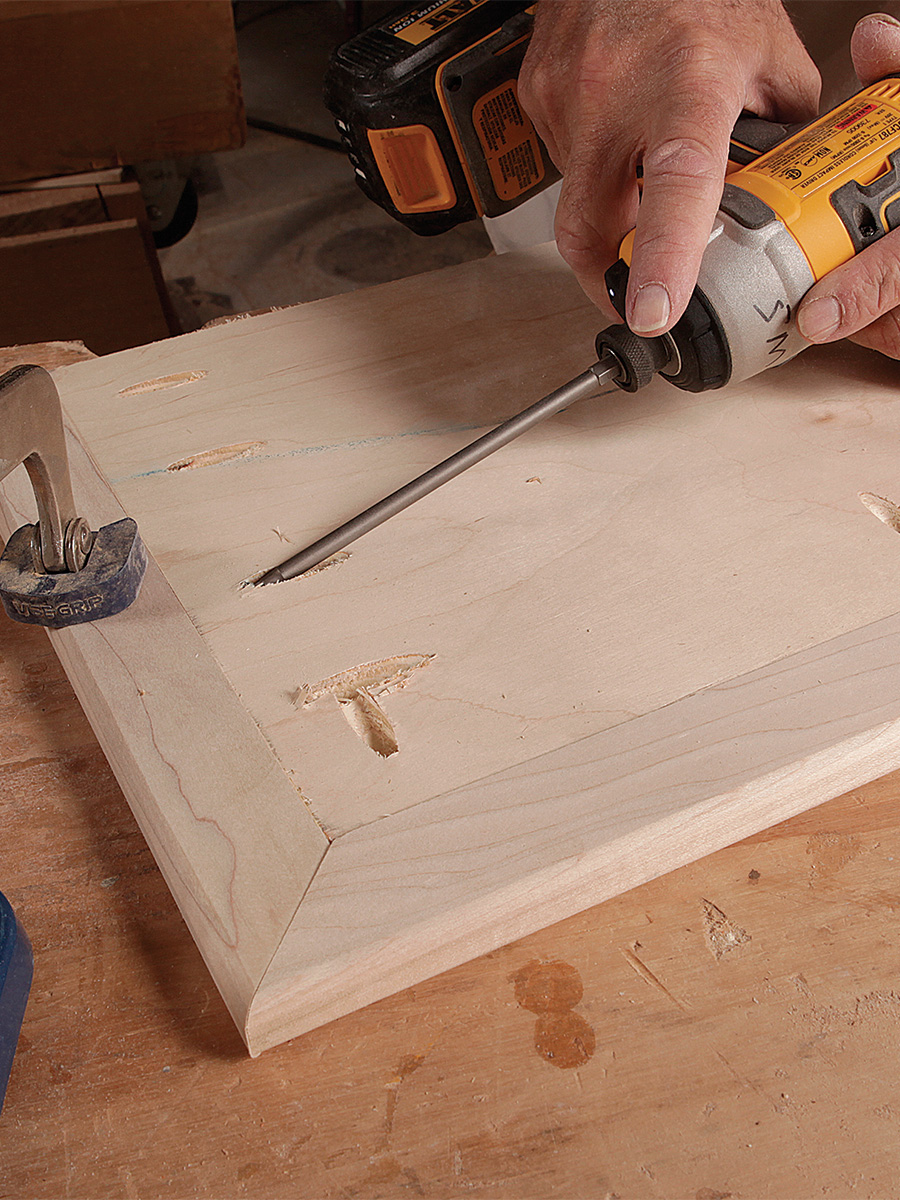
Start with the legs
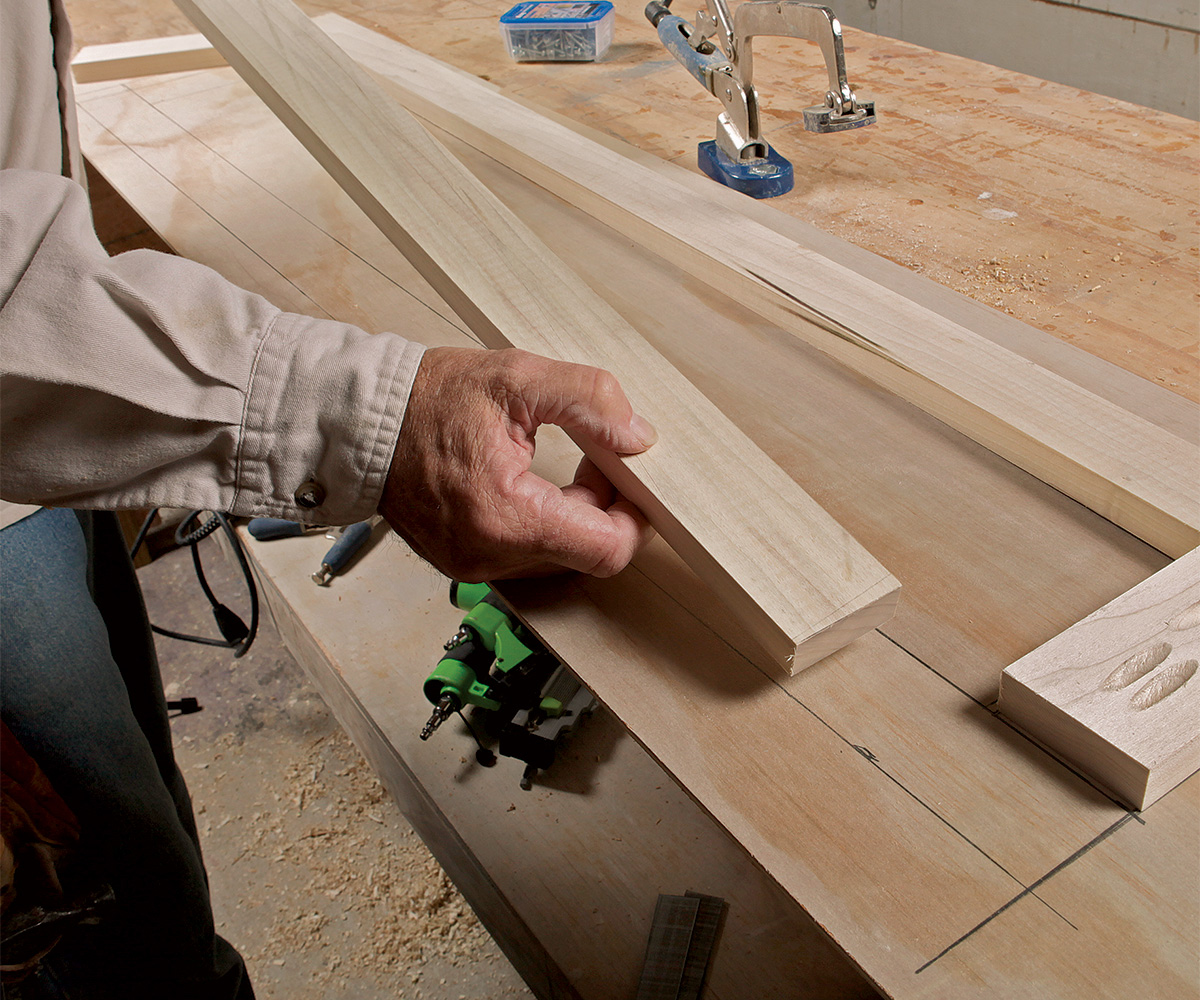
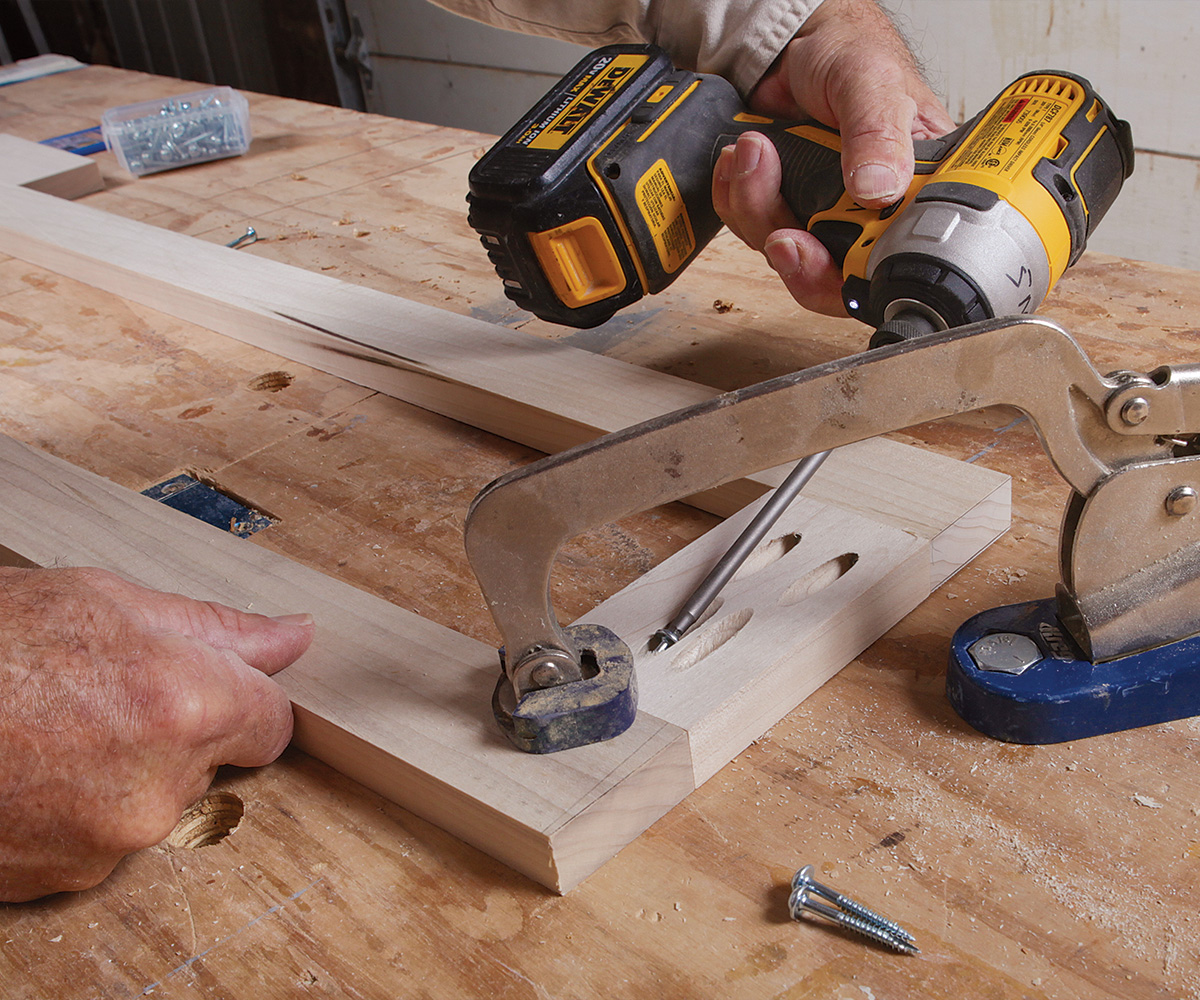
The tapered portions of each leg are made from three butt- jointed frame-and-panel sections. After assembling each section’s frame, undercut its bottom to match the slope of the taper to cleanly meet the backing for the vertical base.
 |
 |
 |
 |
 |

 |
 |
 |
 |
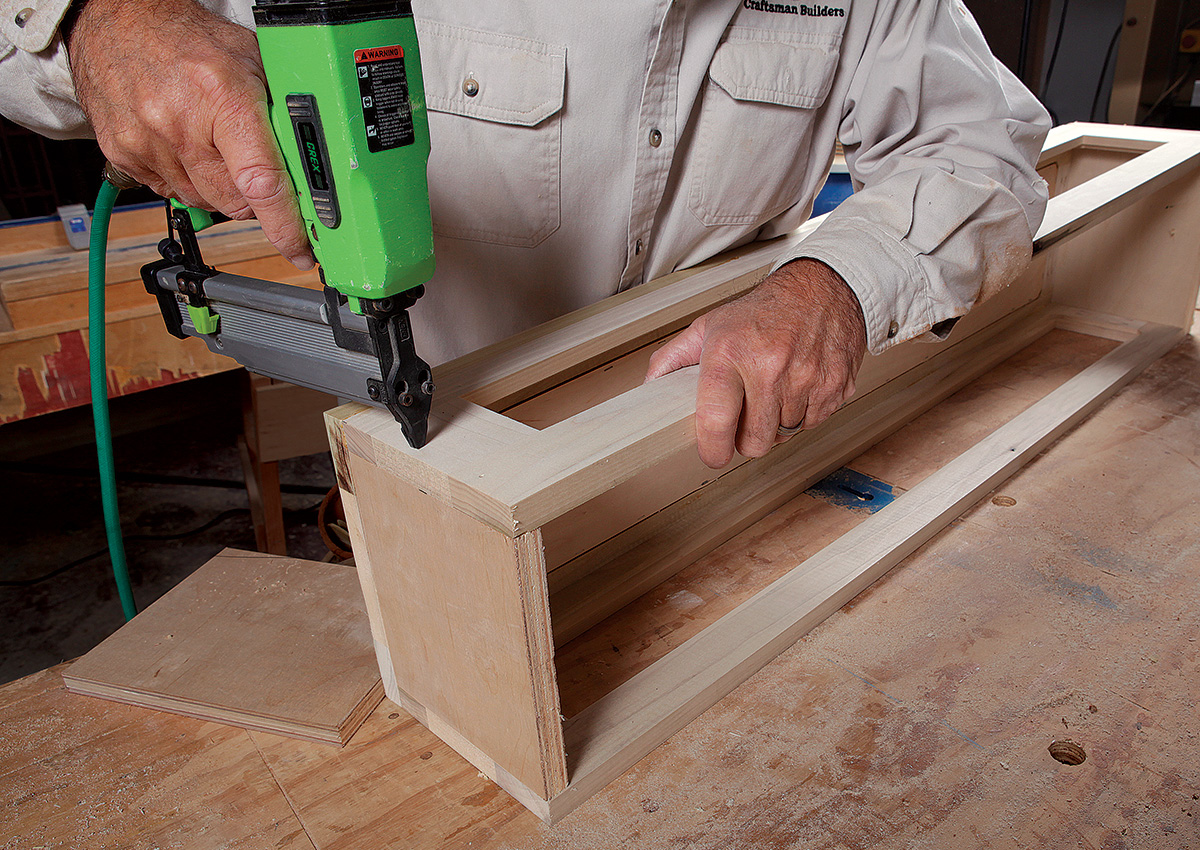
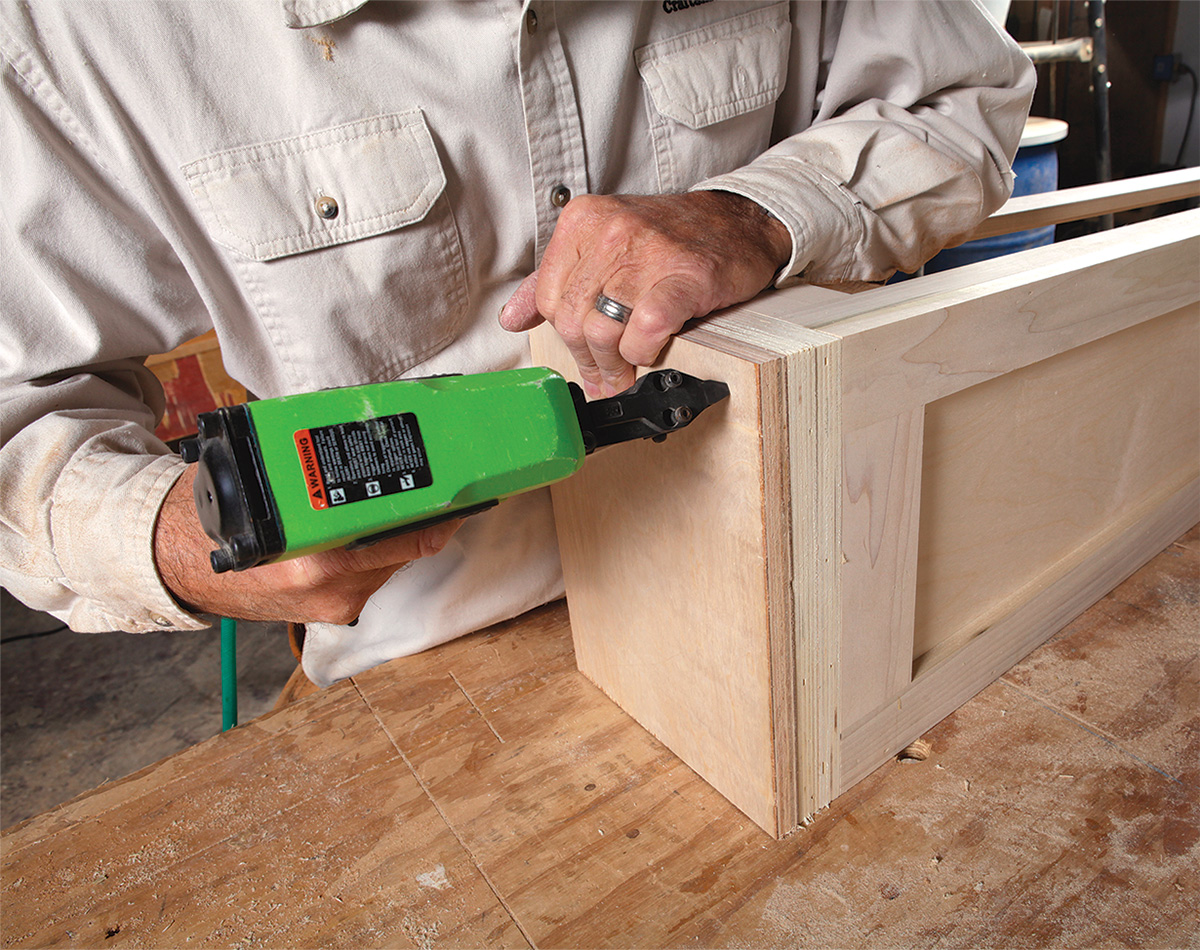
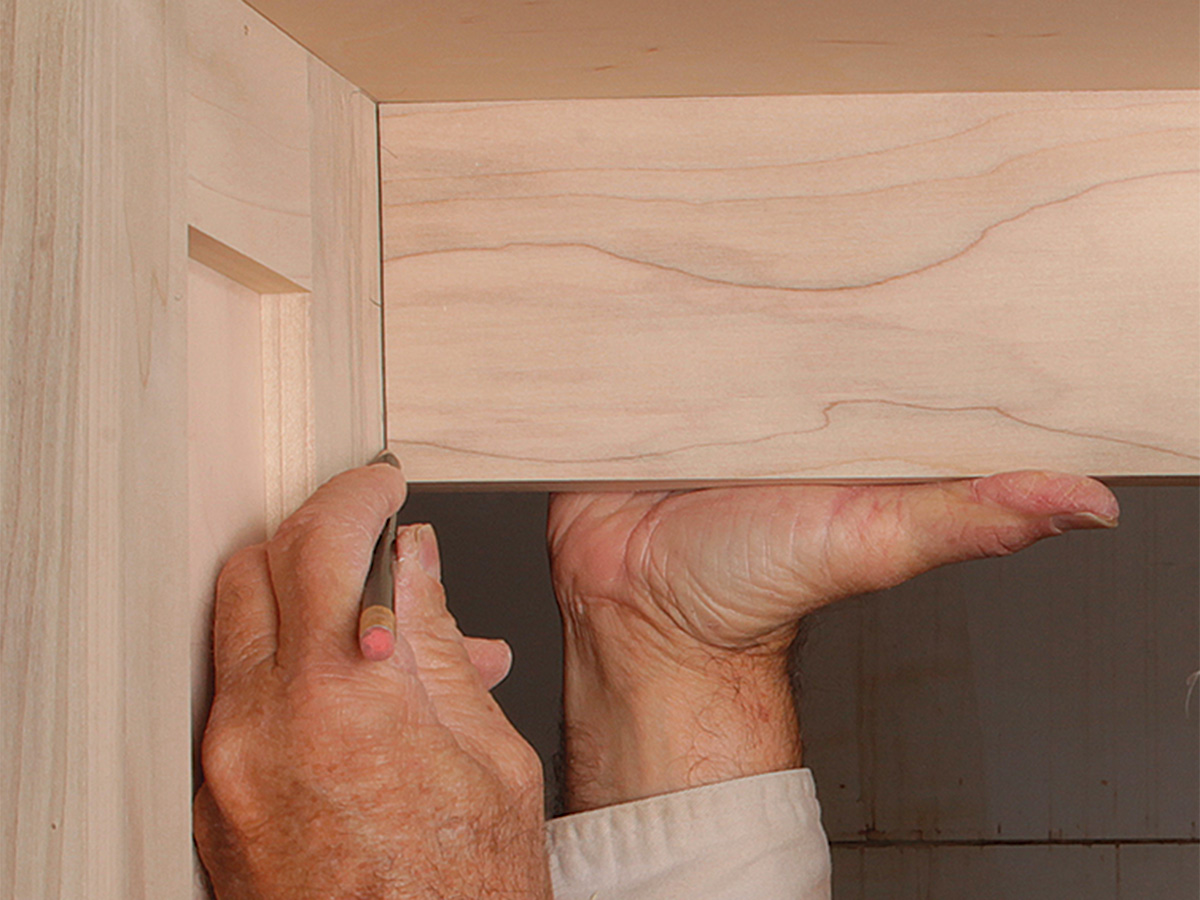
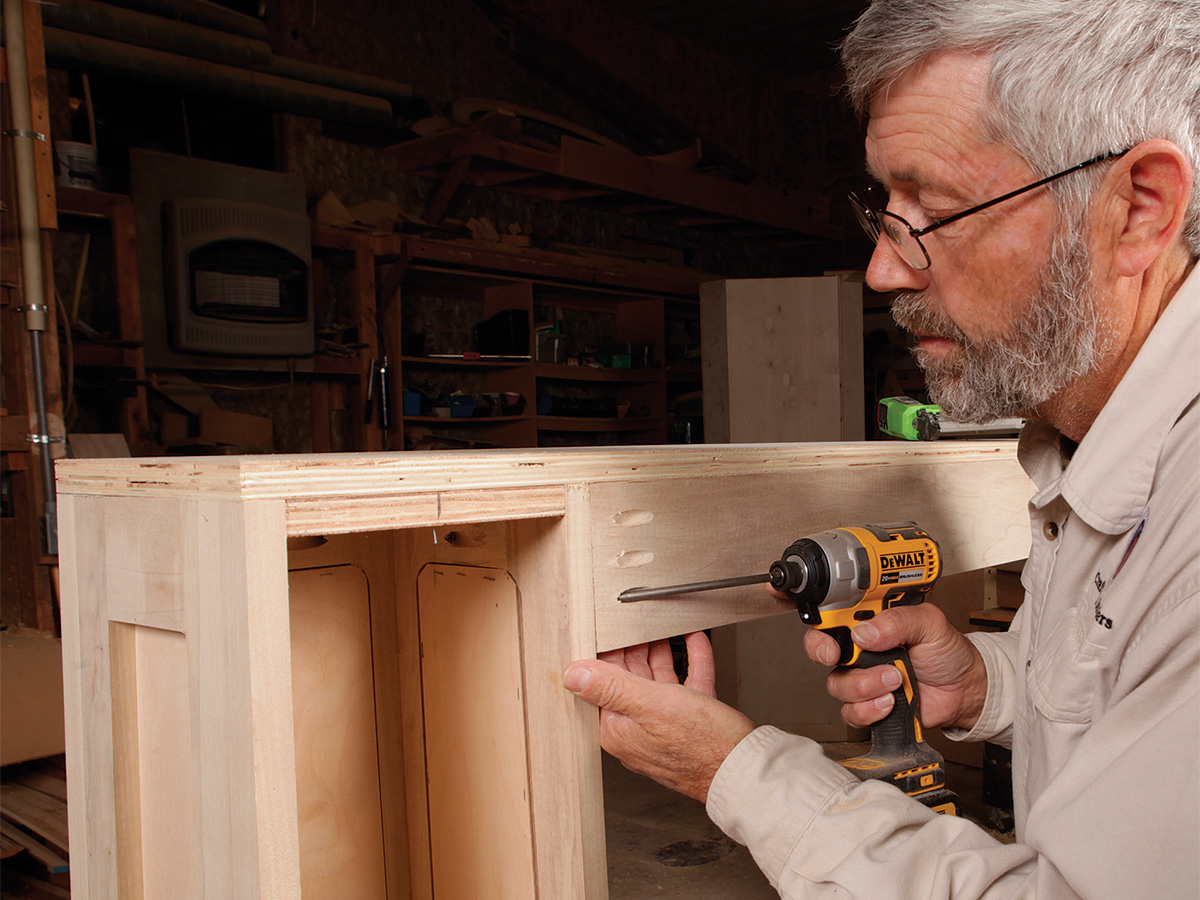
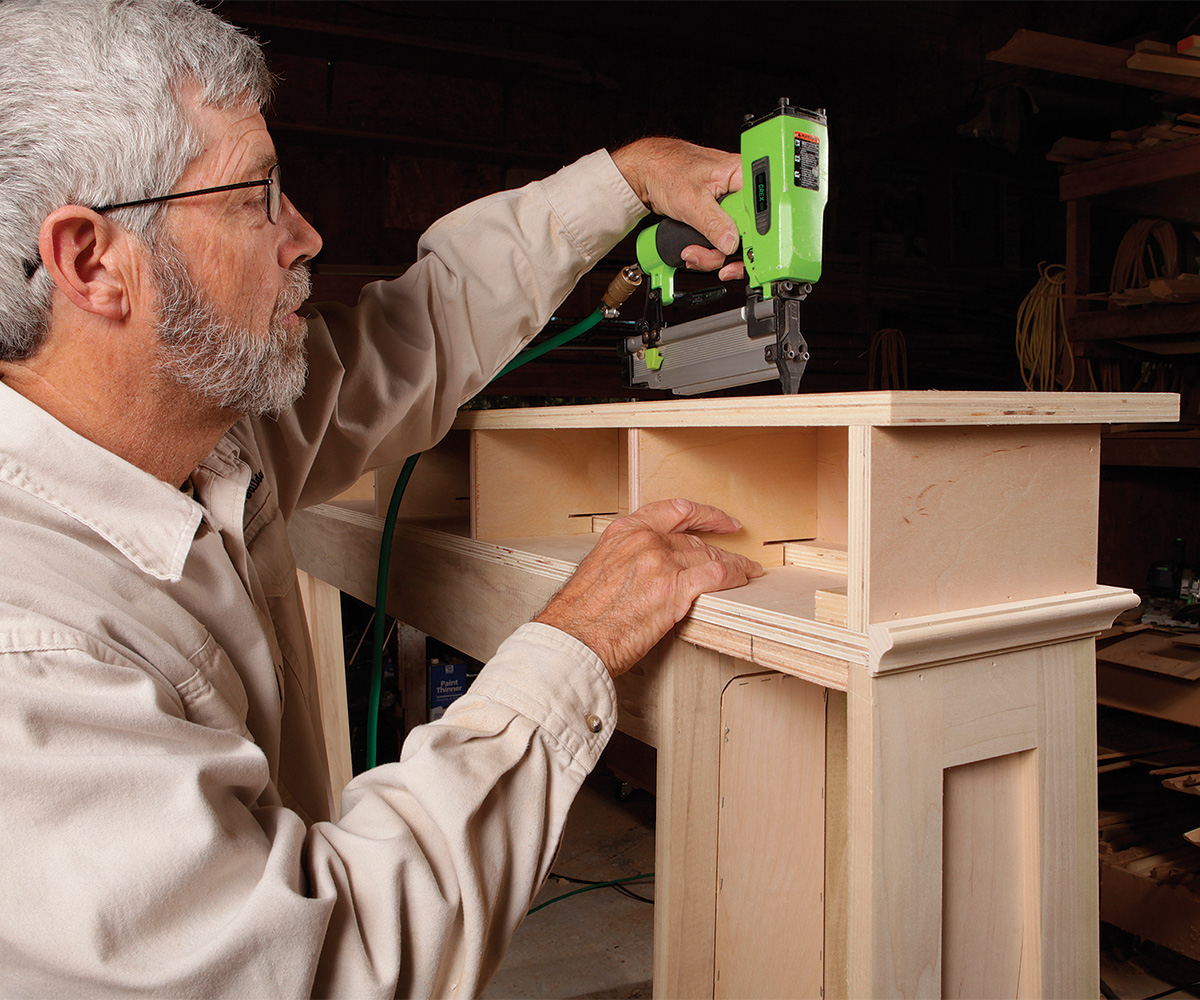
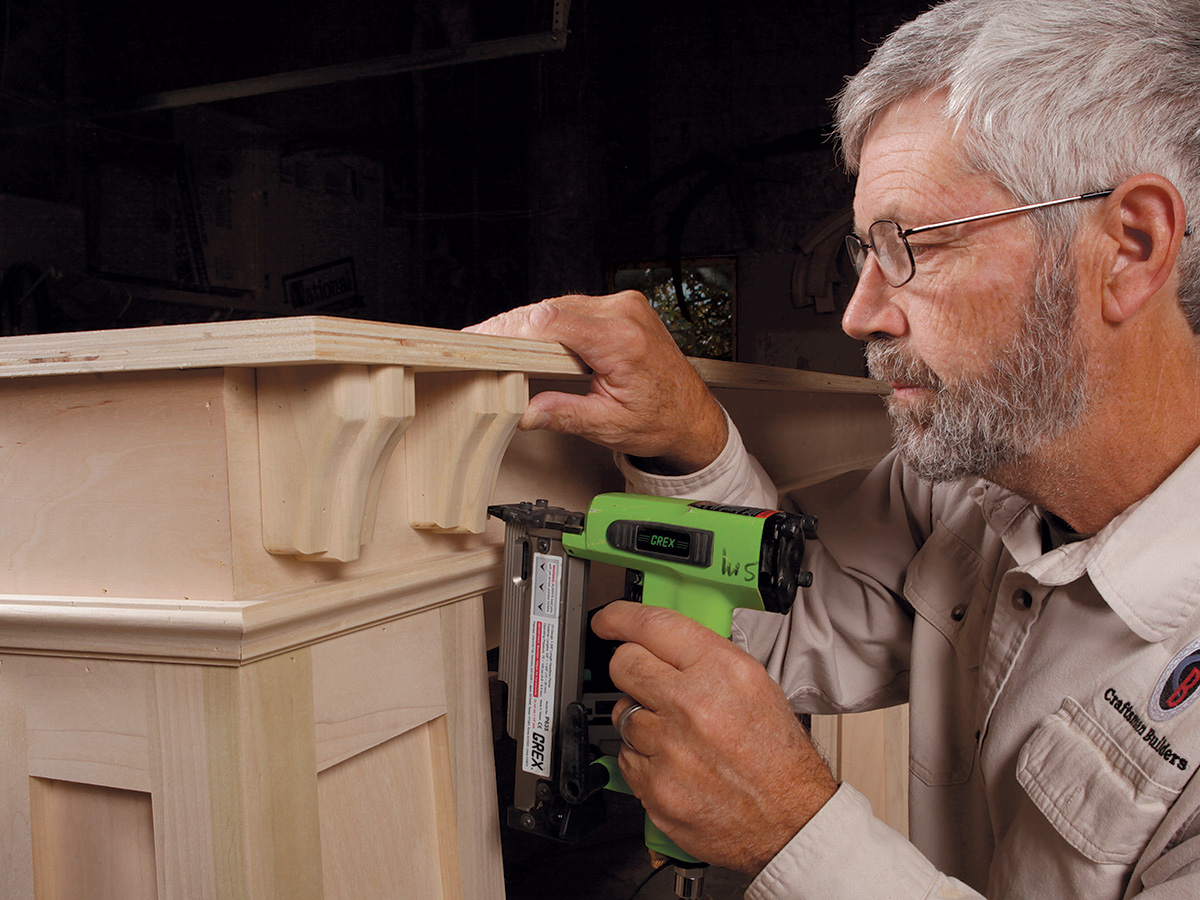
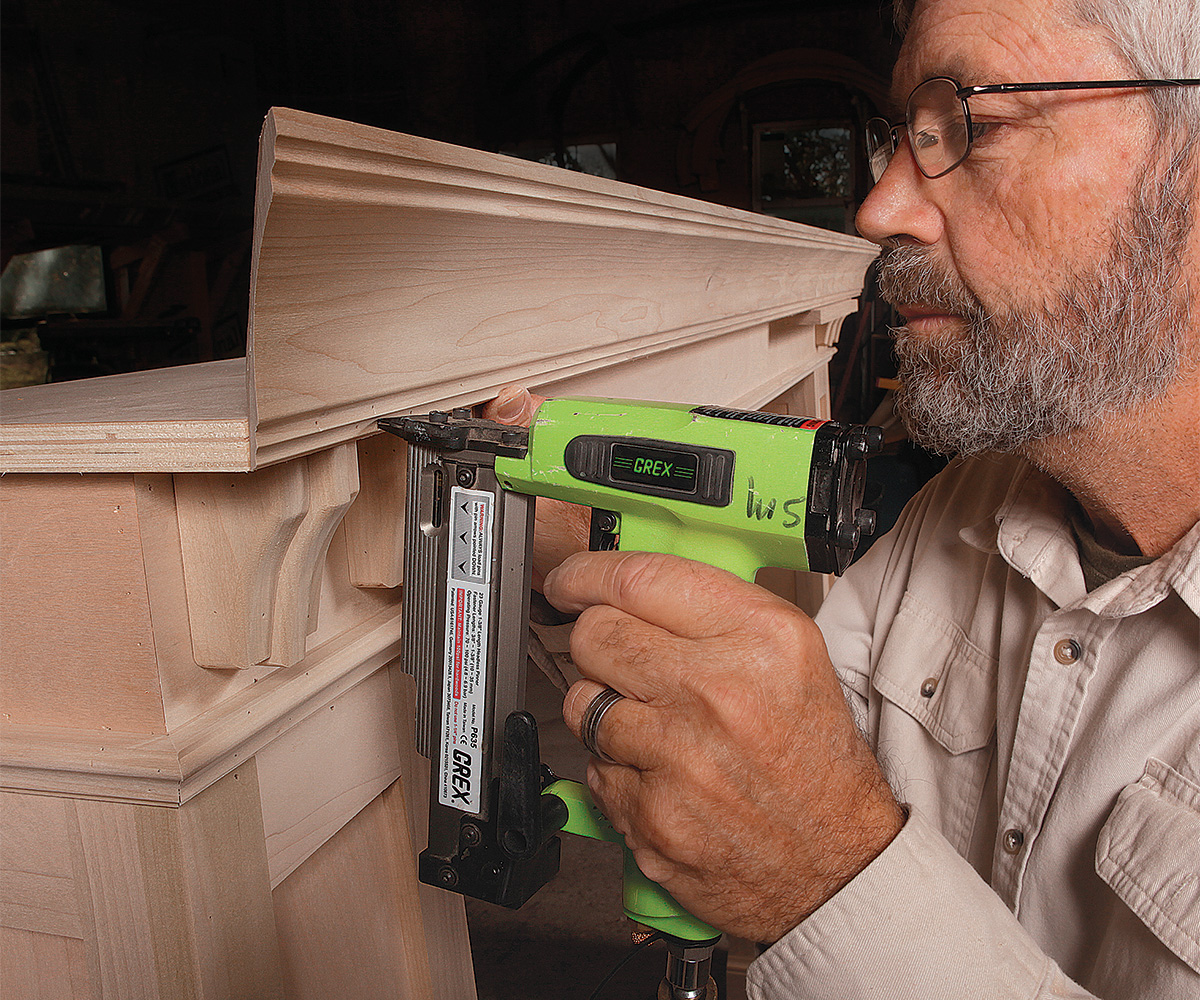
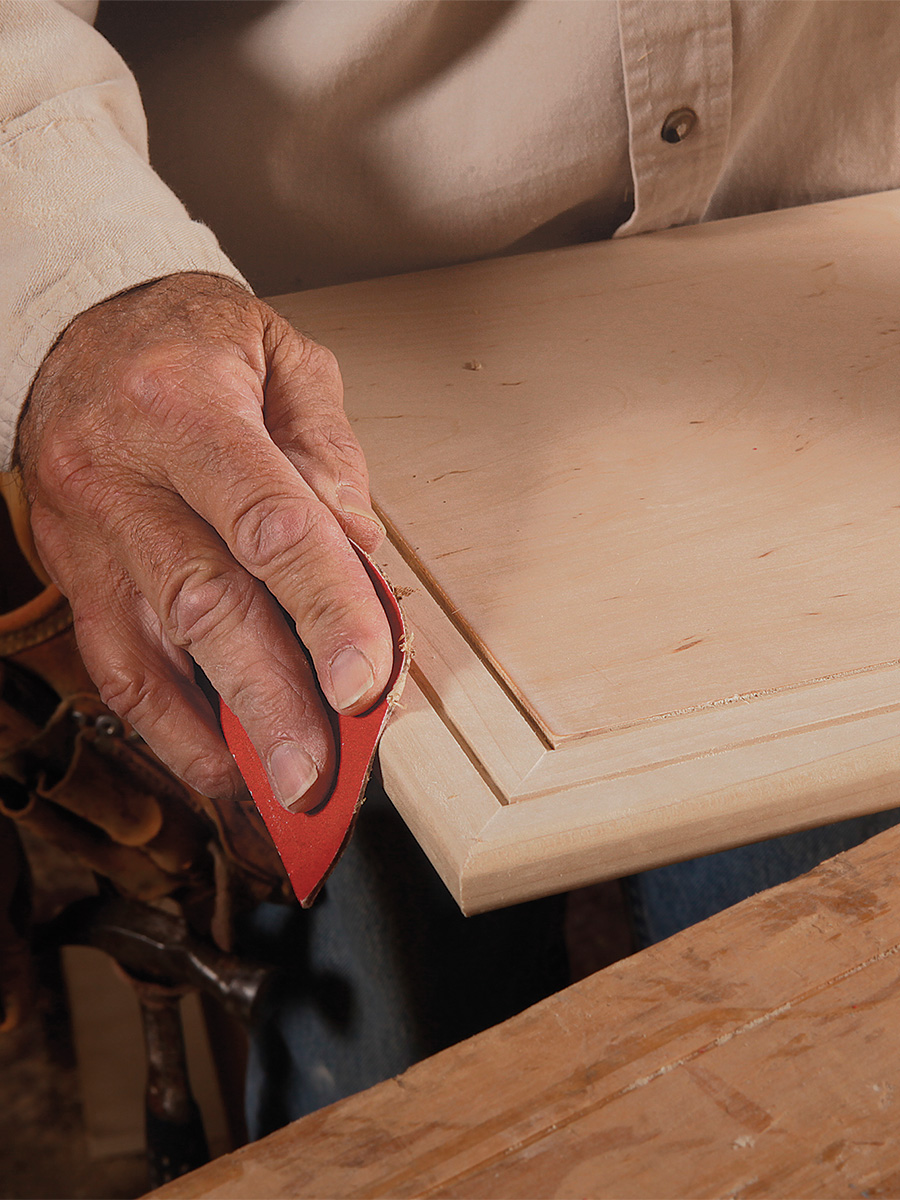
Top it off with the shelf
The mantel shelf is built in layers, using moldings to cover the edges of the plywood and joints, and blocking to add strength and backing for nails. Rather than use a tape, I measure and mark everything in place.
 |
 |
 |
 |
 |
 |

 |
 |
RELATED LINKS
From Fine Homebuilding #291
To view the entire article, please click the View PDF button below.
-
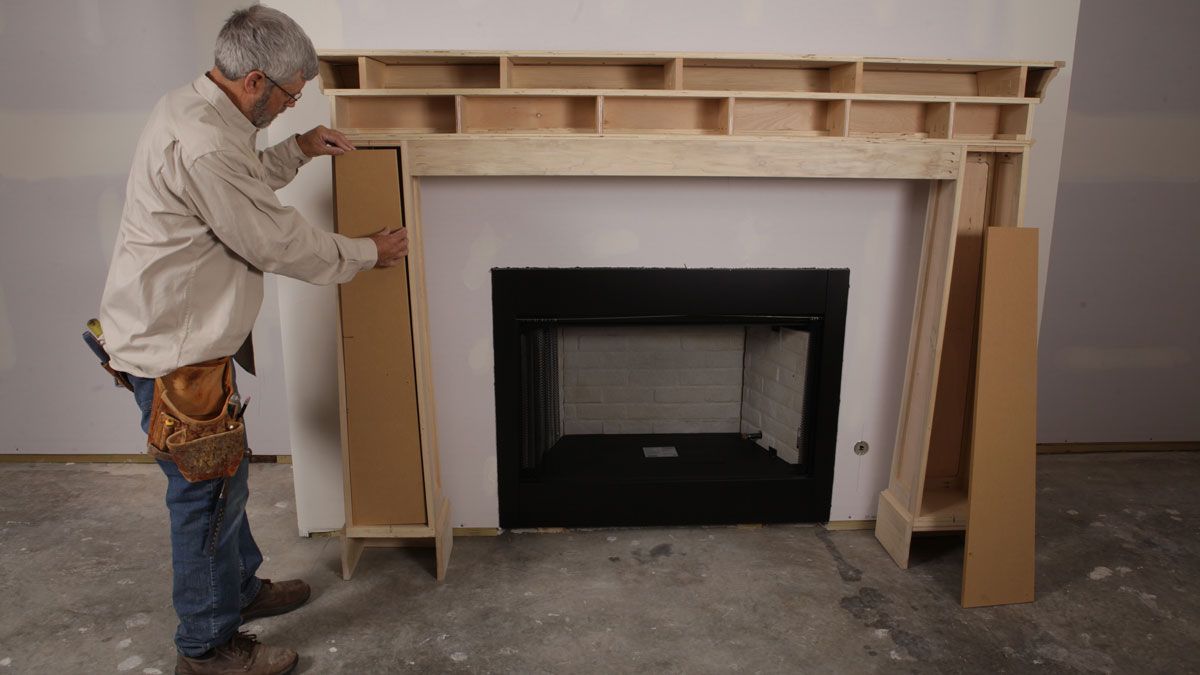
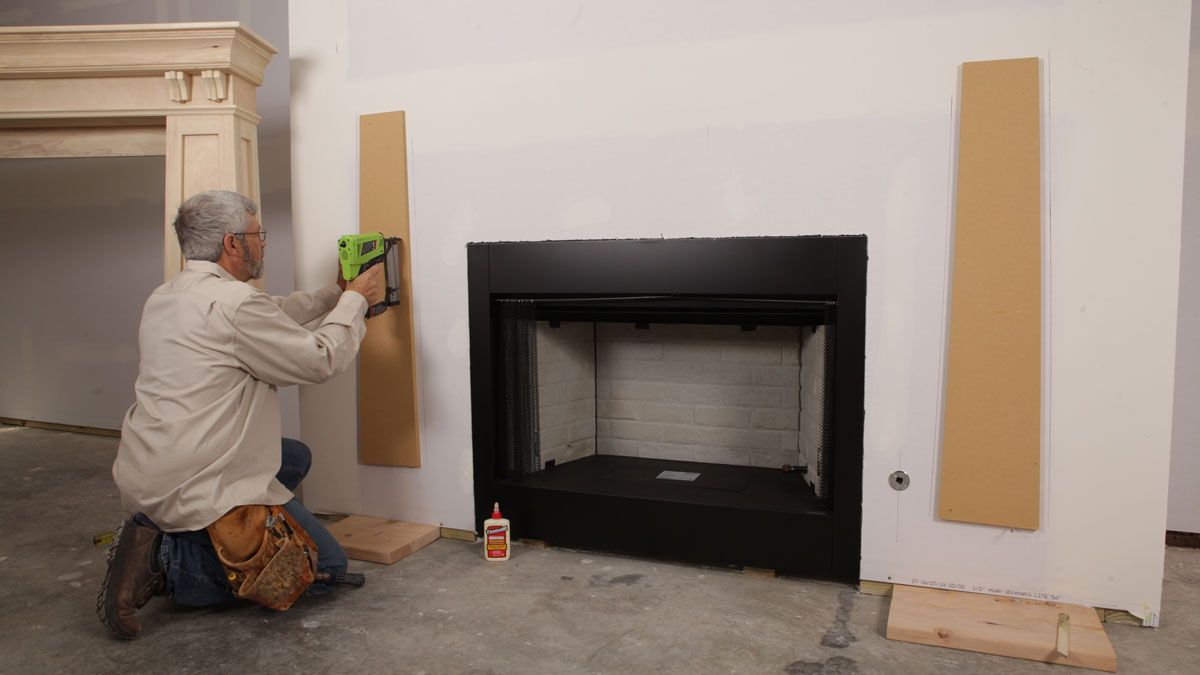
Here is a general, overall idea of what’s going on. The cleats are made to fit into the back of the tapered portions of the legs, undersized about 1/16 in. to allow for some minor adjustment.
-
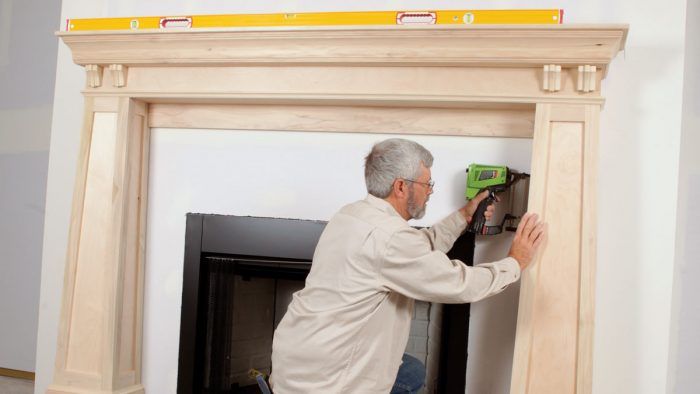
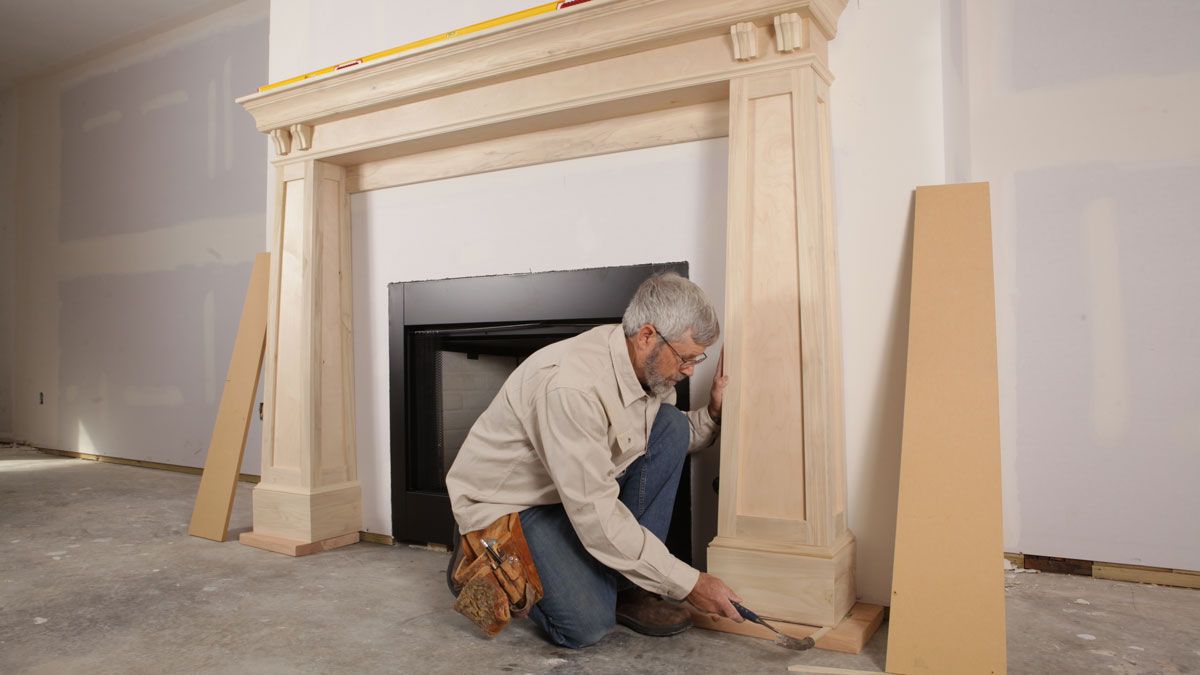
First, position the mantel. To figure out where to put the cleats, Striegler starts by centering the mantel on the fireplace. Scrap blocks of wood stand in for the finish flooring that will come later. He shims as necessary to level the mantel.
-
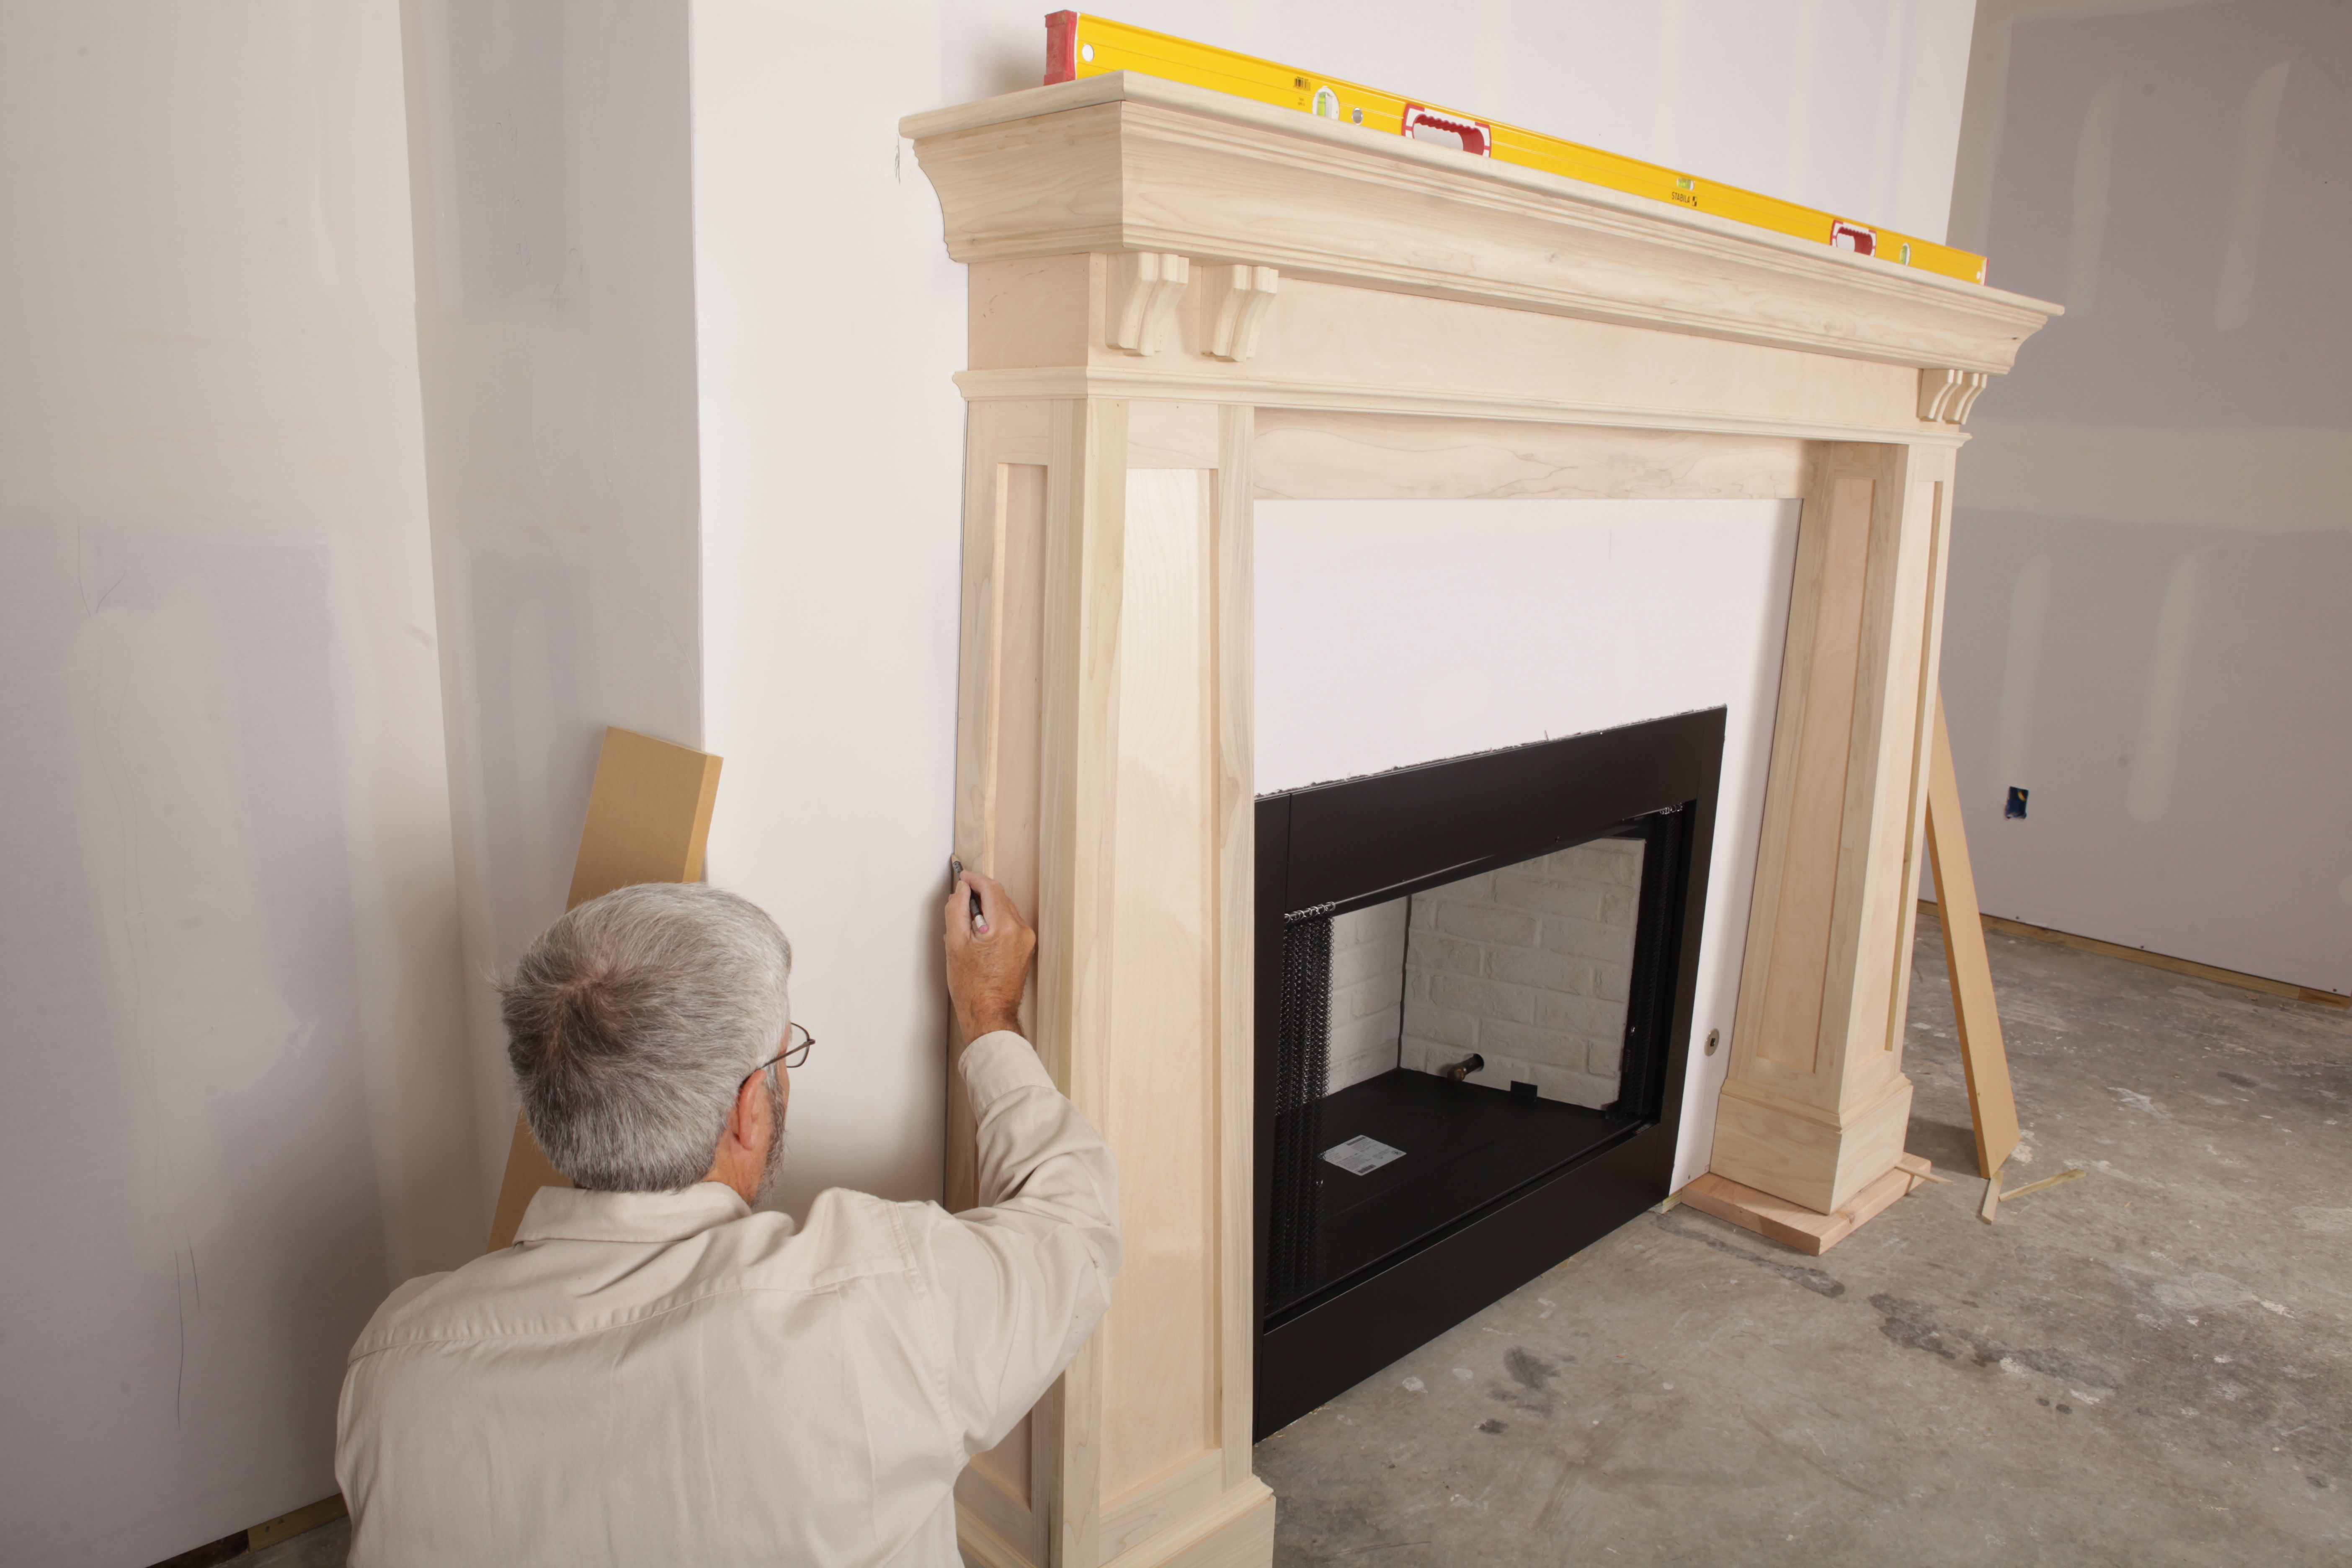
Next, mark in place. Striegler marks both sides of the tapered portion of each leg on the wall, then moves the mantel off to the side.
-
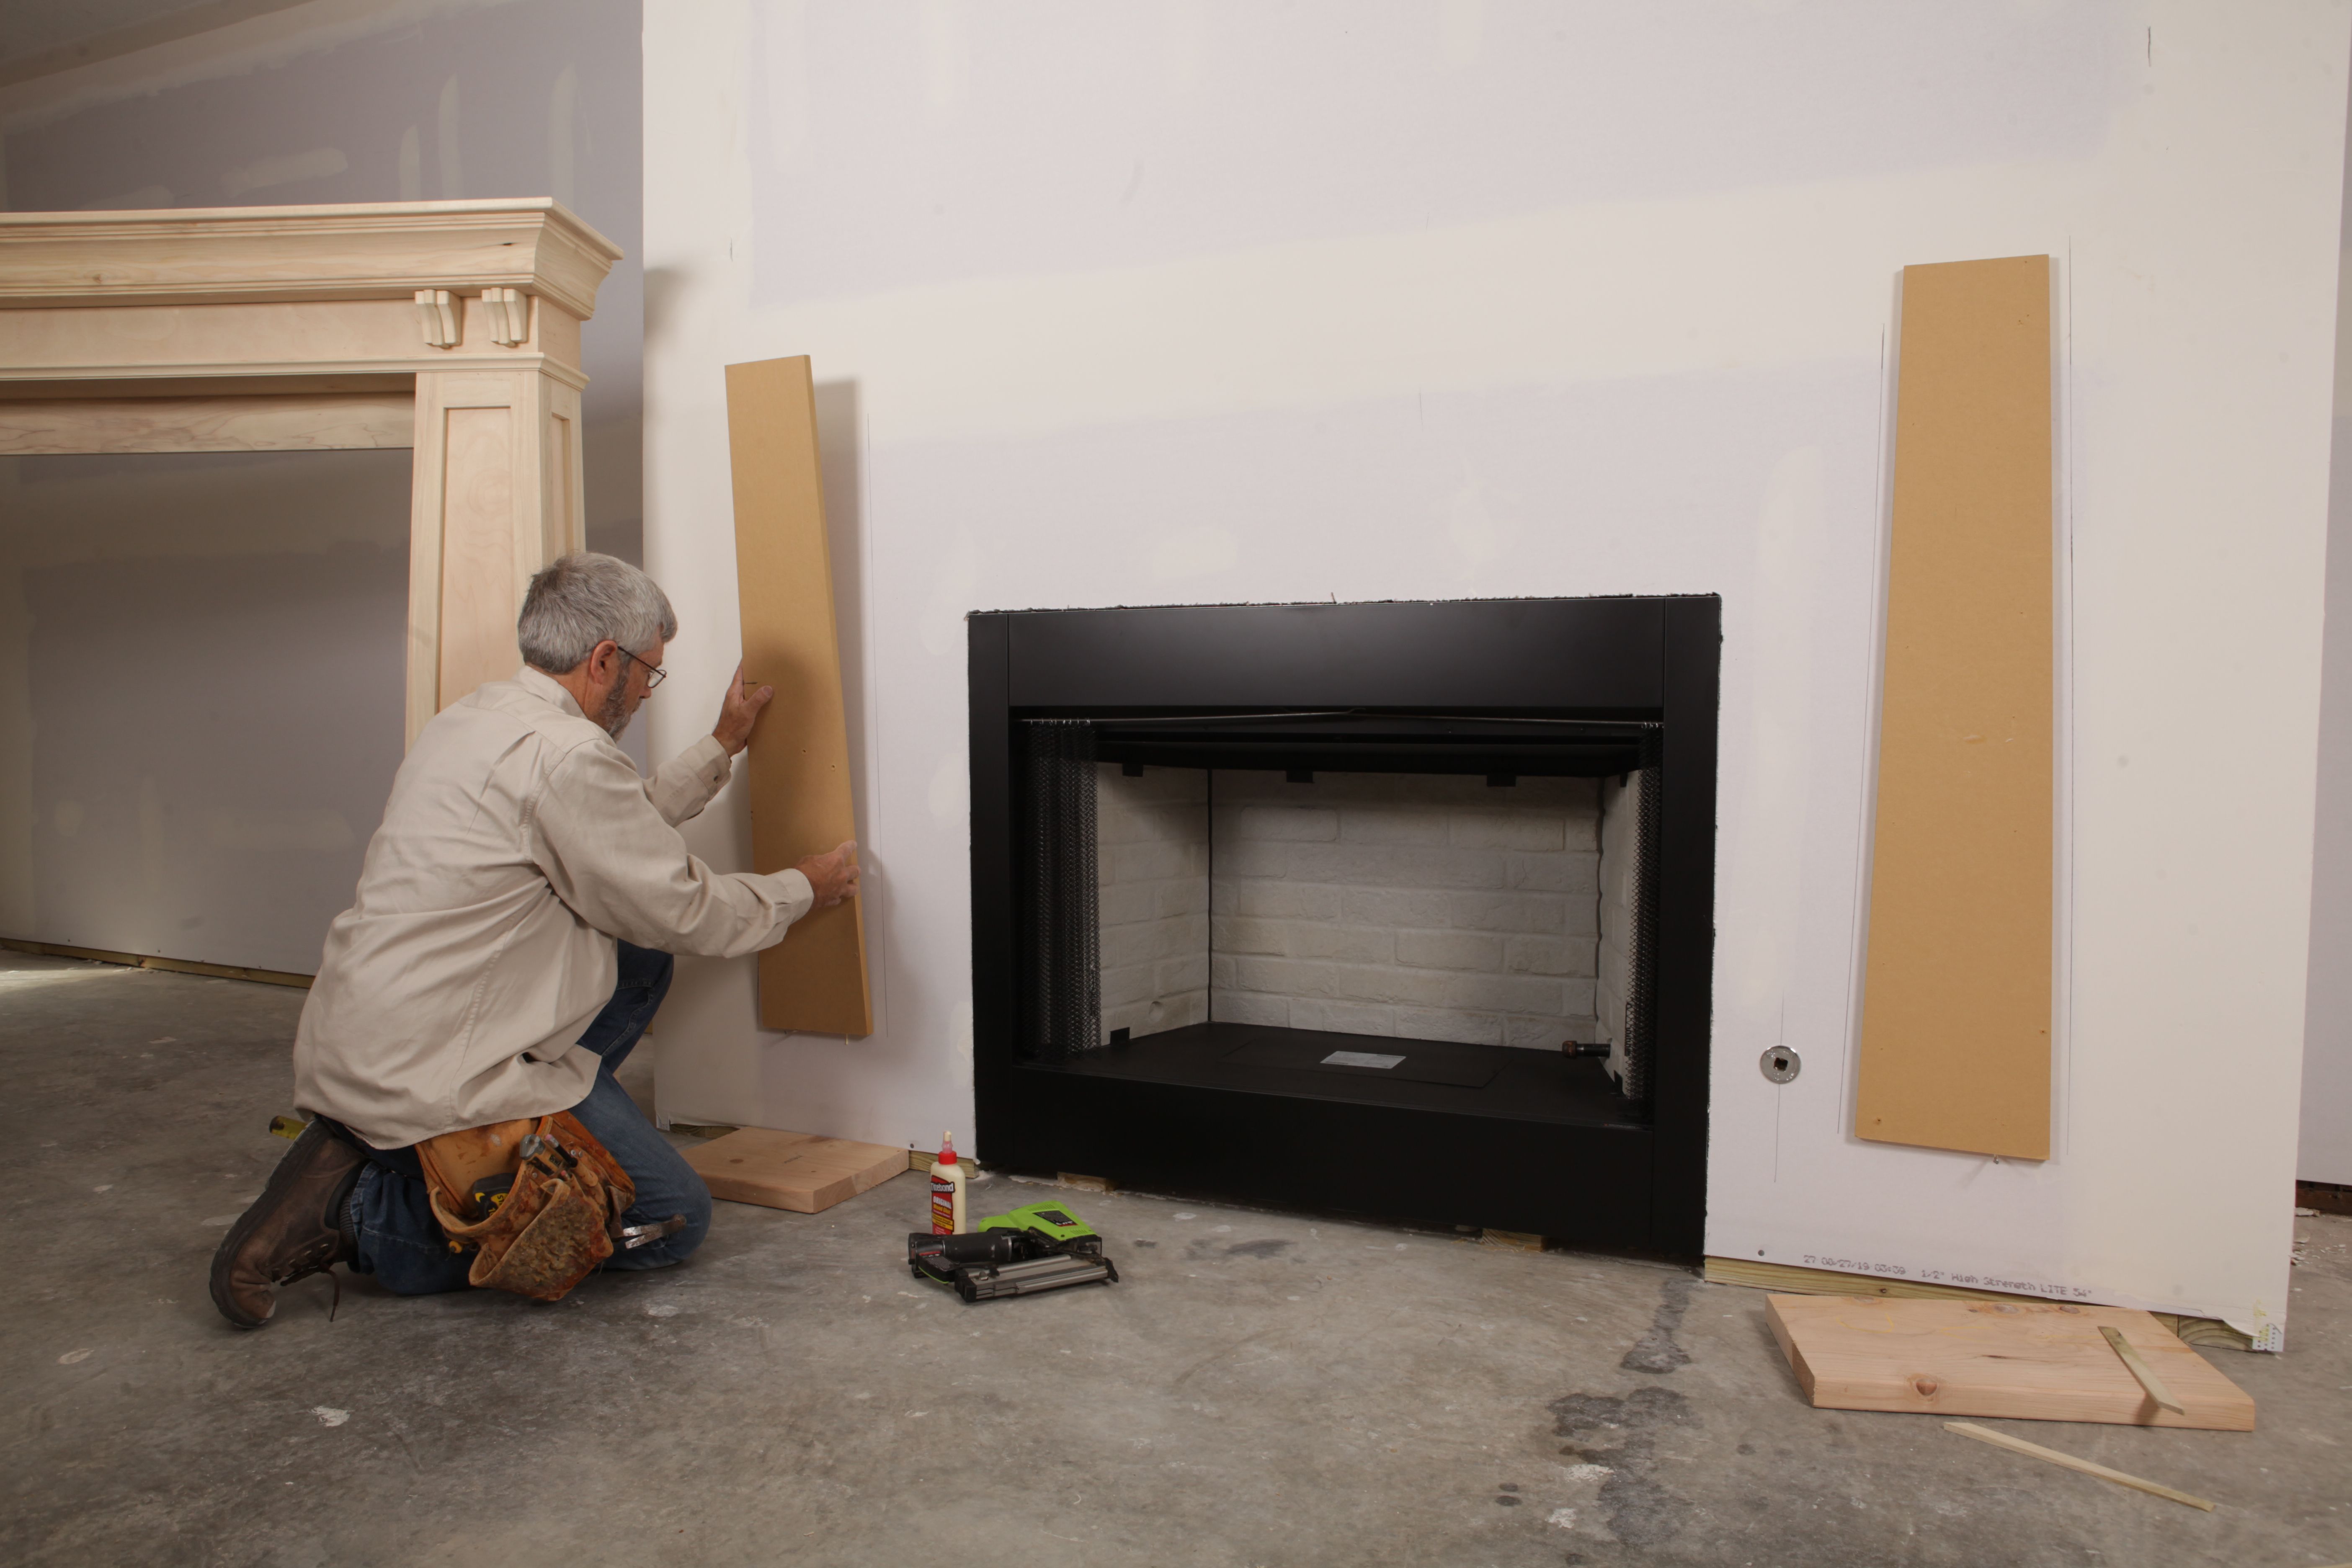
To make sure he sets the cleat at the proper height, he measures up and drives a screw partially into the wall, which gives him a place to rest the cleat as he tweaks it into position. Before tilting the cleat into position, he covers the back of it with wood glue.
-
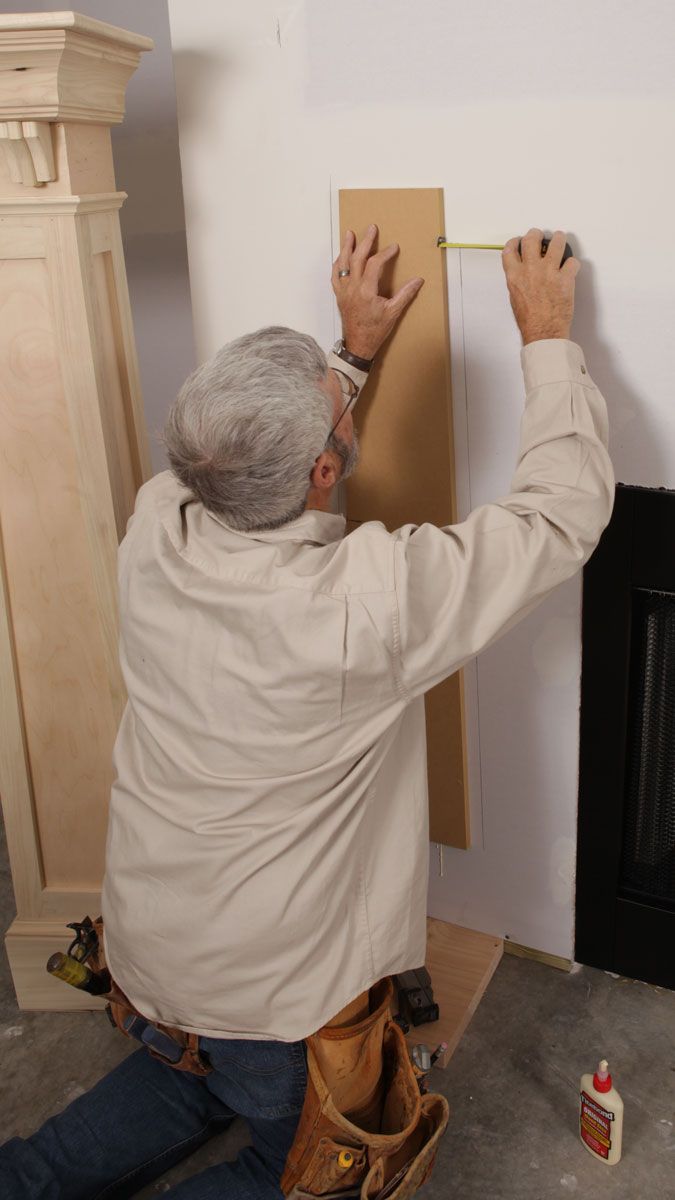
Before nailing it off, he measures to make sure the cleat is centered and plumb. Because the cleats aretapered to match the taper of the legs, all he has to do is make sure the cleat is equidistant from the lines on either side, both top and bottom. Then he fastens it off with 2-in., 18-ga. brad nails.
-
Finally, he repositions the mantel over the cleats, levels it up again, and fastens through both sides of the legs into the cleats with 2-in. 18-ga. brad nails to secure it.


View Comments
i am missing a dimension some how. The legs we are told project 9" and 7 1/4 ' bottom to top and that they are flat to the wall but taper on other 3 sides. But what is the width of the leg? a noter says the taper in this case is 2 degrees but that is a tough comment to run with. Maybe being told it was square could help but not much.