Precision Window Trim
This systematic approach to cutting and assembling window casing ensures better joints and a faster installation.
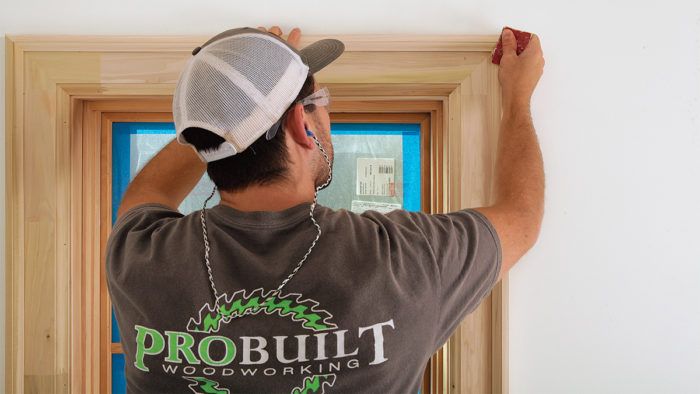
Synopsis: Finish carpenter Anthony Vitale explains his approach to window and door casing. He starts with tips for repairing window and door jambs so they won’t complicate the trimwork, including the window trim. He then details the production of the casing, including tips for efficiency when cutting and gluing (which he does on a table to guarantee the joints will come out right) and a step by step process for assembly.
Somewhere along the way, we’ve decided that it’s the apprentice’s job to run base or to find and mark studs. There’s nothing really wrong with that, but I also like to throw window and door casing into the mix. The skills required to case an opening are fundamental to finish carpentry, and the conditions are pretty similar from one opening to the next. Learning how to case from the get-go teaches you prep; detailing; nailing pattern; understanding the difference between level, plumb, and straight; and how to set and sight reveals. You’ve got 12 different tools you’re going to use to get through the process.
The method I teach apprentices started somewhat out of frustration. Various factors can throw off miter joints when you stick-build a casing around an opening, and it can take a lot of time and effort to get the joints right. Throw a junior carpenter into the mix and the results aren’t always great. But that’s not the case with bench building. Doing the assembly work on a tabletop takes the irregularities of an opening out of the equation and makes the process simple enough that anybody on the crew can do it. That frees up senior carpenters from having to micromanage and troubleshoot, and makes it easy to scale up for big jobs.
Openings need work
Window and door jambs tend to get banged up and dirty during construction, and we need to clean and repair them so they don’t compromise and complicate the trimwork we’re installing. Although not comprehensive, the photos shown here reflect some of the most common fixes we make when working our way through a house.
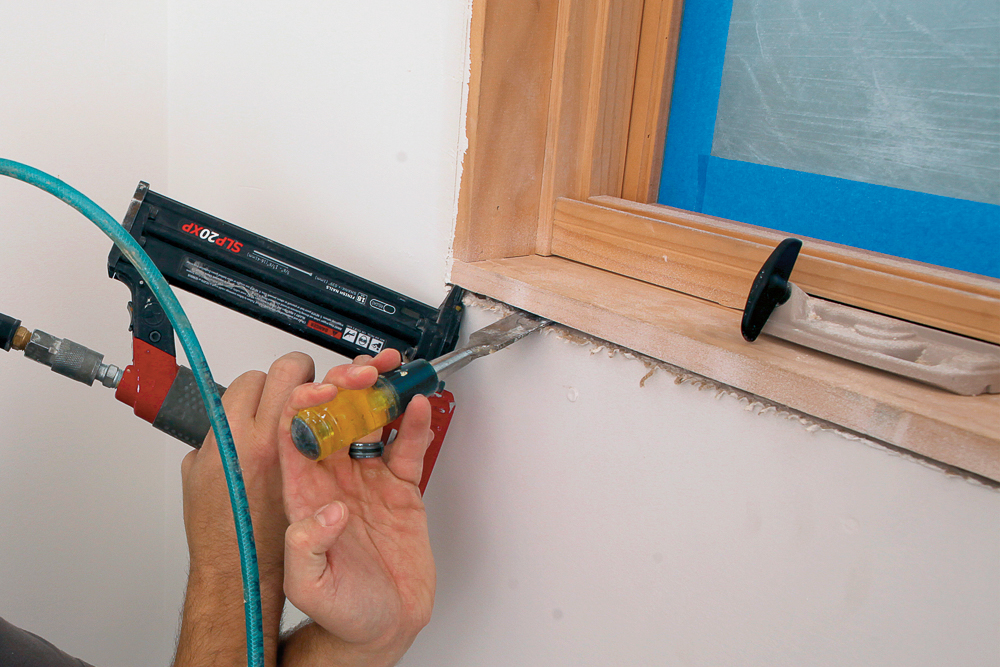
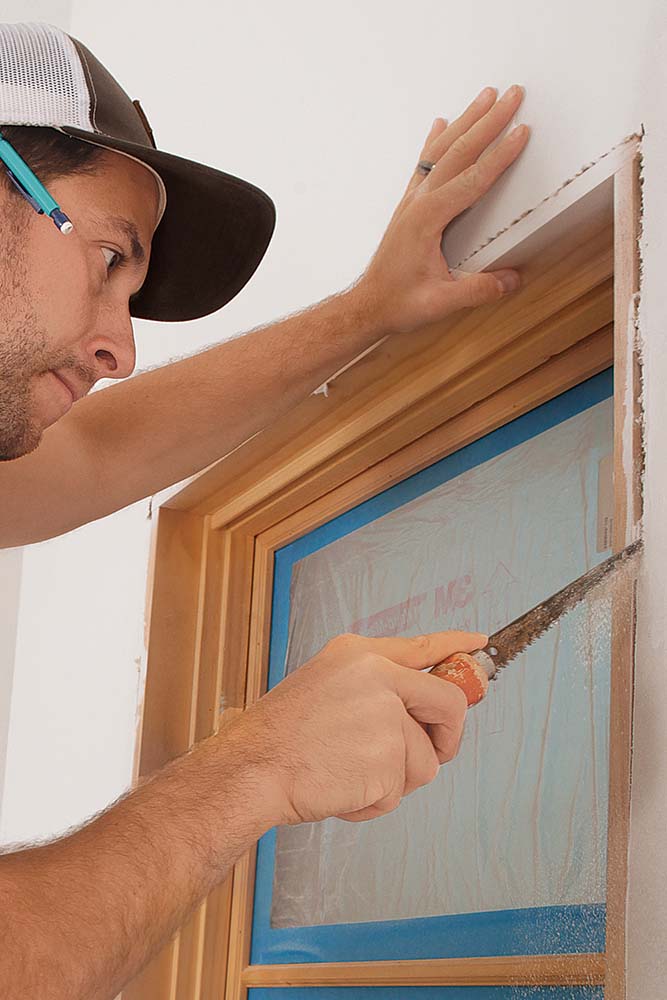
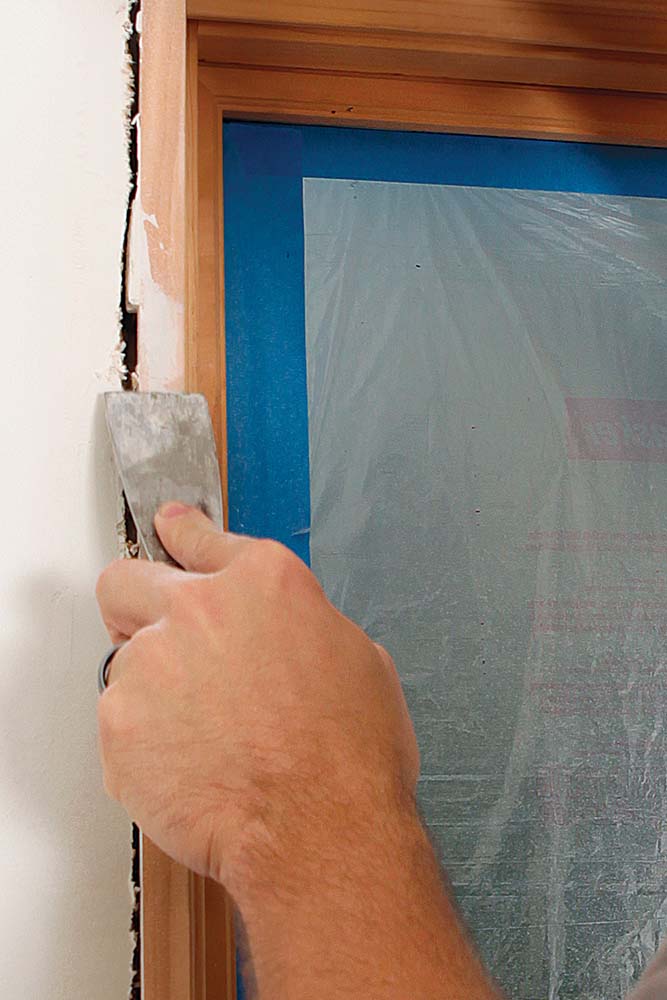
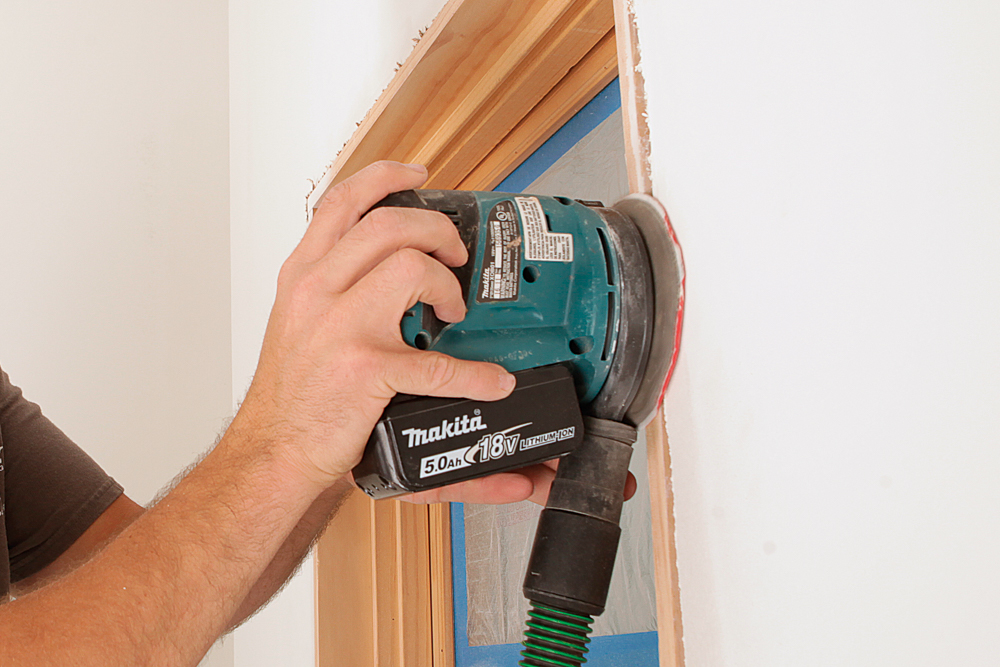
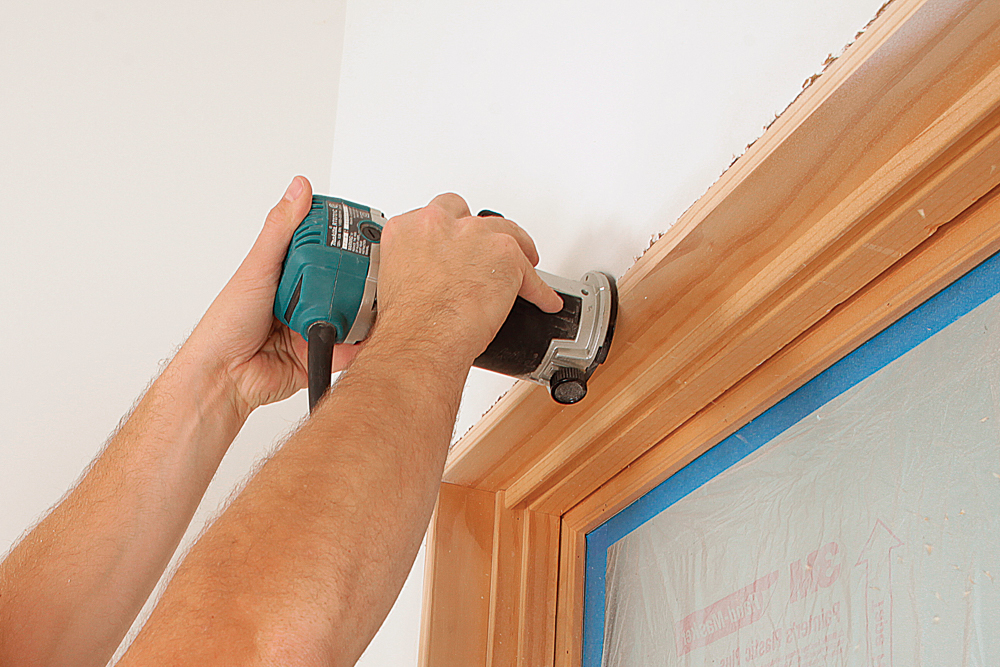
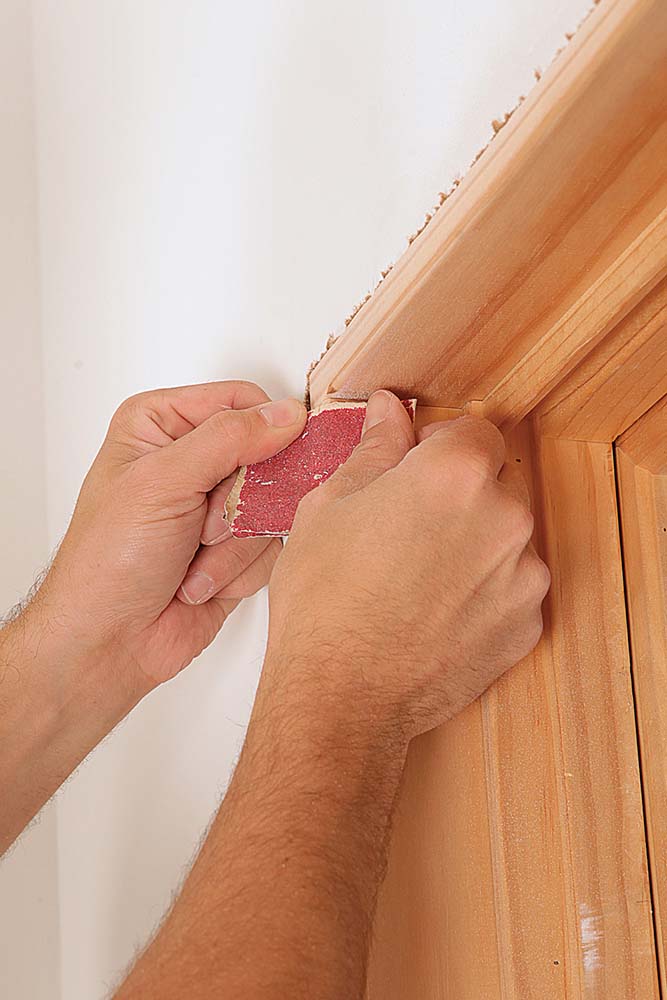
Develop a production mindset
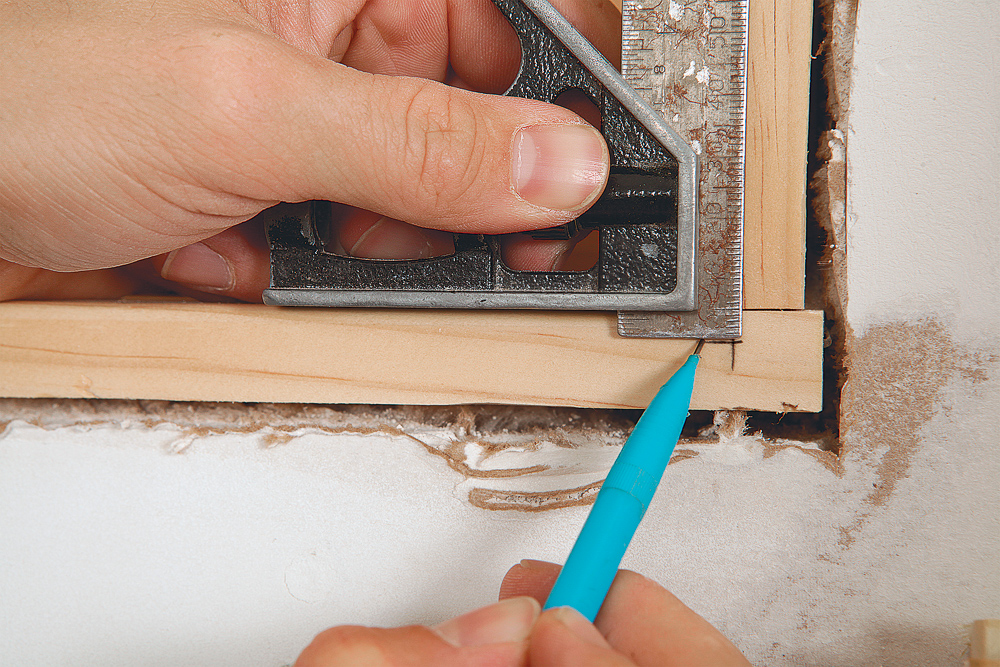
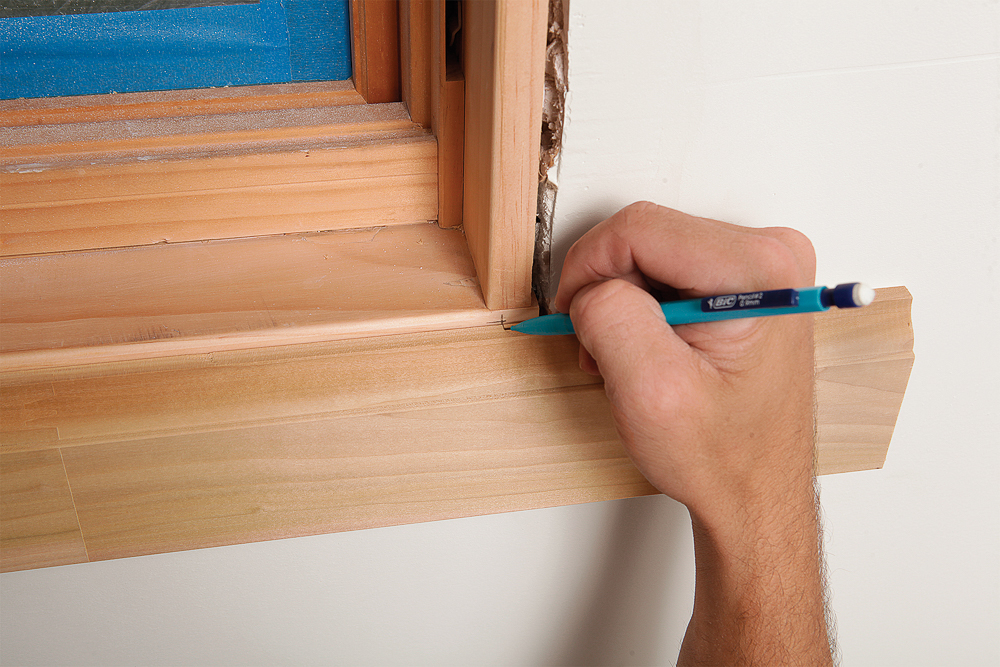
Keeping the tape measure in your tool bag and marking stock in place eliminates read and transfer errors. Once you’ve measured the opening and cut the stock to rough lengths, put the tape away. For rough sizing, I like to cut stock about a foot longer than the opening—or even more than that with wider casing. That sounds like a lot, but with this 4-in.-wide casing, it really only leaves 4 in. of wiggle room once you subtract the 4 in. for each miter. I want my crew to be methodical about rough sizing, but I don’t want them to lose time doing it. The critical accuracy comes when marking the stock in place on the opening and cutting to those lines.
A quick tip on getting the most out of your stock: Cut the long lengths first (usually door legs and larger openings), and use the cutoffs from those for smaller openings. That way, you’re not chopping down 16-footers for 3-ft. windows and can use your cutoffs a bit more efficiently.
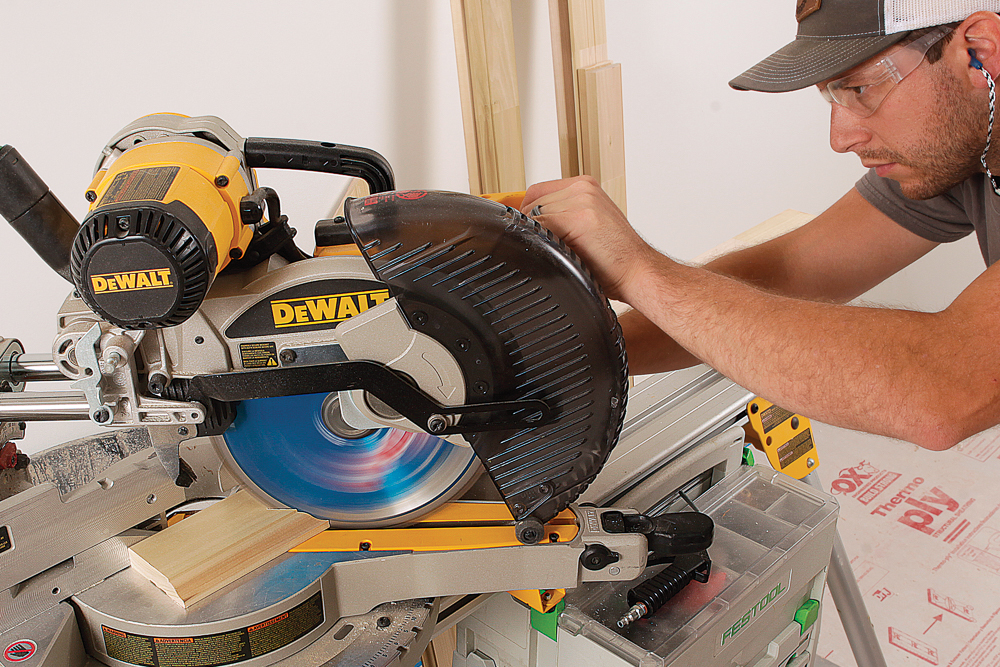
When casing a whole house, a lot of the efficiency comes from using production methods. That generally means doing one task with one tool— say, cutting all of the miters for all of the casing in a room or floor of the house—before moving on to the next step in the process. This cuts down on setup and adjustments, and you don’t have to keep track of 10 different tools at once.
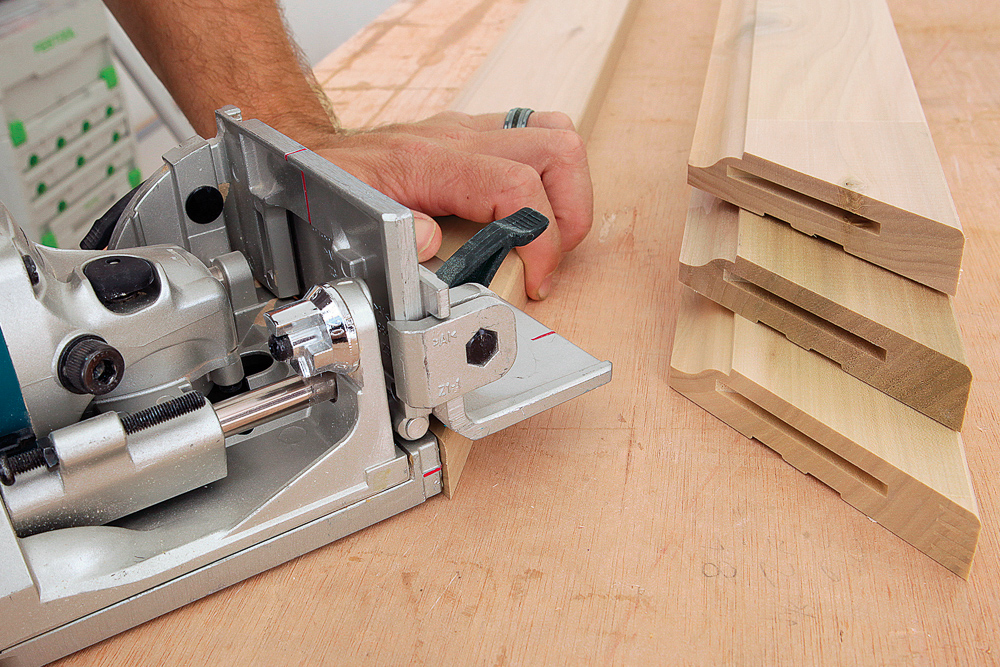
Glue it up, set it aside
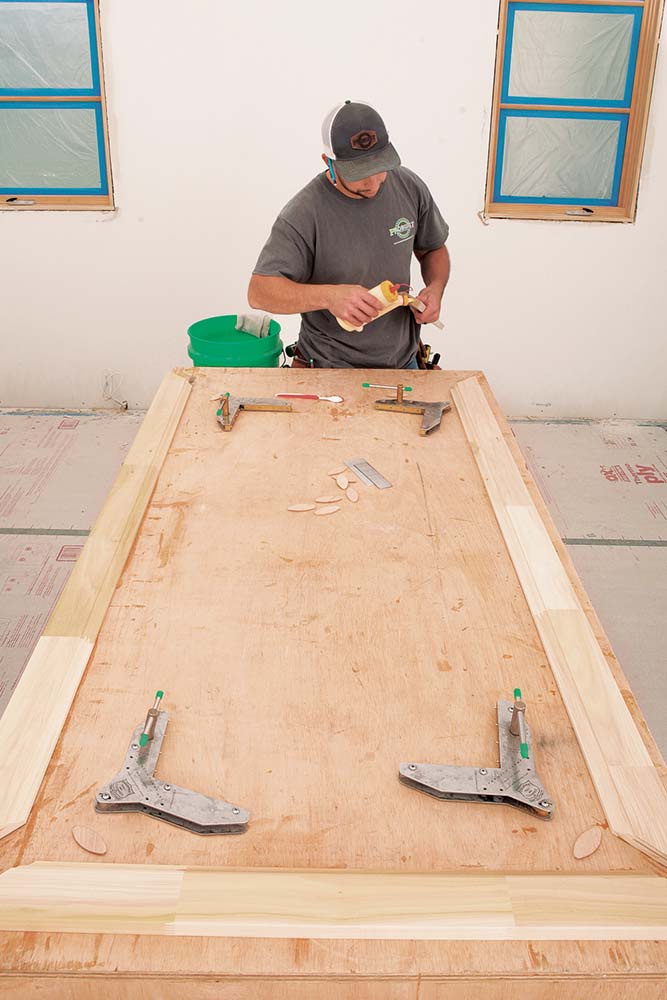
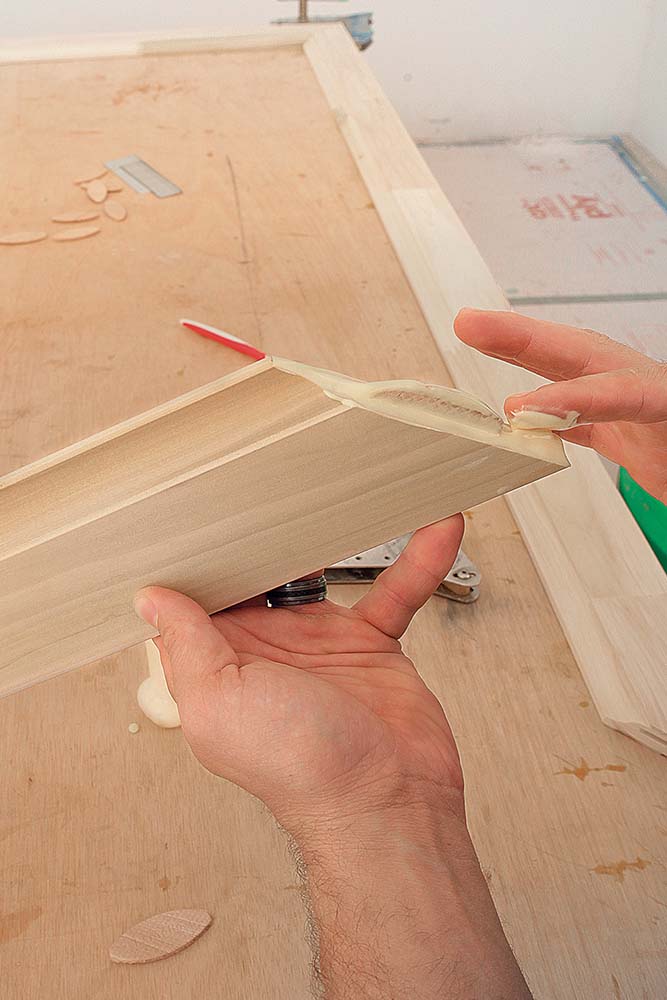
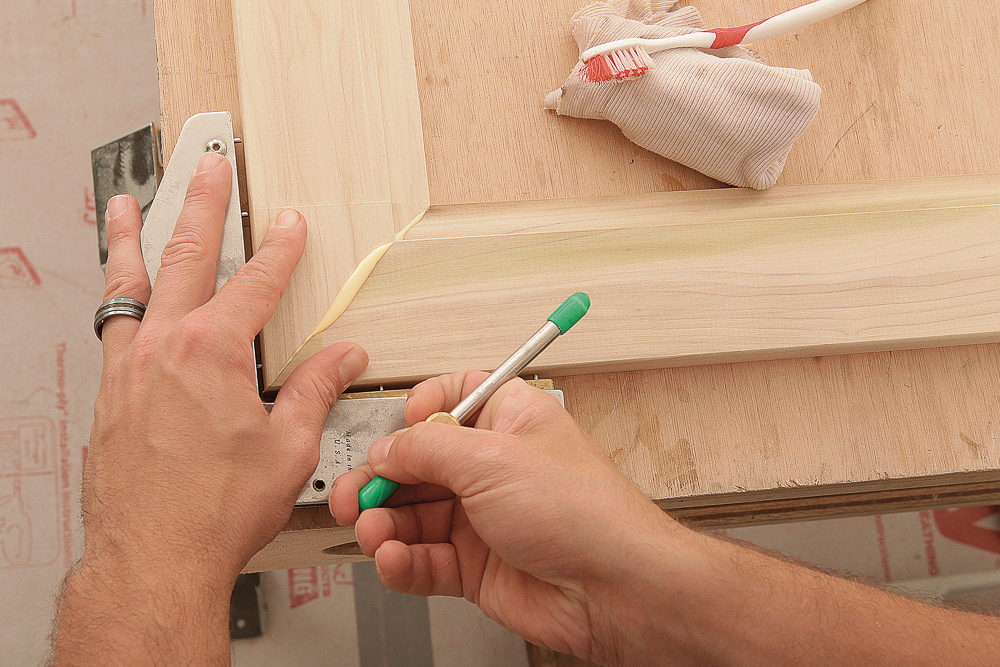
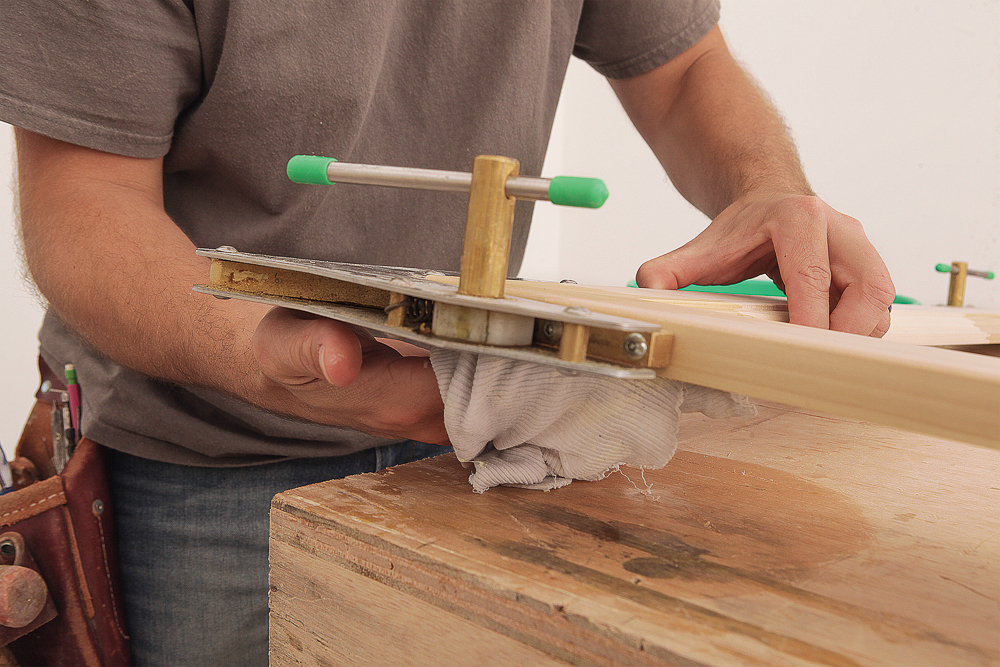
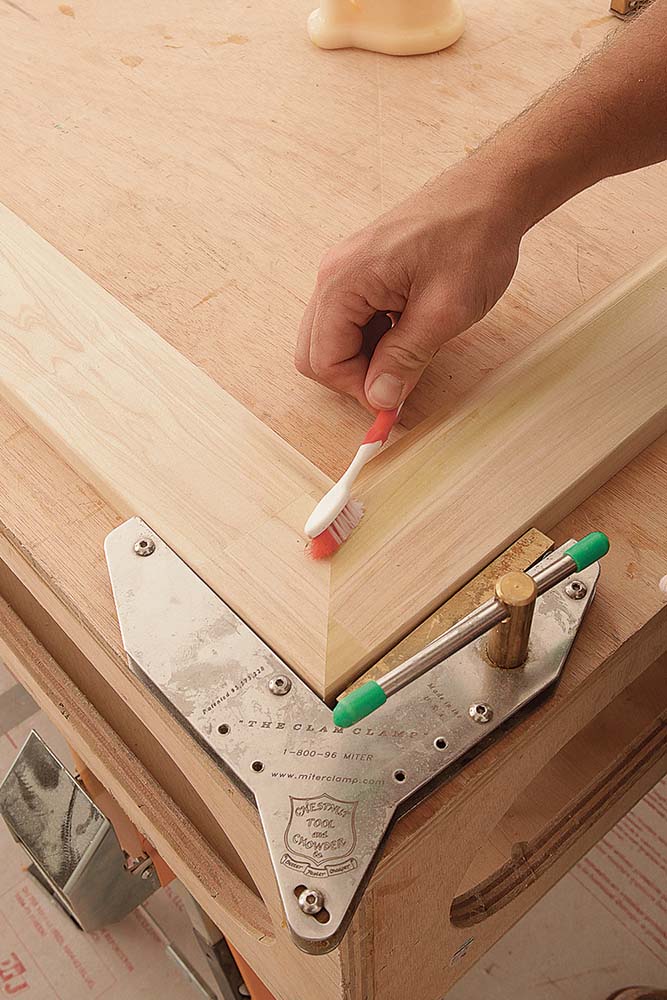
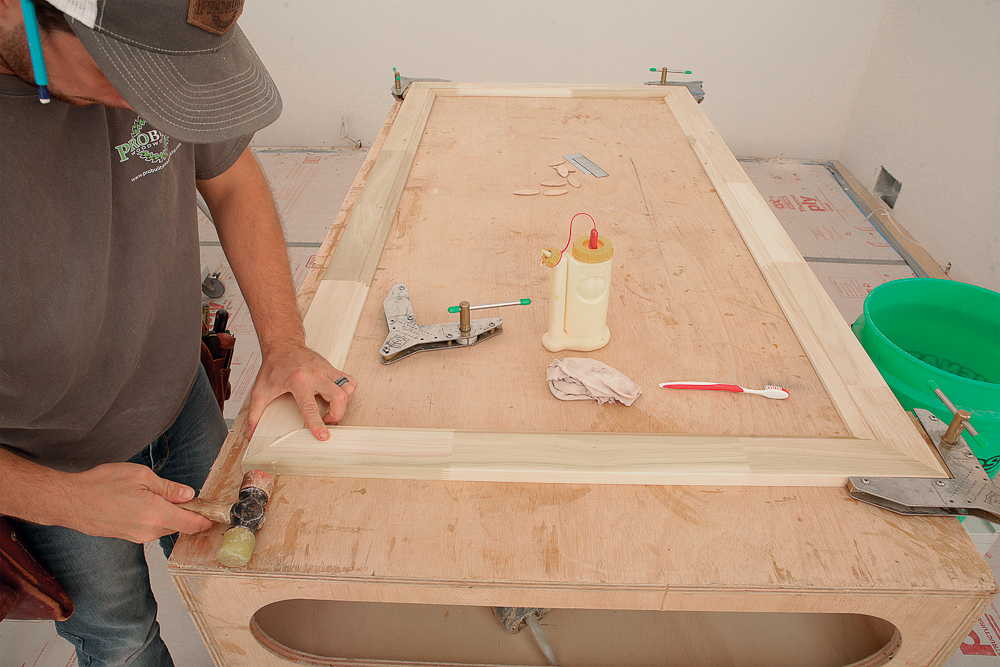
Have a bucket of clean water, a rag, and a toothbrush at the ready to clean up squeeze-out. I like to use Titebond II for casing joinery. Clam Clamps are my go-to for mitered casing joints because their multiple grab points lock the casing together in three dimensions, allowing me to move the glue-up as soon as it’s assembled and make room on the table for the next. Pinch clamps just don’t have the same grab and stability, especially not on wide casing. As each casing is completed, set it against its opening to dry out and fully cure, which takes about a day. Don’t rush this; the joints should be completely set up prior to final sanding and fastening them in place. Assemble the casing on a large flat table or workbench. I have a handful of these lightweight torsion-box benchtops that sit on sawhorses.
Photos by Matthew Millham.
More about installing window casings:
Fine Homebuilding Recommended Products
Fine Homebuilding receives a commission for items purchased through links on this site, including Amazon Associates and other affiliate advertising programs.

Code Check 10th Edition: An Illustrated Guide to Building a Safe House

Not So Big House

The New Carbon Architecture: Building to Cool the Climate


View Comments
Good Work!!
Really Appreciated!!
Very good
Good!
Where are you finding finger joined popular case?
I appreciate your work
Excellent!
great
well done!
super work