FHB Logo Facebook LinkedIn Email Pinterest Twitter Instagram Plus Icon Close Icon Navigation Search Icon Navigation Search Icon Arrow Down Icon Video Guide Icon Article Guide Icon Modal Close Icon Guide Search Icon Skip to content
Subscribe

In every issue you'll find...

  • Expert insights on techniques and principles
  • Unbiased tool reviews
  • Step-by-step details to master the job
  • Field-tested advice and know-how
Subscribe Now!
Subscribe
  • How-To
  • Design
  • Tools & Materials
  • Videos
  • Blogs
  • Forum
  • Magazine
  • Members
  • FHB House
  • Podcast
  • Join
  • Log In
Subscribe

Fine Homebuilding Project Guides

Siding & Exterior Trim

Guide Home
Chapter
  • Choosing Siding
  • Installing Siding
  • Choosing Exterior Trim
  • Installing Exterior Trim
  • Repairing Siding & Trim
How-To

Dress Up a Gable With Shiplap Siding

This traditional detail is fast to install and adds historic charm, even on a new house.

By John Hourihan Issue 265 - Feb/Mar 2017

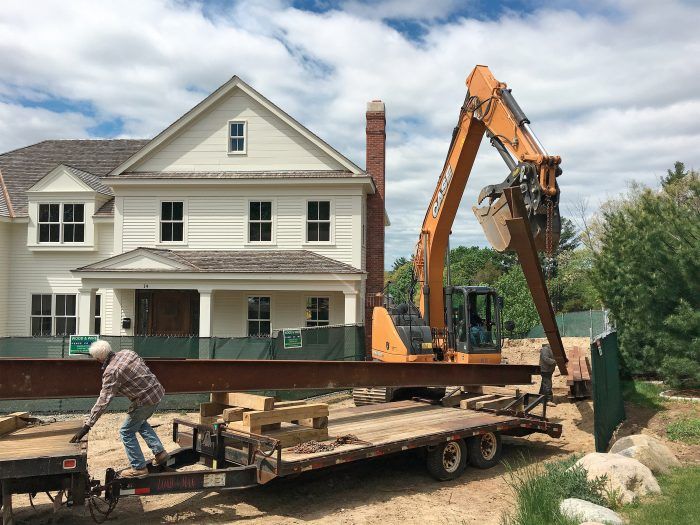
The towns surrounding Boston are a hive of building and remodeling work, so I’m not exaggerating when I say that if you stopped in at my local building department in Wellesley, Mass., you would learn that the department issues about 80 permits a year for new homes. Of those 80 permits, most are for expensive spec homes being built from plans that look like they all came from the same house-design website or that include default details that seemingly came straight from house-design software. For the seven to eight houses my company builds each year, we try to be the exception rather than the norm.

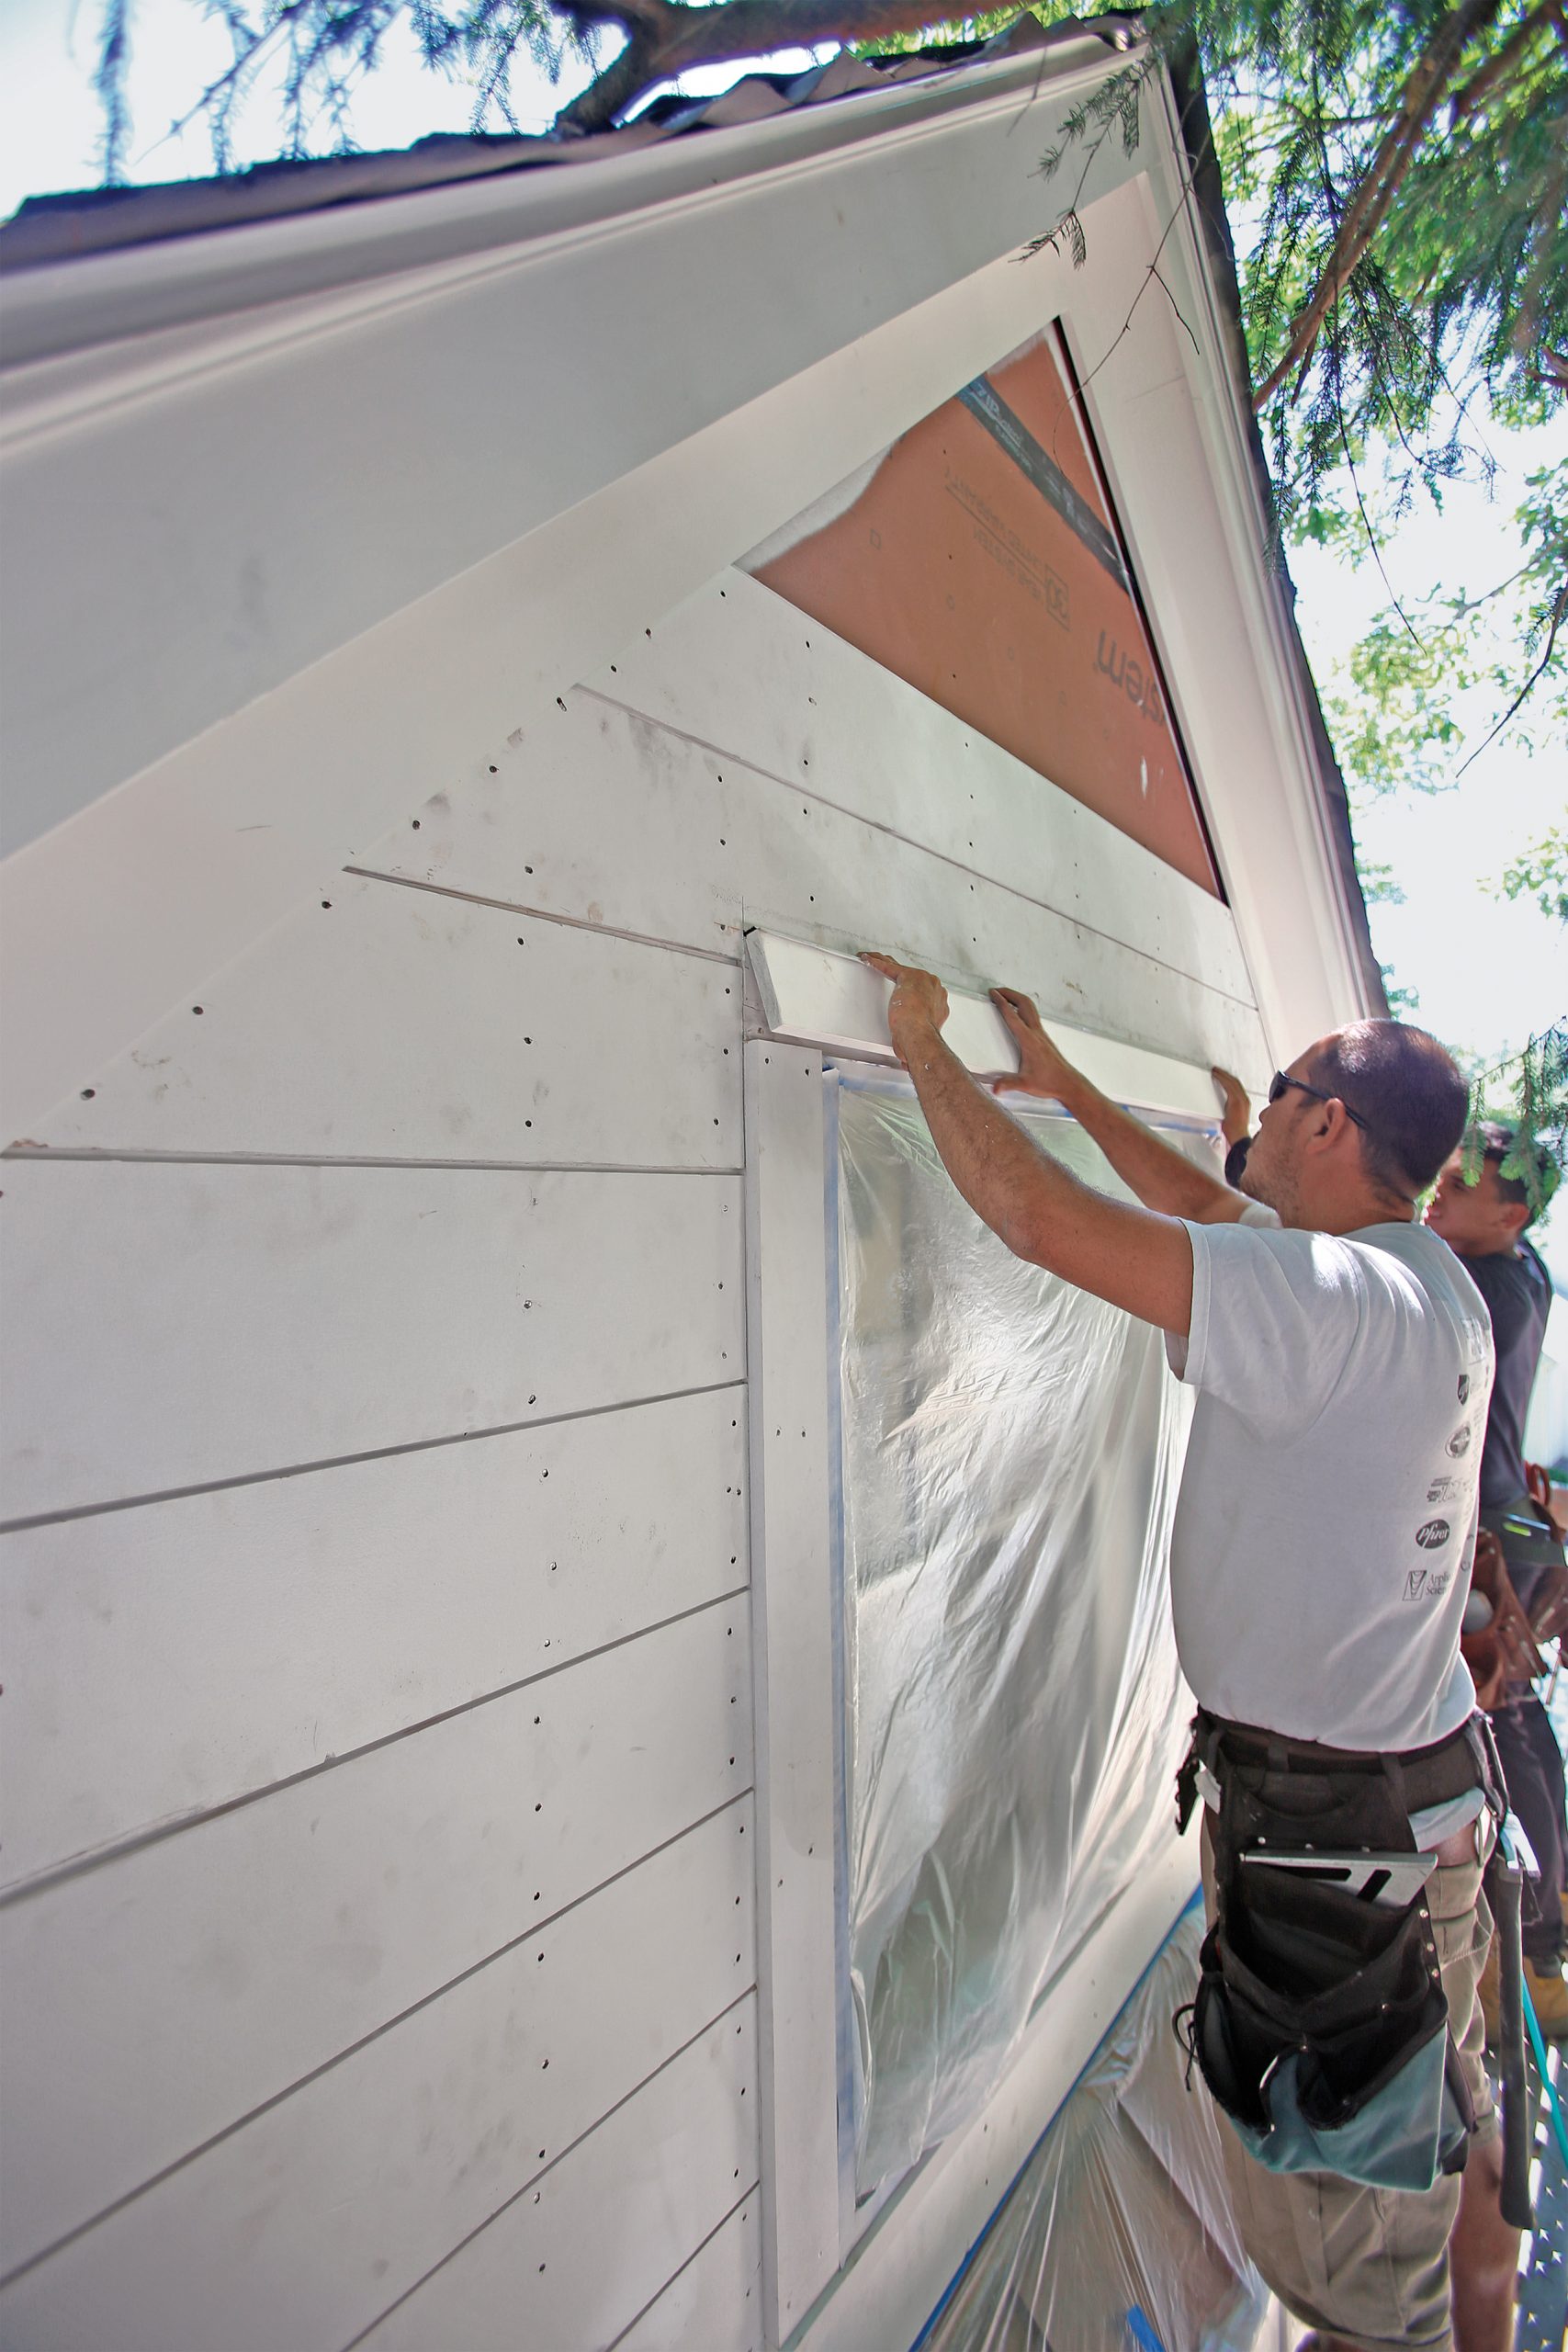
Wellesley is full of historic houses, so we like to give a nod to the surrounding architecture by incor­porating classic details in our new builds. One of our favorite custom elements is to change up the type of siding on different parts of a house. For ­instance, it’s not uncommon for us to side the main house with cedar shingles, the garage with vertical board-and-batten siding, and the mudroom connector between them with clapboards. This gives the house the look of having been added on to over the years. We also can create that traditional vibe by changing just a small section of siding, such as on the upper part of a gable end. Instead of simply running the siding material all the way up, we ­often use shiplap boards to set off the gables.

A three-person team—two installers working from staging who feed measurements to another worker at a cut station on the ground—can side a large gable end in an hour or two. It’s a minimal change in installation technique from that used on the clapboards covering the rest of the house, as well as an upcharge for the wider boards, but it makes a substantial impact on the look and feel of the exterior.


Start with a solid game plan

Align to the windows

Align to the windows
Before any siding goes on the wall, use a cutoff and a tape measure to plan how the siding will course out in relation to the windows. Ideally, the bottom and the top of the window casing will be roughly in line with the gaps between courses, but often you have to settle for aligning one or the other. Achieving this usually means adjusting where the lowermost course starts and choosing a gap between boards that looks good and that works in your favor. If butt joints are necessary, avoid them under windows.

Detailed for durability

Detailed for durability
Wide, face-nailed siding boards are more prone to cupping than narrow, beveled boards. To keep the gables looking their best, we use rot-resistant cedar, control moisture absorption by priming and painting all surfaces before installation starts, touch up cut edges with primer, and fasten boards with three ring-shank nails in each stud.

Gauge the gap

Gauge the gap
Although commonly referred to as nickel-gap siding, shiplap siding can be installed with a wider shadowline between courses, which often helps the layout. To keep course spacing consistent, create a custom spacer by adjusting the depth of the rabbet on a scrap of siding.

Window-Casing options

Window-Casing options
Window casing can be set flush, set off by a slight shadowline created with 5/4 casing, or furred out to project fully beyond the siding. Here, the original plan was to side the gable with clapboards to match the rest of the house. When we switched to shiplap, we opted to pad out the already installed casing with a second layer, being sure to include a metal drip cap on the head casing.

Secrets to a smooth process

Secrets to a smooth process

1. Hide the angled end cuts

To speed installation and improve the look, hide the angled cuts—necessary where the siding meets the roofline—under the rake trim. Although on this job we had several inches of space under each piece of rake trim before butting up to the unseen blocking used to space it away from the sheathing, we generally aim to slide the siding about an inch under the rake board on each side. This means our cuts have to be close, but not dead-on accurate, and it allows us to slide pieces side-to-side as necessary when fitting a single piece under both rakes.

Hide the angled end cuts Hide the angled end cuts

2. Mark Cuts in place

When fitting a piece between a rake and the side of a window, or notched around the top or bottom of a window, we prefer to cut the angle first and then mark the window cuts in place. For butt cuts, a single mark is all you need. For notches, mark the outside edges of the casing (below left), then use the spacer block as a reference point for measuring the height of the notch (below right).

putting the cuts in place

3. Float the peak piece

Because the siding slides under the rake boards, the uppermost piece must be fit at the same time as the piece below it. Once the last piece is in place, we fasten it if we can. If it’s small and likely to split, we let it float without fasteners.

Float the peak piece


John Hourihan is director of operations at Riverstone Custom Builders in Wellesley, Mass., and a Fine Homebuilding ambassador. Photos by Justin Fink.

Sign up for eletters today and get the latest how-to from Fine Homebuilding, plus special offers.

Signing you up...

This site is protected by reCAPTCHA and the Google Privacy Policy and Terms of Service apply.
See all newsletters
See all newsletters
View PDF
Previous: How to Install Corner Boards, Skirtboards, and Clapboards on a Garden Shed Next: Locally Sourced Shiplap Cedar Siding

Guide

Siding & Exterior Trim

Chapter

Installing Siding

Log in or create an account to post a comment.

Sign up Log in

Become a member and get full access to FineHomebuilding.com

Siding & Exterior Trim

Siding & Exterior Trim

Trusted, comprehensive guidance from the pros for choosing, installing, and repairing siding and exterior trim

View Project Guide

View All Project Guides »

Become a member and get unlimited site access, including the Siding & Exterior Trim Project Guide.

Start Free Trial

Choosing Siding
  • Materials
  • Design Options
Installing Siding
  • Siding Basics
  • Lap Siding
  • Shingle Siding
  • Board & Batten
  • Fiber Cement and Composite Siding
  • Vinyl Siding
  • Masonry Claddings
Choosing Exterior Trim
  • Trim Materials
  • Trim Design
Installing Exterior Trim
  • Trim Basics
  • Roof Eaves Trim
  • Corner Boards
  • Corbels & Brackets
  • Window & Door Trim
Repairing Siding & Trim
  • Trim Repairs
  • Siding Repairs

Fine Homebuilding

Follow

  • twitter
  • facebook
  • instagram
  • pinterest

Newsletter

Get home building tips, offers, and expert advice in your inbox

Signing you up...

This site is protected by reCAPTCHA and the Google Privacy Policy and Terms of Service apply.
See all newsletters
See all newsletters

Membership & Magazine

  • Online Archive
  • Start Free Trial
  • Magazine Subscription
  • Magazine Renewal
  • Gift a Subscription
  • Customer Support
  • Privacy Preferences

Taunton Network

  • Green Building Advisor
  • Fine Woodworking
  • Fine Gardening
  • Threads
  • About
  • Contact
  • Advertise
  • Careers
  • Copyright
  • Terms of Use
  • Site Map
  • Do not sell or share my information
  • Privacy Policy
  • Accessibility
  • California Privacy Rights

© 2023 The Taunton Press, Inc. All rights reserved.

X
X
This is a dialog window which overlays the main content of the page. The modal window is a 'site map' of the most critical areas of the site. Pressing the Escape (ESC) button will close the modal and bring you back to where you were on the page.

Main Menu

  • How-To
  • Design
  • Tools & Materials
  • Video
  • Blogs
  • Forum
  • Reader Projects
  • Magazine
  • Members
  • FHB House

Podcasts

  • FHB Podcast
  • ProTalk

Webinars

  • Upcoming and On-Demand

Account

  • Log In
  • Join

Podcasts

  • FHB Podcast
  • ProTalk

Webinars

  • Upcoming and On-Demand

Popular Topics

  • Kitchens
  • Business
  • Bedrooms
  • Roofs
  • Architecture and Design
  • Green Building
  • Decks
  • Framing
  • Safety
  • Remodeling
  • Bathrooms
  • Windows
  • Tilework
  • Ceilings
  • HVAC

Magazine

  • Current Issue
  • Past Issues
  • Magazine Index
  • Subscribe
  • Online Archive
  • Author Guidelines

All Access

  • Member Home
  • Start Free Trial
  • Gift Membership

Shop the Store

  • Books
  • DVDs
  • Taunton Workshops

More

  • FHB Ambassadors
  • Reader Projects
  • Podcast
  • Customer Support

Account

  • Log In
  • Join

Newsletter

Get home building tips, offers, and expert advice in your inbox

Signing you up...

This site is protected by reCAPTCHA and the Google Privacy Policy and Terms of Service apply.
See all newsletters
See all newsletters

Follow

  • twitter
  • facebook
  • instagram
  • pinterest

Join All Access

Become a member and get instant access to thousands of videos, how-tos, tool reviews, and design features.

Start Your Free Trial

Subscribe

FHB Magazine

Start your subscription today and save up to 70%

Subscribe

We hope you’ve enjoyed your free articles. To keep reading, become a member today.

Get complete site access to expert advice, how-to videos, Code Check, and more, plus the print magazine.

Start your FREE trial

Already a member? Log in