Making Head Flashing
Bending metal for simple flashings requires a few basic cutting tools and a siding (or aluminum) brake.
Every window and door needs head flashing, and bending metal for these simple flashings is a gateway to the skills needed to make other wall and roof flashings. You probably already have the necessary cutting tools: a square, a utility knife, and snips. You also need hand benders and a brake (often called a siding brake or an aluminum brake).
The metal flashing used for this project is often called coil stock. It is sold in rolls in a variety of lengths, widths, thicknesses, and metals. Aluminum flashing—either bare (mill finish) or painted—is most common, followed by copper and galvanized steel. Lead-coated copper is also available and should be used when copper is placed below exposed cedar because tannins leaching from cedar corrode copper. Aluminum’s thickness is measured in thousandths of an inch, with 0.019 in. and 0.024 in. being common. Heavier aluminum with thicknesses of 0.027 in. and up is often referred to as gutter coil, because it’s also used to form seamless gutters. Copper’s thickness is measured by weight, with 16 oz. per sq. ft. being typical. Galvanized steel is measured by gauge, with smaller numbers corresponding to thicker material.
Thicker flashing material is more durable and more resistant to buckling from thermal expansion than thinner material; however, it also is more expensive and more difficult to bend. Siding brakes typically can bend aluminum up to 0.027 in. thick, copper up to 16 oz. or 24 oz., and galvanized steel up to 26 ga. or 28 ga.
Launch the slideshow below to follow step by step.
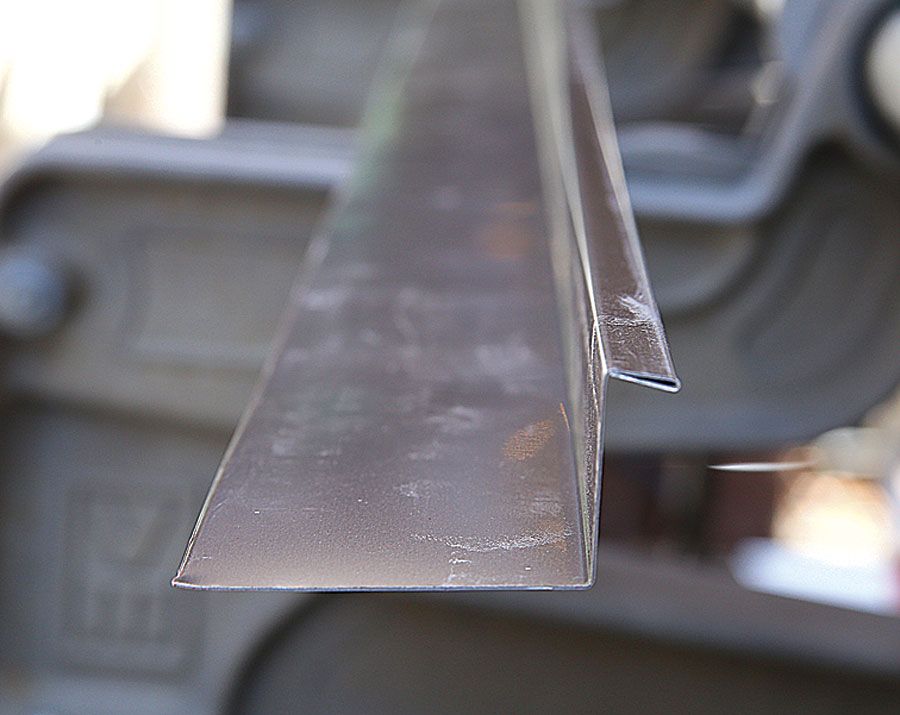
The first step in bending metal flashing is measuring what you want to flash. To find the width of the metal needed in the case of a head flashing, I measure how far the jamb or casing protrudes from the wall sheathing. To that, I add 1⁄8 in. because the bend will consume some material width. The wall leg should extend at least 2 in. up the wall. Finally, I add something for the leg that turns down over the face of the casing or jamb. I like to extend that about 3⁄8 in. down, but because I hem that edge, I allow a total of 3⁄4 in.
Hemming is when the edge of a piece of flashing is bent back on itself and flattened. This creates a straight edge that’s less likely to wrinkle. Additionally, cut edges of sheet metal are surprisingly sharp. Hemming folds the cut edge behind the face of the flashing and places the dull, folded edge out where people are most likely to be. To find the length of the metal, add 1 in. (to allow for each end to be folded) to the width of the jamb or casing. Cutting metal to length is simple. Use snips, or score the material with a sharp utility knife guided by a square, then bend along the score until it breaks.


Bending and cutting tools
Siding or aluminum brakes come in lengths from 4 ft. to 101⁄2 ft. Brakes cost $1000 and up, but they can be rented for around $60 a day. Accessories are available to aid in cutting and rolling out coil stock. Hand benders cost around $20. Some models have replaceable jaws of various lengths so that they can be adapted to the job at hand. Snips come in a variety of forms. The ones shown here are common straight-cut aviation snips. Left- and right-cutting snips are also available to ease curved cuts. Snips cost about $15.
Andy Engel is a senior editor. Technical advice was provided by Tom Struble, a siding contractor in West Milford, N.J. Photos by Rodney Diaz, except where noted.
Fine Homebuilding Recommended Products
Fine Homebuilding receives a commission for items purchased through links on this site, including Amazon Associates and other affiliate advertising programs.

Handy Heat Gun

Reliable Crimp Connectors

Affordable IR Camera
-
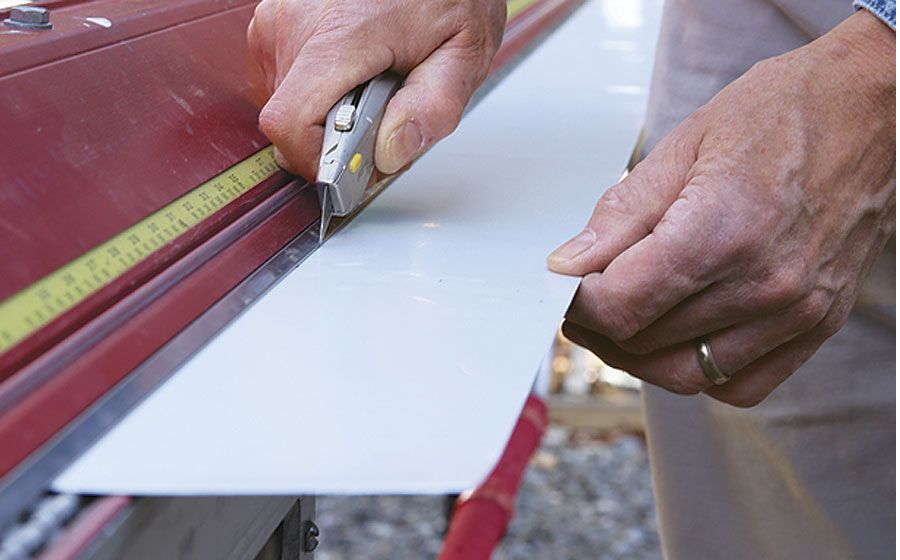
STEP 1: Cut to width
Mark the width at both ends of the metal. Insert the metal in the brake so that the marks align with the edge of the jaws, then pull down on the top handle to clamp the metal. Score it with a sharp knife.
-
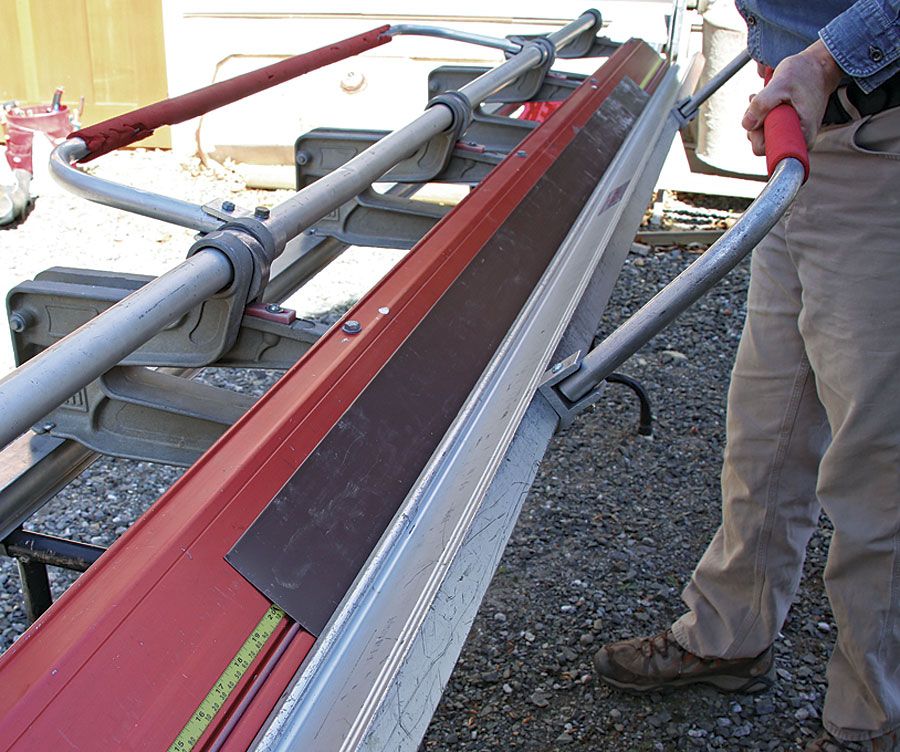
Pull up the bottom handle to bend and break the metal along the score.
-
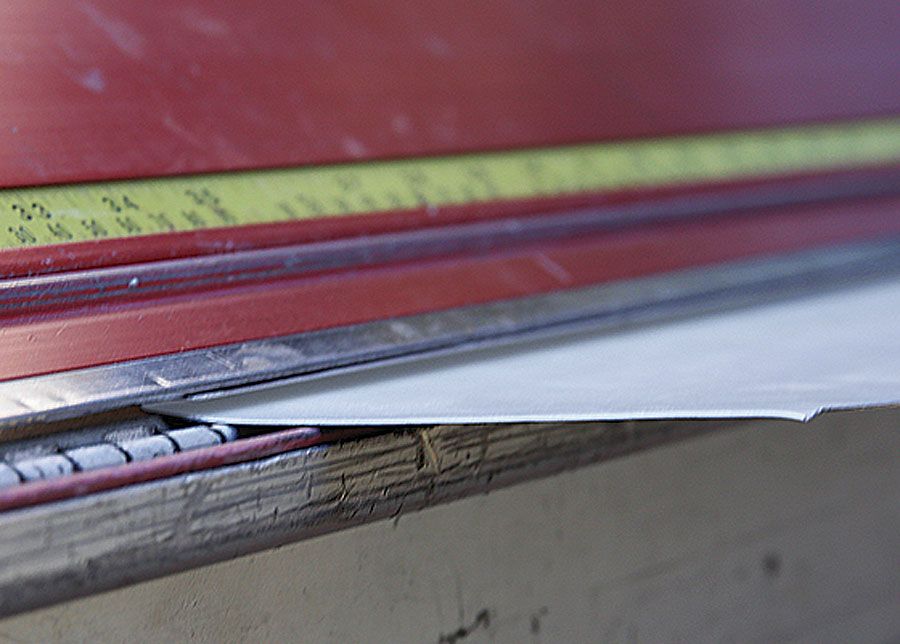
STEP 2: Bend the hem
Mark the width of the hem (3⁄8 in.) at each end of the metal. With the inside face up, insert the metal 3⁄8 in. into the jaws, and tighten down the clamp.
-
Raise the lower handle of the brake as far as it will go to make this bend.
-
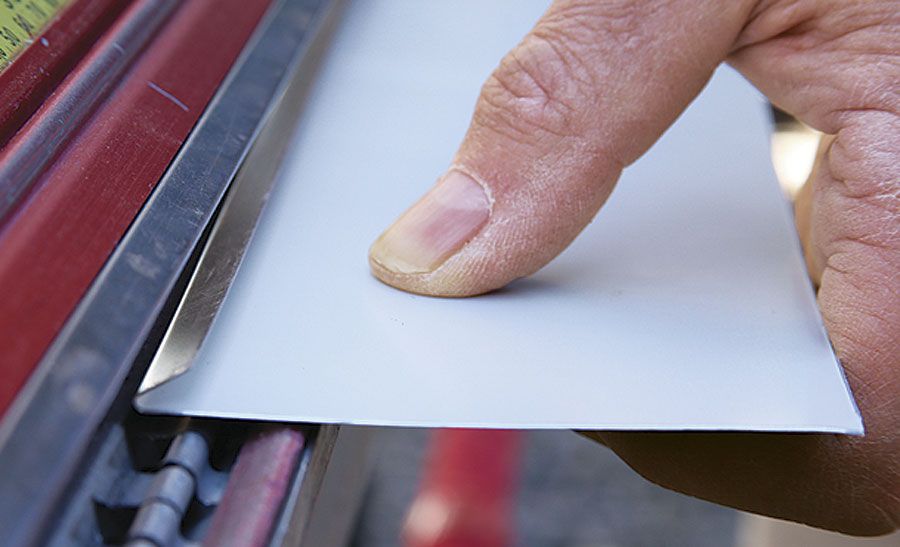
STEP 3: Crimp the hem
Insert the bent edge into the jaws, and use the clamping action of the brake to pinch the hem closed.
-
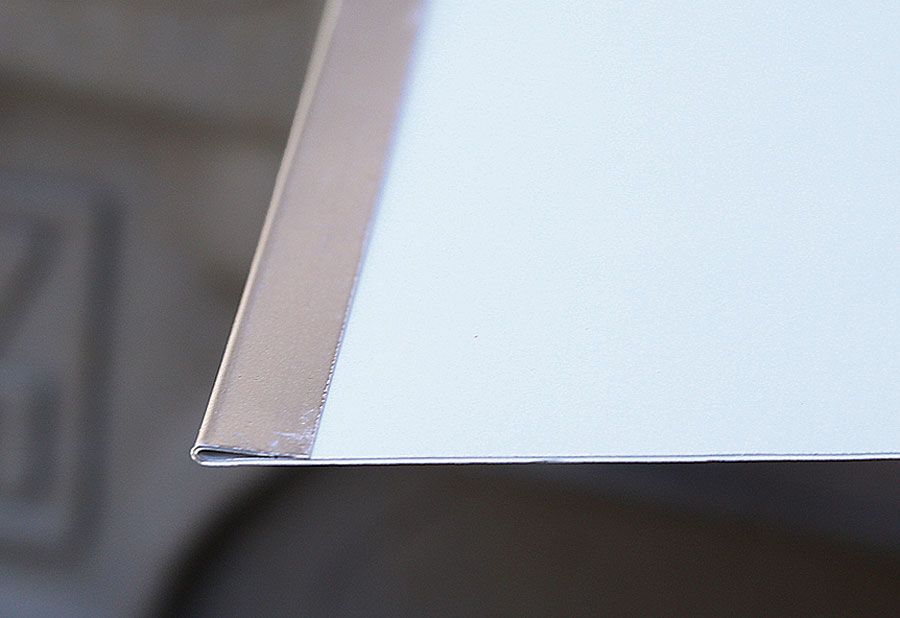
Finished crimp.
-
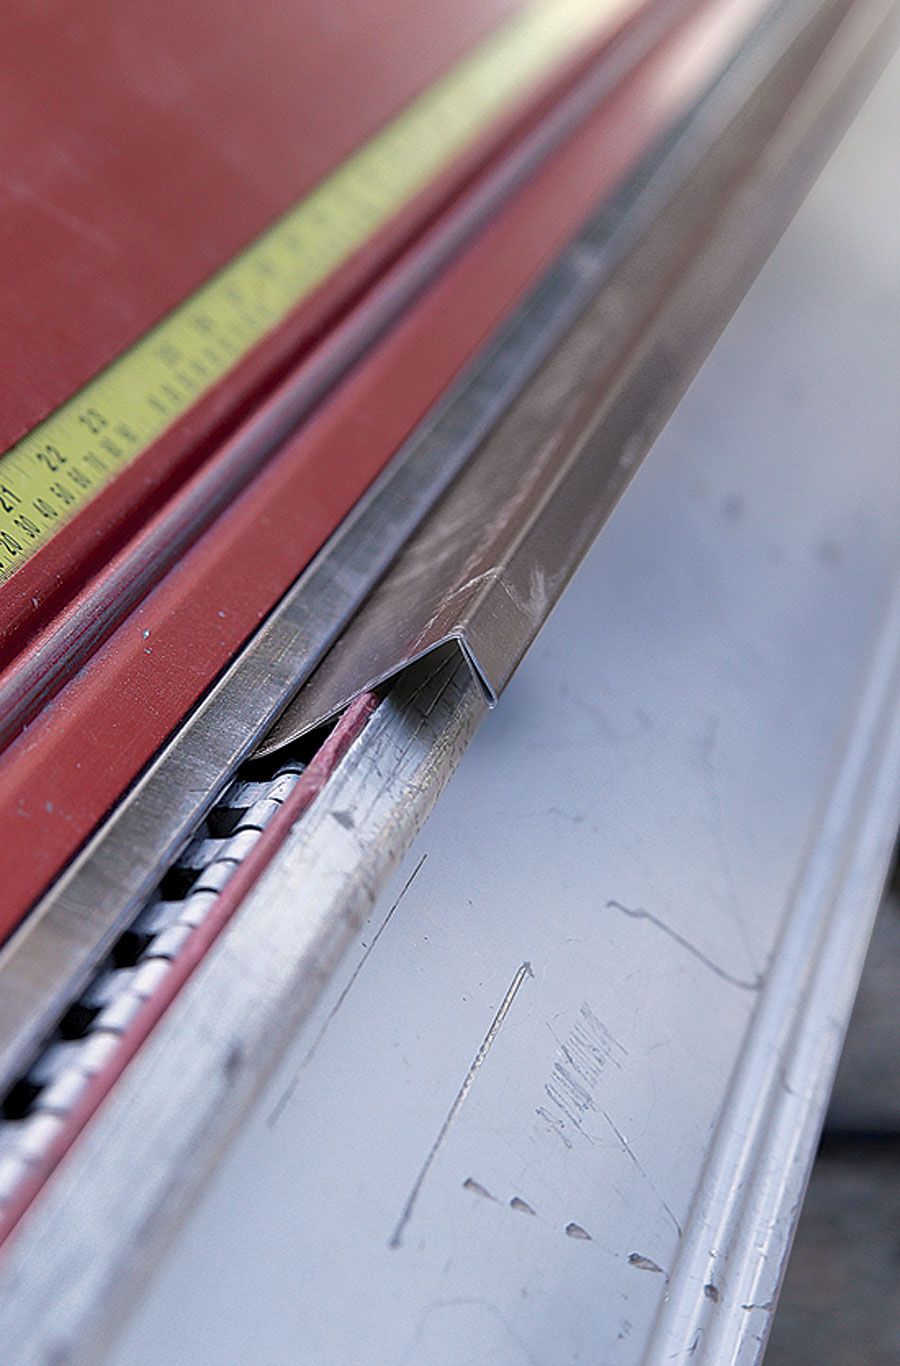
STEP 4: Bend the overhang
Put the hemmed edge in the jaws with the inside face up. Align the edge with the jaws, then clamp it and bend it a little past 90°.
-
Once bent, the metal will relax a few degrees.
-
STEP 5: Bend the upturned leg
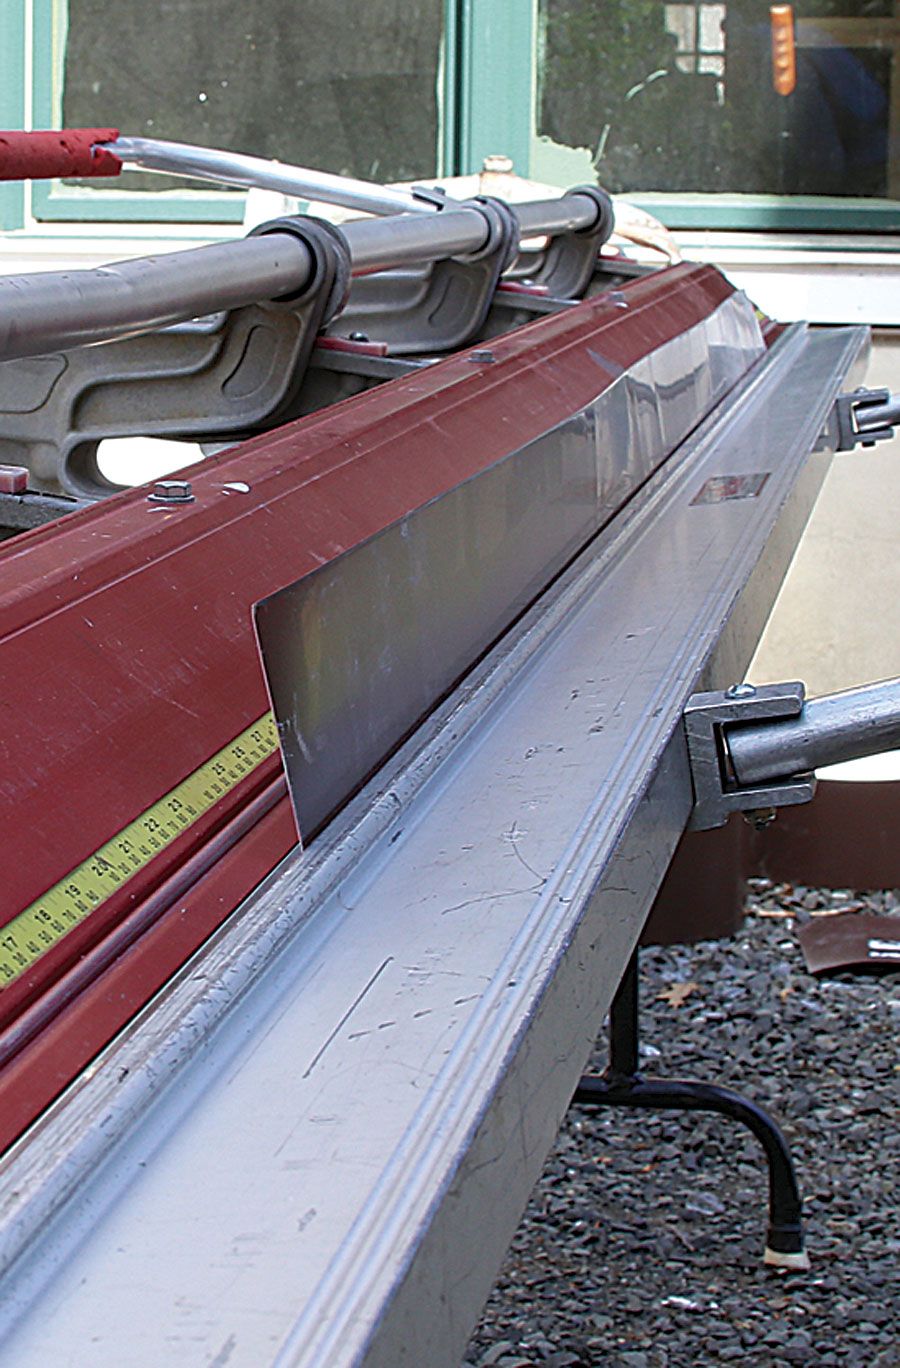
Mark the width of the casing or jamb on the outside face. Keep that face up, align the jaws with the mark representing the back of the window, then clamp and bend.
-
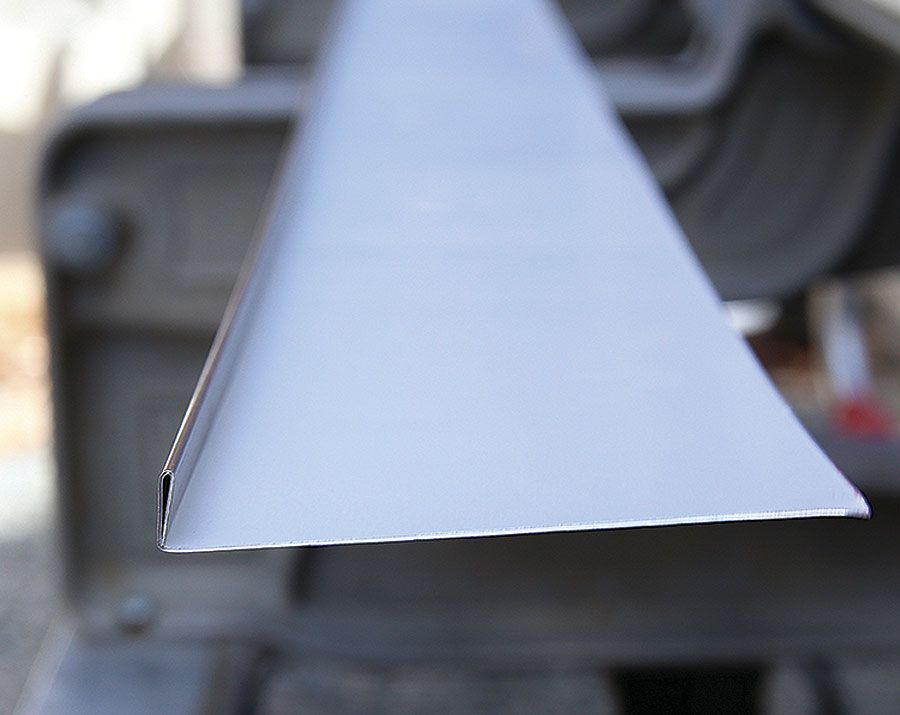
Finished bend.
-
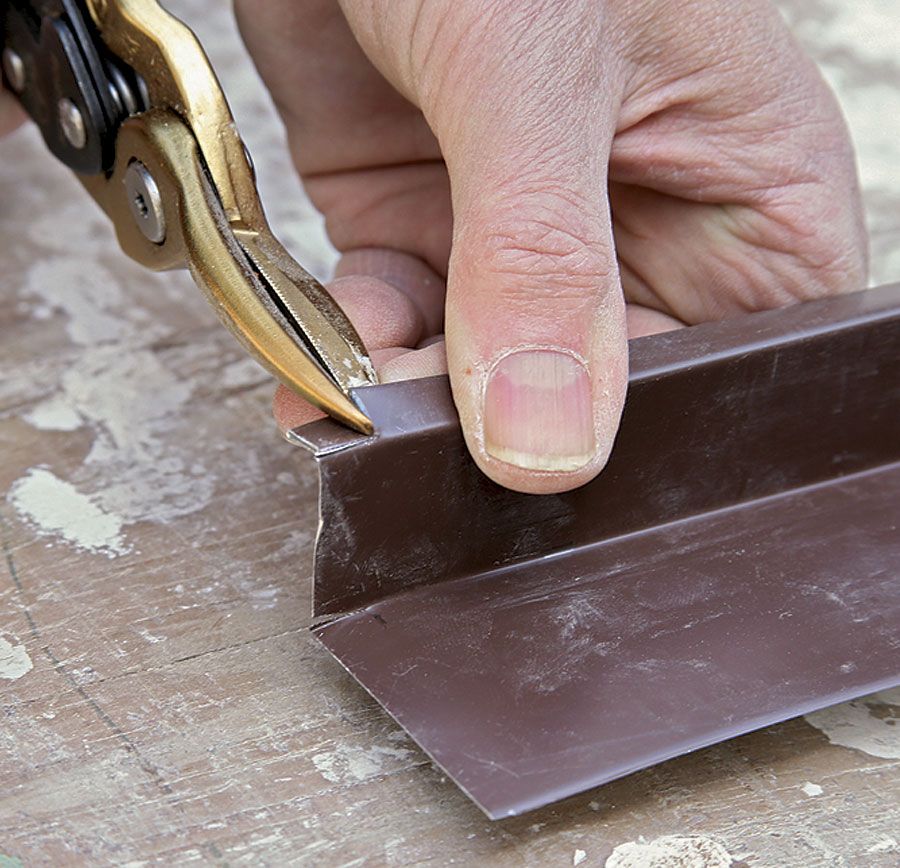
STEP 6: Cut the ends
Use snips to cut 3⁄8 in. along the back bend. In the front, snip out a 3⁄8-in. square at the end of the hem.
-
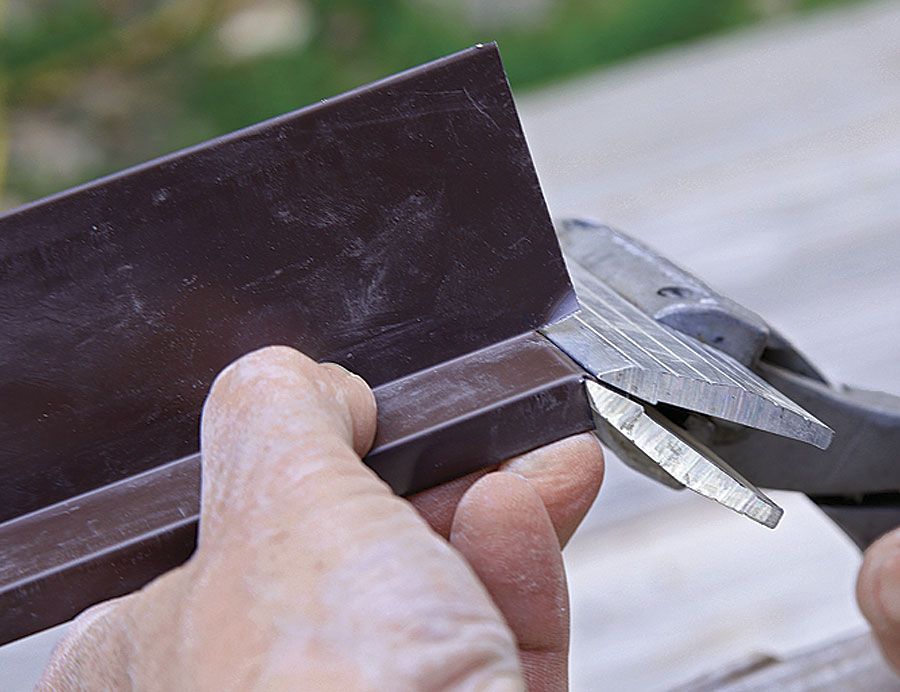
STEP 7: Bend the ends
Grab the end flap with hand benders, keeping the sides of the jaws even with the inside of the hem, and fold it over.
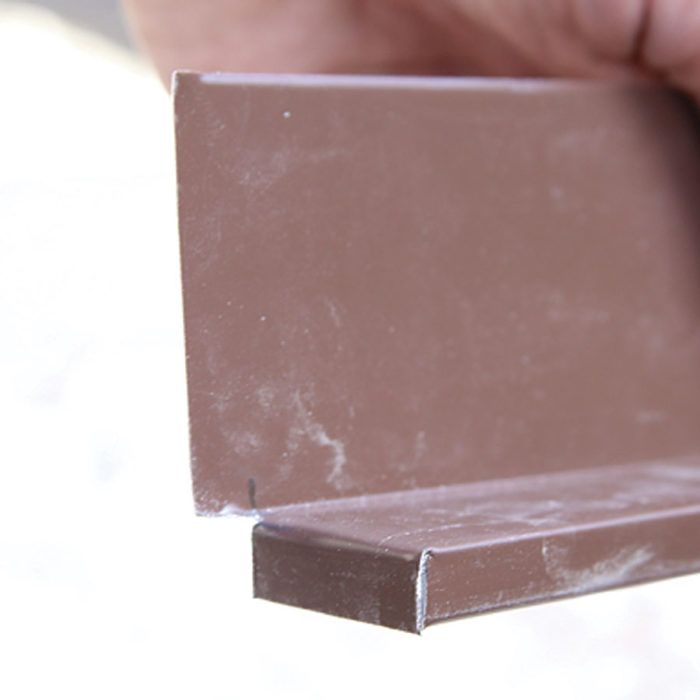
-
Finished end.