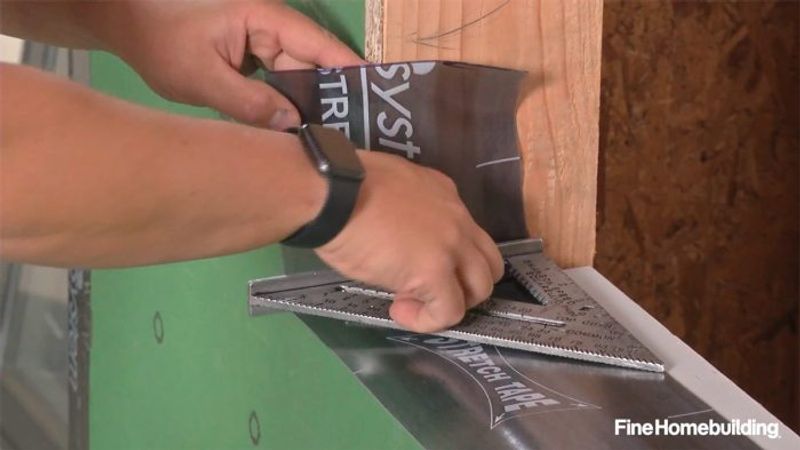
Part 1: Prepare a Rough Opening for a Nail-Fin Window over Zip System Sheathing
Use a piece of bevel siding and some carefully fitted pieces of Zip System tape to flash the sheathing to the framing.

Installing a nail-fin window in a wall sheathed with Zip System has become one of the most common installation situations in residential construction, yet it’s still often done incorrectly. A good installation begins with prep work on the rough opening, with a goal of protecting the moisture-sensitive framing materials, and ultimately the interior of the house. In the video, builder Jake Bruton shows how to use flashing tape to protect your windowsill as well as his preferred method of flashing that uses one piece of stretch tape to extend from one side of the window all the way to the other. Jake’s preferred method avoids the small pinhole gap created at the corner of the windowsill when using normal flashing tape because the stretch tape allows for the user to simply pull the tape down and cover the entire corner, leaving no room for water to get trapped. Jake then uses a simple technique with regular flashing tape to treat the sides and top of the window. Each side requires slightly different treatments to completely protect the frame of the building, but Jake’s demonstration makes the process very straightforward.
Videos in the Series
-
Part 1: Prepare a Rough Opening for a Nail-Fin Window over Zip System Sheathing
-
Part 2: Install a Nail-Fin Window in a Wall with Zip System Sheathing
-
Part 3: Flash a Nail-Fin Window in a Wall with Zip System Sheathing
-
Part 4: Air-Seal and Insulate a Nail-Fin Window in a Wall with Zip System Sheathing
-
Have a different type of wall? Check out the full video series


