
How To Trim a New Exterior Door
Builder Manny Silva trims the entry door jamb while it's still on the workbench instead of fastening casings to the door after it's in the wall.
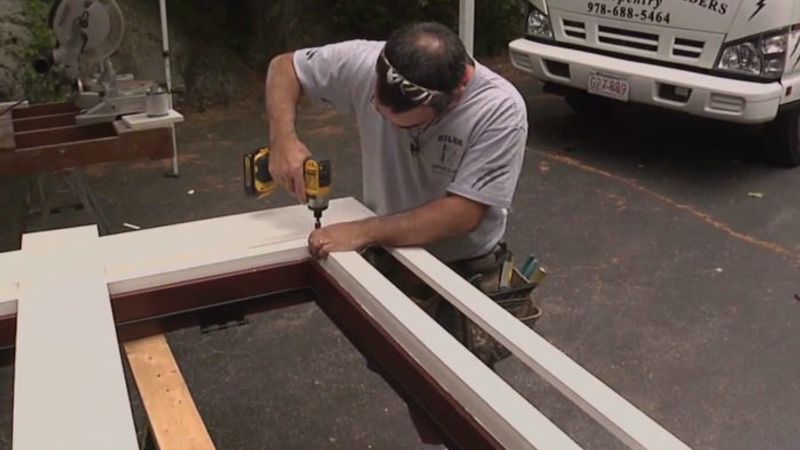
I find it easier and faster to attach trim—especially intricate details—when the door is flat on a worktable. I use PVC when trimming out exterior doors. PVC won’t split, crack, or rot over time, and it doesn’t need to be painted, however I recommend that my customer paint it to protect cut end and to prevent staining. And the truth is, PVC trim hold paint really well. Perhaps the greatest advantage to this approach is that you can trim the new door before you remove the old door, if you need to keep the house buttoned up for as long as possible.
All Videos in This Series
How To Remove an Old Door, Trim, and Siding
Getting Ready for Door Installation
Door Installation, Final Air Sealing, and Patching the Siding
Before starting the trim, I remove the door from the frame and sets the frame on a flat work surface.
On this project I am reusing the existing pediment and fabricating new casing and columns for the sides of the door. Once I have all of the parts made, I use pocket screws to attach the PVC casing to the jamb. Then I fasten the trim elements, including the fluted pilasters, to the casing.
Before installing the door, I back-flash with flexible flashing to seal the joint between the jamb and the trim. A strip of flashing with the paper left on the exposed adhesive side should extend 4 in. beyond the trim. Once the door is installed, I will weave this flashing flange into the house wrap.
Okay, the door is trimmed and ready for installation. Let’s go back to the opening and do a few things to make the final installation as easy as possible.

View Comments
All those best-practice techniques. All that expensive flashing and PVC. And then: Alex Plus caulk? Funny.