
Replacing an Entry Door: Getting Ready for Door Installation
Learn how to plumb each side of the door opening using screws as standoffs.
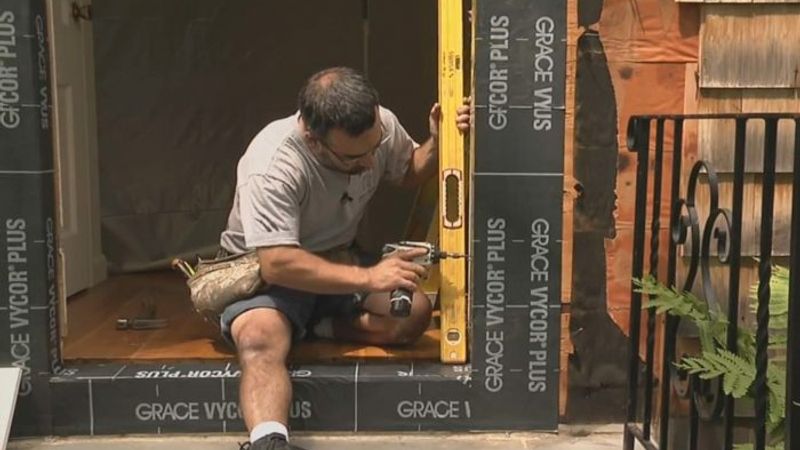
Most builders tilt the door into the opening and use wood shims between the door frame and the framing to get the jamb plumb. That method works fine when you are installing the trim after the door is installed. But because I trimmed this door already, I won’t be able to add shims from the front. Instead, I am going to use screws as standoffs to plumb each side of the opening. There are actually a few benefits to this approach:
All Videos in This Series
How To Remove an Old Door, Trim, and Siding
Getting Ready for Door Installation
Door Installation, Final Air Sealing, and Patching the Siding
First, the plumbing screws ensure that the frame will be dead plumb as soon as it is lifted into the opening. Second, it’s faster to plumb screws than to fuss over wood shims. Finally, screws allow water to drain should it find its way into the rough opening.
I drive galvanized screws into the framing just above each hinge location. Using a board cut to the width of the door frame, I set the opposing screws at the lower to fit the door.
Using the lower screws as the fixed point, I plumb up the side of the opening, adjusting the upper screws so that they are plumb with the bottom screws.
Before the final installation, I test the fit of the door frame in the opening. Here, and during the final install, it’s a good idea to have some help. Even if you can lift the door frame by yourself, a second set of hands will prove useful once you begin making minor adjustments to the fit of the frame.
This looks good, we’re ready for the final install.

View Comments
This is a great resource. That's a very ingenious way to simplify using shims. We actually have a product that eliminates the need for shims and allows a door be be hung in about 5 minutes. https://ezhangdoor.com/