
Flashing Replacement Windows
This method prevents future leaks and avoids finger pointing.

Fine Homebuilding contributor and building science specialist Joe Lstiburek‘s says there are only two types of windows: those that leak and those that will leak. Lstirburek’s somewhat gloomy prospect, however, comes from years of inspecting and removing windows that have fallen victim to the forces of nature. So it may come at no surprise that this experience has resulted in a nearly fool-proof method for flashing replacement windows. This method covers replacement windows that are installed from the exterior, not the interior.
Prepare the opening:
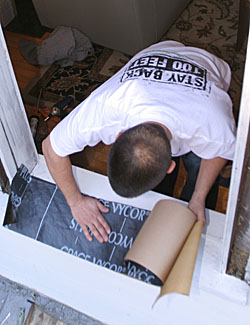
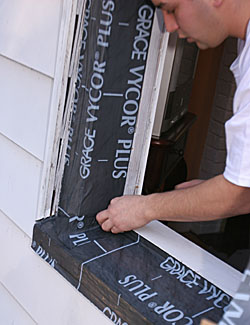
Flash the pan first.
Peel-and-stick flashing membrane provides a fast, waterproof way to make old openings durable. Be sure to overlap the bottom piece a few inches up each jamb.
Slice the membrane.
The front portion needs to lie flat on the sill and extend to cover the horn, while the rear portion folds into the jamb.
Insulation fills the space.
Exterior voids and the empty weight pocket from a double-hung window can be filled with fiberglass or foam insulation.
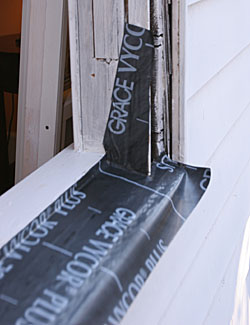
Apply flashing membrane to the sides.
Slice the top and bottom of the membrane so that it can be folded around the side jambs. Make sure the flashing membrane is long enough to extend above the head jamb and also fold down onto the bottom sill.
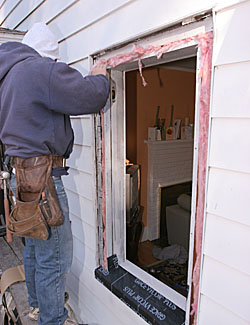
Patch the weak spot.
The point at which the previous two pieces of flashing were sliced is a place where water could leak in. An extra little patch on top of the side and bottom flashing takes care of this potential weak spot.
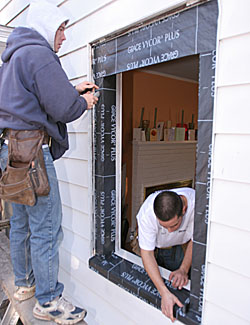
Slice and fold. Apply head flashing that overlaps the sides. Again, slice along the window frame and fold the membrane over the existing window frame the same way the bottom flashing was applied.
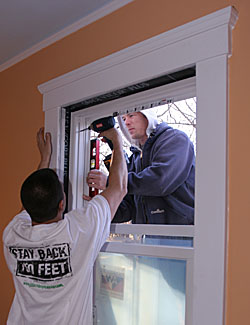
Install the window:
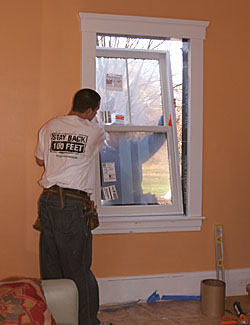
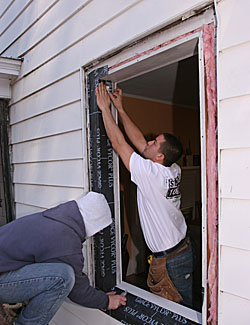
The window goes in smooth.
Very little disruption to interior surfaces occurs when installing replacement windows from the outside.
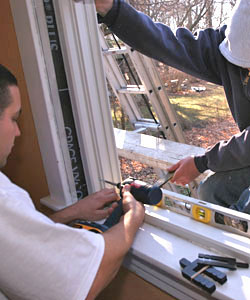
Center, level and screw.
This install uses plastic fork-shaped shims (included with each window), that straddle both sides of the track attachment screws.
Plumb and square. With the bottom level, plumb one side and secure it with a screw. Check that the window is square by measuring diagonally both ways; then screw the other side.
Fill the gaps:
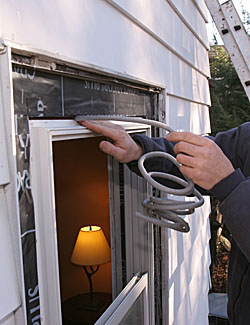
Backer rod fills the gap.
A snug coil of foam backer rod is fast to install and won’t expand or stick to everything like spray foam will.
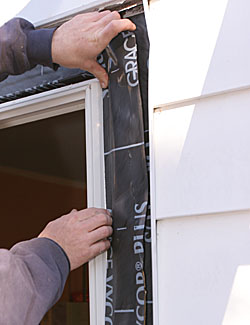
Seal sides and the top.
Cover the backer rod with another layer of membrane which creates a tight air and water seal. But don’t seal the bottom because any water that sneaks in needs a way to sneak out.

Interior sealing.
From inside the house, caulk the bottom, sides, and top with high-quality polyurethane caulk.
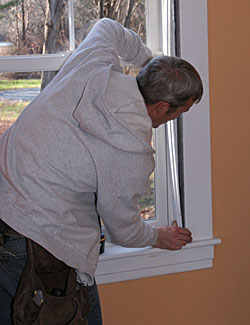
Final touches.
Snap the interior stops back in place, then caulk the stops, and touch up the trim paint as needed.
Installing replacement windows was one of many upgrades to increase energy efficiency in this old house. To learn more about this house, and two other case studies, read Remodeling for Energy Efficiency from Fine Homebuilding issue #194 (April/May 2008), pp.51-57.
Photos by: Daniel S. Morrison

View Comments
So what do you do to cover up the flashing tape that is now on the old sill? Overlay some type of trim (seems like a lot of work), install an aluminum cover?