Home Energy-Efficiency Upgrades for Beginners
Advice for homeowners: Inspect your house for these common energy problems to get a better idea on where your money is best spent.
Owners of older homes often contact Green Building Advisor and ask, “What can I do to make my home more energy efficient?” My standard answer goes something like this: “The first step is to hire a certified rater to perform an energy audit of your home. The audit report will include a tailor-made list of retrofit measures to address your home’s specific problems.”
The advice is good, but it doesn’t do much to educate the questioner. Perhaps you are an intrepid homeowner who is willing to poke around your home’s nooks and crannies. Is there anything you can learn about your house without a blower door and an infrared camera?
Yes, of course there is. This article will explain the steps that homeowners can take to assess the condition of their house from an energy perspective.
Inspect the basement
If your house has a basement, that’s a good place to start your inspection. (If your house has a crawlspace or an above-grade mechanical room, some of the advice in this section also applies to those areas.) The most important tool for this type of inspection is a powerful flashlight.
Check for air leaks. On a cold day, it’s fairly easy to locate basement air leaks; you may be able to feel infiltrating air with your bare hand. You may find that an incense stick is helpful in locating air leaks. Another way to locate air leaks is to turn off all of the lights in the basement and look for cracks of light. (This method only works during the daytime, of course.) Typical air-leakage locations include the mudsill, around exterior doors, around windows, at utility penetrations, at pet doors, and at dryer vents.
Once you’ve identified where air is leaking into your house, you’ll have to start sealing the leaks. If your house is in bad shape, you may need a new door or window. In most cases, though, you can significantly reduce air leakage with caulk, canned spray foam, and weatherstripping.
Inspect the rim joist for insulation. Rim joists can be found at the perimeter of your basement, above the top of your foundation wall. (If your basement ceiling is finished with drywall or plaster, you won’t be able to inspect your rim joists without cutting a hole in your ceiling.)
Ideally, the rim joists will be insulated on the interior with rigid-foam insulation or spray-foam insulation. If the rim joists are uninsulated, it’s a good idea to air-seal the area and install insulation.
If the rim joists are insulated with fiberglass batts, you may have a problem. Pull away some of the fiberglass and inspect the rim joists. If you see signs of mold or rot, it’s probable that the fiberglass insulation is the cause of the moisture problem. (This phenomenon is more common in very cold climates than in mild climates.) If you find mold or rot, you’ll probably want to remove all of the fiberglass insulation and allow the rim joists to dry. Once these areas are dry, insulate the rim joists with rigid-foam or spray-foam insulation.
Inspect your basement walls for insulation. If the basement wall insulation is visible, it should be easy to inspect. In this location, what you want to see is rigid-foam or spray-foam insulation. If you see fiberglass batts, that’s worrisome. Peel back one of the batts to look for any mold that might be growing behind the batts. If you see rigid foam behind the batts, that’s good news, and the batts can probably stay.
If you don’t see any insulation on the interior of your basement walls, it’s possible that your basement walls have exterior insulation. Go outdoors and check the top of one of your walls. If your walls appear to be finished with stucco, pierce the stucco with an awl or a long punch. If you discover rigid foam behind the stucco, that’s good news.
Look for exposed dirt floors. If your basement or crawlspace has a dirt floor, it should be covered with a durable vapor barrier (a layer of polyethylene that is at least 6 mils thick, or a sturdy membrane such as rubber roofing, Tu-Tuf, or a pond liner). If you see bare dirt, it’s important to install a vapor barrier soon.
Inspect your heating equipment. Most U.S. homes are heated by a furnace or an air-source heat pump connected to an air handler. These two types of systems use ducts to distribute hot air through your house.
A minority of U.S. homes are heated by a boiler that distributes heat through hot-water pipes.
If your furnace or boiler is more than 25 or 30 years old, you may want to consider replacing it with a newer, more efficient unit. (Hopefully, you know the age of your heating equipment, either because you remember when it was installed, or you were told how old it was when you bought the house.)
If you are planning major energy-retrofit work that will include a new heating system, you may want to read All About HVAC.
Inspect your ductwork. If your home is heated with a boiler, there probably isn’t any ductwork in your basement. If you have a furnace or air handler, however, you’ve got ducts. Inspect the ducts to see if any ducts are disconnected, or if ducts are so poorly connected that there is a visible gap between duct sections. Disconnected ducts will need to be reconnected and sealed with mastic or high-quality tape.
If your house has ducts in a vented, unconditioned crawlspace, all of the duct seams need to be sealed with mastic, and the ducts must be insulated. You should also plan on converting your vented crawlspace into an unvented crawlspace.
For more information on duct sealing, see Sealing Ducts: What’s Better, Tape or Mastic?
Inspect your water heater. At a minimum, you should note the water heater’s age, if known. You should also look for leaks, puddles, and drips. If it is a gas water heater, inspect the flue pipe to see if it looks secure, with flue pipe sections well connected. If your water heater is more than 15 or 20 years old, plan to replace it soon.
If you are contemplating the purchase of a new water heater, you may want to read Choosing an Efficient Water Heater.
Attic inspection
Now get out your step ladder, tape measure, and flashlight, and head for the attic. If you’re unfamiliar with attics, you should know that you can easily step through the ceiling if you don’t place your feet carefully on the joists spanning the attic floor. If you don’t like balancing on joists, bring a couple of 2-ft. by 3-ft. pieces of plywood to step on while inspecting your attic.
Inspect the attic hatch. A good attic hatch is secured in place with latches that pull the hatch tight against the weatherstripping. On the attic side, the hatch should include several layers of rigid foam with a total thickness of 6 in. or 8 in. If any of these elements are missing, you have work to do. (For more information on attic hatches, see How to Insulate and Air-Seal Attic Stairs.)
Inspect the insulation on the attic floor. Most varieties of fluffy insulation (including fiberglass and cellulose) have an R-value of about R-3.5 per in. For the purposes of an attic inspection, you can use that number to get a rough idea of the amount of insulation in your attic.
If you live in Climate Zone 1, 2, or 3 (including most of California, Oklahoma, and South Carolina, or anywhere farther south), you want at least 9 in. of fluffy insulation (about R-30).
If you live in Climate Zone 4 or 5 (including Oregon, Nebraska, Ohio, or Massachusetts), you want at least 11 in. of fluffy insulation (about R-38).
If you live in Climate Zone 6, 7, or 8 (including Montana, Minnesota, or Maine), you want at least 14 in. of fluffy insulation (about R-49).
For more information on insulating attics, see What’s the Best Attic Insulation.
Look for air leaks. Because most attic air leaks are hidden, they can be hard for homeowners to find. But if you’ve been reading GBA articles, you may know where to look: above kitchen soffits, at chimney chases, at plumbing vent pipes, above partition top plates, and near bathroom fans and recessed can lights.
If you’re willing to play detective, lift up a few fiberglass batts in these areas and snoop around. If you see that the underside of a batt is black, that’s a good indication that air has been leaking through the batt for years.
For more information on sealing attic air leaks, see How to Air-Seal an Attic.
Inspect your ducts. Attic ducts, like basement ducts, need to be checked to be sure that no ducts are disconnected. All attic ducts must have sealed seams and should be insulated or relocated so that the ducts are inside your home’s thermal envelope. In general, it’s bad news if your house has ducts that are located in a vented, unconditioned attic. (For more information on attic ducts, see Keeping Ducts Indoors.)
All of your bath exhaust fan ducts should lead to the outdoors. The best place to terminate an exhaust duct is at the gable end of your house. If your house has a hip roof, you’ll have to extend the duct through the roof.
Look for moisture problems. Inspect the underside of the roof sheathing for signs of roof leaks, mold, or other moisture problems. If the sheathing has lots of mold, that’s a sign that your ceiling has air leaks that allow warm interior air to enter the attic. In most cases, homes with moldy roof sheathing also have a damp basement or crawlspace.
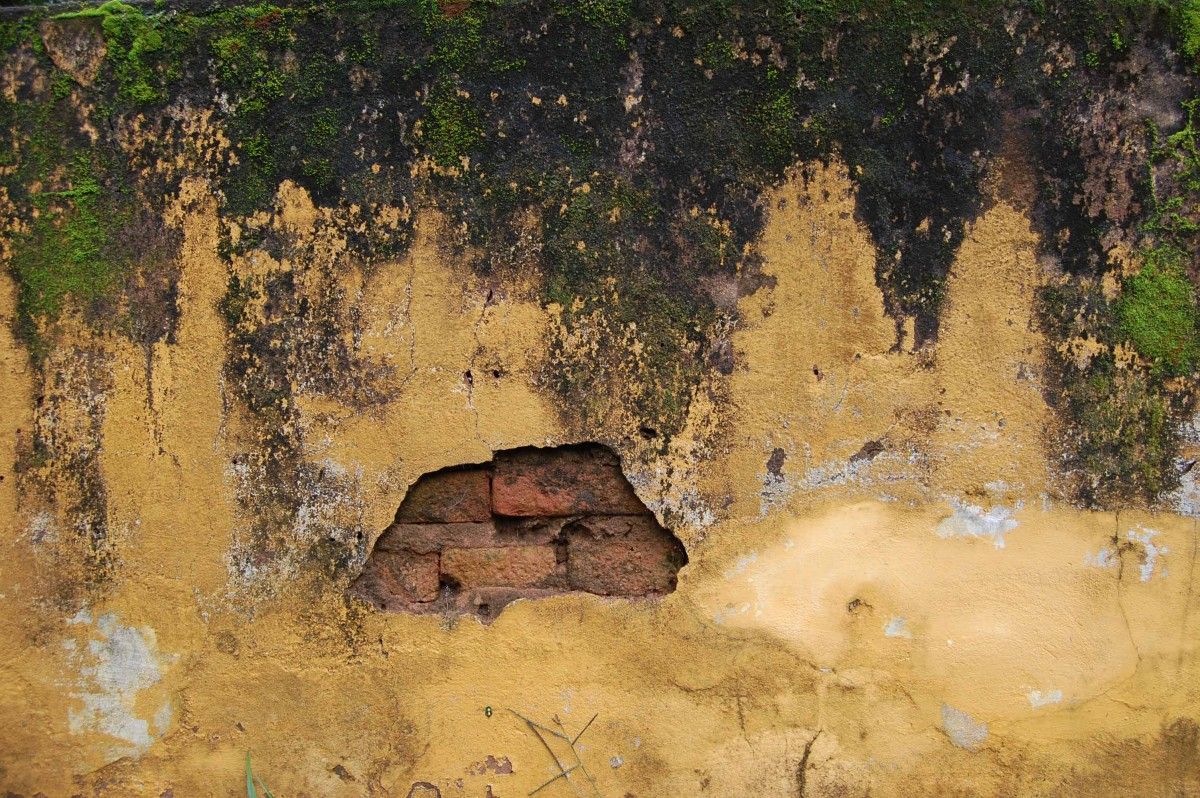
Check your above-grade walls
Assess the insulation. If you want to poke around in your walls to see if there is any wall insulation, the first step is to turn off your main circuit breaker. Choose an electrical outlet on an exterior wall; plug a light into the outlet to verify that the electricity is off.
Remove the cover plate. One side of the electrical box should be attached to a stud; on the other side of the box, insert one or two wooden chopsticks and see what you can find. If the crack is large enough, shine your flashlight in there. Widen the crack if necessary, but don’t make the crack any wider than the plastic cover plate.
You may be able to snag a sample of the insulation with your wooden chopsticks. You may also be able to tell whether the wall includes a polyethylene vapor barrier, or whether the batts have kraft facing.
Once you are done snooping around, replace the cover plate. Perform a similar inspection on all four sides of the house; in an older house, it’s possible to discover different types of insulation in different locations.
If your stud bays are empty, you should plan on hiring an insulation contractor to install dense-packed cellulose in your walls. (For more information on blowing cellulose into the stud bays of an older uninsulated house, see Dense-Pack Cellulose Insulation Done Right.)
Look for mold or water damage. Mold or water damage is an important clue. If you find any, use deductive reasoning to come up with an explanation for why the area is damp. Possibilities include water entry through the wall due to bad flashing or condensation on cold surfaces. (For more information on preventing water damage in building assemblies, see Water-Management Strategies for Building Durable Homes.)
Inspect your windows
How many layers of glazing? Does your house have single-pane windows, double-pane windows, or single-pane windows with storms?
If you’ve never thought about the issue, here’s how to tell the difference between a single-pane window and a double-pane window. Open a window so that you can put one finger on the interior side of the glass and another finger on the exterior side of the glass. If your fingers almost touch, it’s single glazing. If there is a gap of 1/2 in. or 5/8 in. between your fingers, you have double glazing.
If you look at the perimeter of double-glazed windows, you will be able to see the metal spacer that separates the two panes.
If you have double-glazed windows or single-glazed windows with storms, you are all set. If you have single-glazed windows without any storms, you should probably plan to invest in storm windows.
Are there any signs of rot? Go outdoors and inspect your windowsills for rot. If you see lots of rot, you may need to replace some of your windows. Remember, though: replacing older windows with new double-glazed or triple-glazed windows is so expensive that you will never save enough energy to justify the cost of window replacement.
Do you have too much unshaded west-facing glass? In a hot climate, west-facing glass often causes problems. In midafternoon, when the sun moves around from the south side of your house to the west side, outdoor temperatures are usually highest. During this time of day, the sun is lower in the sky than at noon, so the sun’s rays reach deeper into your house.
If you live in a hot climate, and your house has big, unshaded west-facing windows, you should consider installing window films that reduce solar-heat gain. For more information on window films, see Window Film: An Overlooked Retrofit Option?
Assess your appliances
How old is your refrigerator? If your refrigerator is more than 20 years old, you should consider replacing it with a newer, more energy-efficient model.
Do you have any duplicate appliances? If you have a second refrigerator or a freezer in your basement or garage, now is a good time to make sure whether you really need it. You can save a lot of energy by getting rid of an extra refrigerator or freezer.
Check your lightbulbs
Get rid of your incandescent bulbs. Last but not least, check all of your light fixtures to make sure that your home is incandescent-free. Replacing incandescent bulbs with LEDs is one of the most cost-effective energy-saving measures you can perform.
OK, I finished the inspection. Now what?
Now that you have finished inspecting your house, you have a much better idea of the home’s condition than when you started, and you may have identified a few serious flaws that need to be remedied.
However, you haven’t yet performed an energy audit. While this article explains how you can look for holes in your thermal envelope, many such holes are hidden and hard to discover. To do a good job of reducing air leakage in an older home, you need to use a blower door. (For more information on blower-door-directed air-sealing, see Blower Door 101.)
If you can afford to hire an energy auditor, you won’t regret it. Not only will you then get a blower-door test and an infrared inspection – both of which are invaluable – you’ll get something even more important: an inspection by a trained expert who knows what to look for. And the energy auditor will help you answer the question, “What should I do next?”
Martin Holladay’s previous blog: “Passivhaus Buildings Don’t Heat Themselves.”
RELATED ARTICLES
Video Series: A Home-Energy Audit
A Good Time for Energy Audits and Weatherization
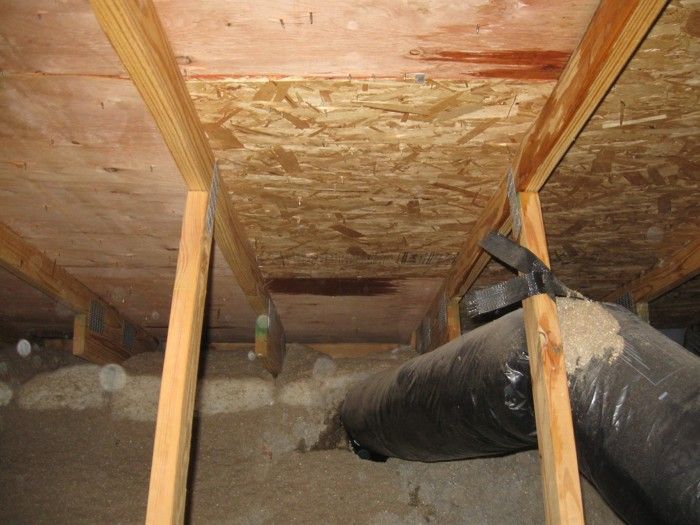
-
When you climb up into the attic of an older home, you almost always discover a few surprises. The only way to determine the condition of your home's thermal envelope is to perform a thorough inspection.
-
Inspect your home from top to bottom, inside and out. The more you poke around, the more clues you'll get to how your home is performing.