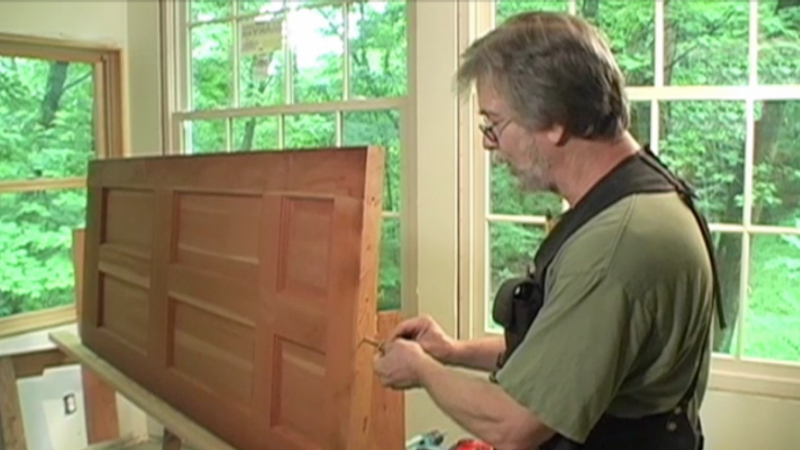
This one was sent to us by one of our favorite Tipsters, Don Mathis of Macomb, Ill.:
The setup uses a couple of sawhorses, some long screws, and a few pieces of plywood to make a spinner for supporting a door while it is painted.
First, we tie a couple of sawhorses together with a 2×6 screwed to their crossbars. Then we screw a plywood upright to each crossbar. The uprights have notches in their top ends, as shown in the drawing. Concrete-screw axles centered in the ends of the door ride in the notches, allowing the door to be rotated for painting both sides in the same session. Make sure that the uprights are tall enough to allow the rotating door to clear the 2×6 cross tie.
To assemble the axles, we use 1⁄4-in.-dia. by 4-in.-long concrete screws and a short piece of 3⁄8-in. I.D. tubing sandwiched between a fender washer on the outside and a smaller washer on the door side. The tubing acts as a bushing for the screws as the door is rotated. We install another 4-in. concrete screw 3 in. to the side of each axle. These offset screws protrude about 21⁄2 in. As shown in the drawing, the offset screws enable the door to be locked easily in any position with a simple plywood brace and a clamp.
When we have a lot of doors to paint, we set up a drying rack that consists of rows of uprights with 4-in.-deep notches. The doors hang vertically in the notches as they dry, making it easy to put a lot of doors in a relatively small space. The screws act as handles for easy carrying by two workers and ensure that the doors will hang vertically.
For more information on door finishing techniques, be sure to read Peter Gedrys’ article in the September 2009 issue of Fine Homebuilding. Gedrys layers different staining products to achieve unique colors and instant character on inexpensive interior doors.
View Comments
Same idea but a bit quicker:
One screw dead center on the door bottom, two screws spaced on the door top.
Place door onto two sawhorses using protruding screws to hold it between the sawhorses. The screws rest on the sawhorse top. When you want to spin it, grab the two screws and use the single as your axle, place wet side down, suspended between the sawhorses.
If you have multiple doors, say 5, this is 15 screws, not building ten brackets and 20 bits of tubing, 40 washers,20 screws, 10 braces, etc.
You can even do multiple doors with four sawhorses and make your work surface out of 2x boards.
Metaxa,
Good tip! The video tip might work a bit smoother but I'm much more likely to take the time to put your simpler tip into action. A centered screw could be added on both ends too to gain the ability to turn the doors vertically to take up less room as they dry.
I like it!
Thin coats, I would say. Painters refer to "sag" even when too much coat is applied in a vertical plane, so think about what would happen when you hang your just-painted or varnished surface upside down - or maybe let's not think about that. Maybe making 5 or 6 of these jigs would be more effective; that way the finish has time to get tacky or even set up before you spin the first door.
Cool idea but I'd rather just do it the old way.
I use Metaxa's method, 1/4" x 3" lag bolts. They are stiff even to hold the weight of the doors and turning the doors is a snap.
This tip on site flashing was right on time. I could not beleive how easy this worked!!!
Thanks a whole lot!!
Lawrence Carter
Waterford, Mich
not a bad idea but a little bit overdone
We painted doors similar to the video method but use only 2 -
3 1/2" nails on top and bottom edge and hang the door between the two sawhorses.After painting one side we flip the door over to do the other side using the nails as handles; when you are finished painting the door on both sides you can stand the door up, resting it on the 2 nails - off the floor.
Don Mathis...THANK YOU! I had 14 doors to paint, and it worked like a charm! Did them all in two afternoons.
Everyone here has a lot of great alternative options, but when I tried using just the screws on the ends, I still couldn't handle the door by myself to spin the door. I had to ask for help for the one door, then went back to the original article's process. In this instance, using more hardware for prep, ended with a perfect finish on both door and task.
Tried the door spinner works great
Thanks
To the Editor Chuck Miller...
How do I find the drawing mentioned in the 3rd paragraph - "As shown in the drawing, the offset screws enable the door to be locked easily in any position with a simple plywood brace and a clamp."