
Use a voltage tester to work safely around electricity
Electrician Cliff Popejoy teaches you how to verify the power is off by using a voltage tester.
Cover picture by Scott Phillips
Doing your own electrical work is satisfying, gets the job done on your schedule, and saves you money. That said, working with household current puts you within reach of a lethal dose of electricity. That’s why it’s essential to do electrical work with the power off. According to a government report, about one person dies every week in a construction-related electrical accident. To verify that power is off, use a voltage tester. Several different testers are shown here.
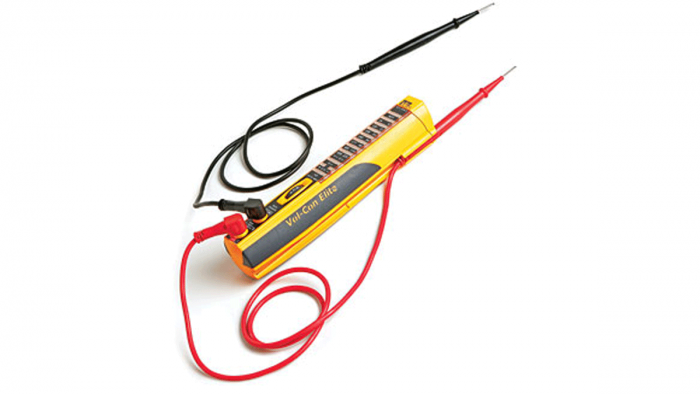
For basic wiring tests, I like a simple, rugged tester such as the Ideal Vol-Con Elite with shaker, shown above ($104). This tester vibrates when voltage is present, helpful even if I can’t see the indicator lights. The Vol-Con Elite also has a noncontact tester that identifies live wires through insulation as well as a similar feature in which one probe discerns voltage in a single wire. I run into this frequently with knob-and-tube wiring. When shopping for a voltage tester, buy quality. Look for an Underwriters Laboratories (UL) listing and a Category III rating, which means the tester won’t melt down in the event of unexpected high voltage.
Test loose wires with clips and caps
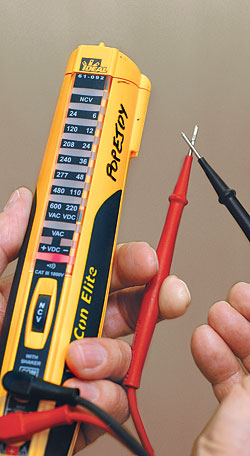 |
Step 1: Check the tester’s body, probes, and wires for signs of wear. Turn on the tester, cross the probe tips, and shake the wires. The continuity light and buzzer should remain on. Last, check the tester on a known live circuit. If the tester isn’t reliable, have it repaired or replace it. |
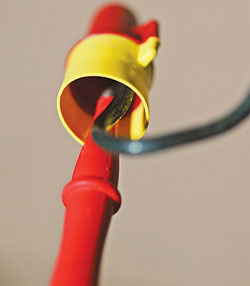 |
Put a wire nut on the end of loose wires, and place the probe in the wire nut. Make sure wires are free of oxidation or crud to avoid incorrect readings. |
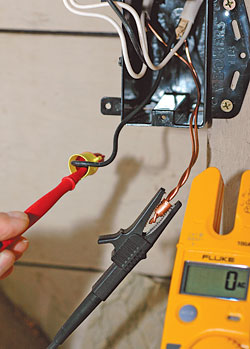 |
Step 3: Use an alligator clip on the neutral if you’re checking voltage at several points, such as several hot wires to a neutral wire. This way, you can focus on the probe checking the hot wires. |
Two more dependable testers: Feature-packed or simple
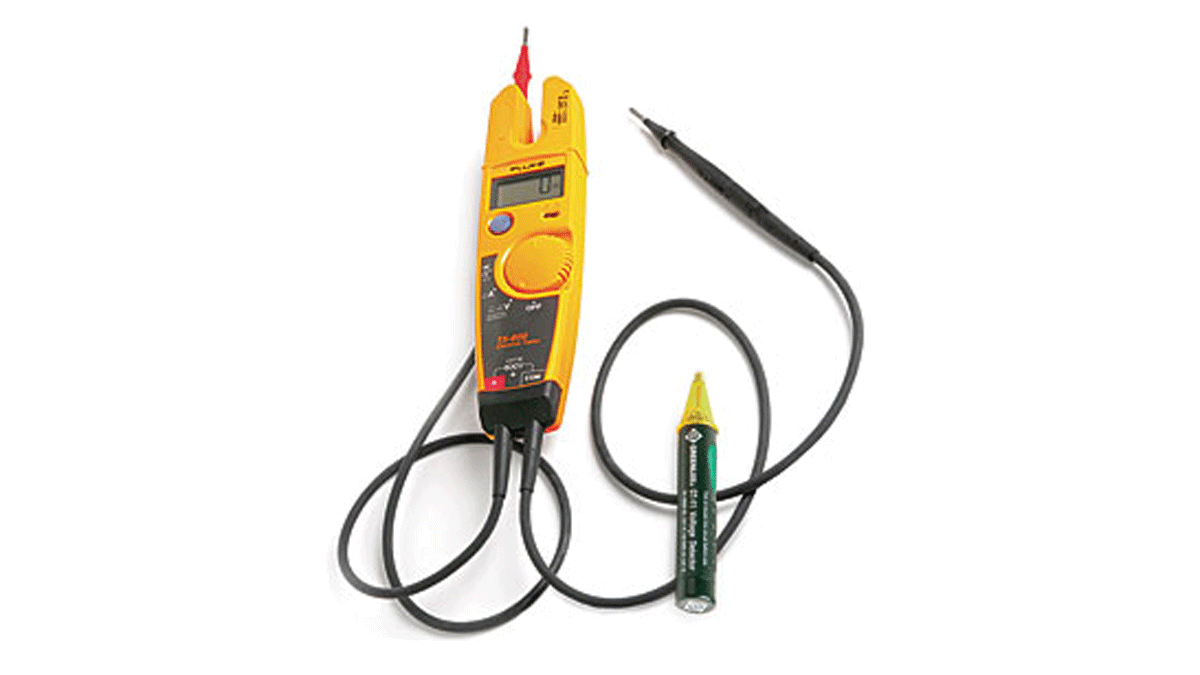 Photo by: Scott Phillips
The Fluke T5-600 ($166) is a rugged voltage tester with all the features of a multimeter. It checks for continuity, and it reads voltage, amperage (a built-in fork reads current through the wire’s insulation), and ohms. The Greenlee GT-13 Non-Contact Voltage Detector ($25) does quick checks for voltage through insulation. I use it to double-check voltmeter results before touching a bare wire.
A few simple tests
 |
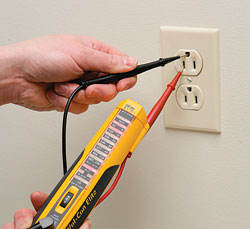
Check for voltage. Unlike plug-in testers, probe testers verify voltage both within the slots of a receptacle and on side terminals. Place one probe on the neutral (or taller) slot first, then on the hot (shorter) slot. The tester should read 120v. Remove the probes in reverse order. Hold the probes back from the tip to avoid shock if a wire moves or your hand slips. |
 |
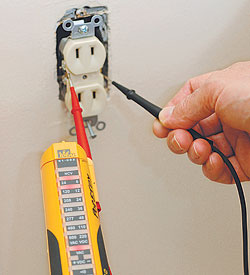
Quick receptacle test. Check for obvious problems in a grounding (three-hole) outlet by placing the tester’s probe in the two vertical slots. The tester should read 120v. A properly grounded receptacle should read 120v with one probe in the shorter, hot slot and one probe in the grounding hole, as shown above. If these tests show no voltage, either power is not present, or the neutral (or ground) wire is interrupted or absent. |
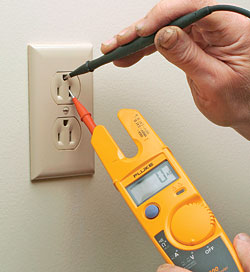 Photo by: Chris Green |
Polarity is important. Tools, appliances, and fixtures are designed so that power comes in on one of the two wires in a power cord. Reversing this arrangement, called polarity, can result in harmful shocks. Check for correct polarity by placing one probe in the grounding hole and the other in the shorter, hot slot. The meter should read 120v. Remove the probe from the hot slot and place it in the neutral slot. The meter should read 0v and also show continuity. Reversed readings mean that the polarity of the receptacle is reversed. |
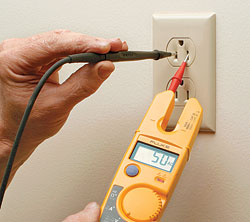 |
Dealing with phantom voltage. Here’s the situation: You think that you’ve turned off the correct circuit breaker, but a hot-to-neutral receptacle test reads 50v. If the circuit is de-energized, it should read 0v. Or, if the circuit is mislabeled and is still on, the tester should read 120v. You may be getting a false-positive reading, known as phantom voltage. Phantom voltage is caused by a live cable that induces a harmless voltage on a parallel de-energized cable. The simplest way to get a true reading is to use a solenoid-type tester, such as the Ideal Vol-Con Elite. |
Photos by Clifford Popejoy, except where noted
From Fine Homebuilding #172
Note: Fine Homebuilding may make a small commission from purchases made through the Amazon links in this article.

