How-To
Series Introduction: Install and Finish Drywall
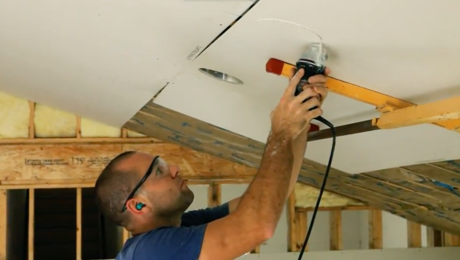
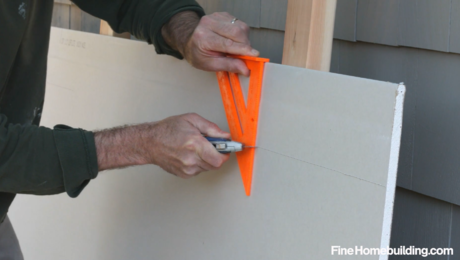
In this video series, a drywall expert shares his no-nonsense tips for making the job go smoother, and for getting a perfect finish every time.
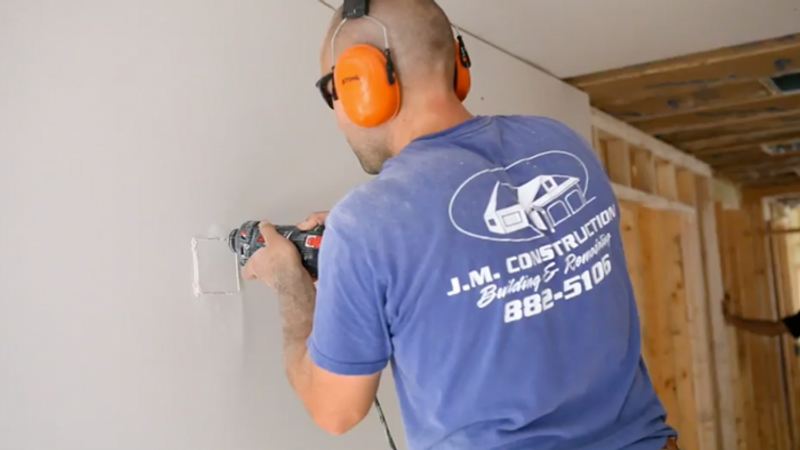
Hanging and taping wallboard doesn’t have to be a back-breaking, messy job. With the right tools and materials, and some surprisingly simple techniques, anyone can have smooth walls and crisp seams.
Videos in the Series
-
 Series Introduction: Install and Finish Drywall
 -
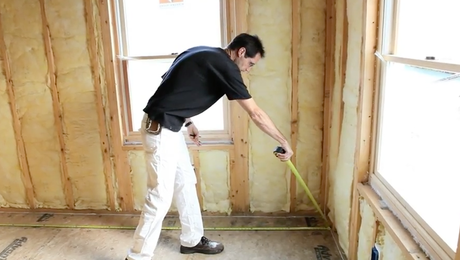 Install and Finish Drywall: 7 Tips for an Accurate Takeoff
 -
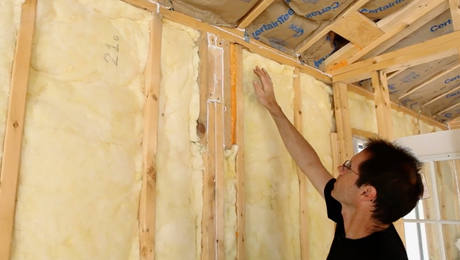 Install and Finish Drywall: 7 Fixes Before Delivery
 -
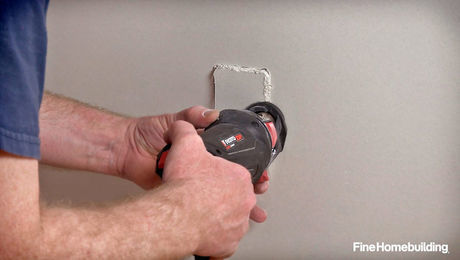
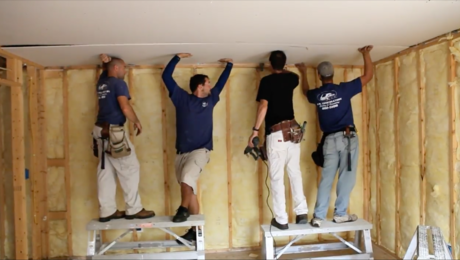 Install and Finish Drywall: 9 Secrets to an Effortless Install
 -
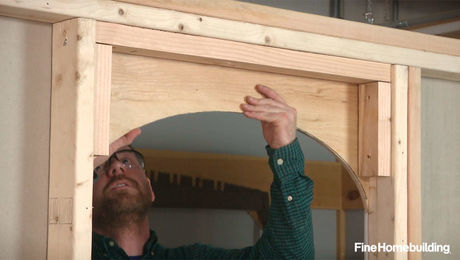
 Install and Finish Drywall: 9 Rules for Hanging a Vaulted Ceiling
 -
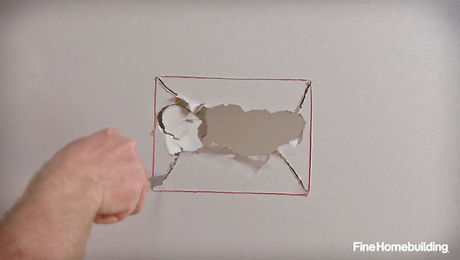
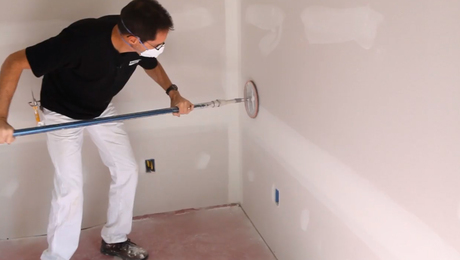 Install and Finish Drywall Series: 7 Tips for the Best Basic Finish
 -
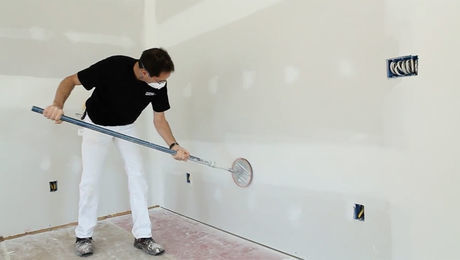 Install and Finish Drywall Series: 6 Steps to a Level-5 Finish


View Comments
cannot find the series, disappointing
Now May 29th without being able to access the series. This is frustrating
I am stuck here as well.
Geez, FHB. Doesn't anyone check this website? It doesn't work. Just loops the teaser over and over and over...
No video for this or any other link here. Apparently no one at FH can be bothered to check their own site. Lovely.
Is anyone at FH going to address this issue. I have been checking for the last two weeks.
Can you see the video now? It comes up for me.