Removing Interior Walls
A step-by-step guide for taking down walls without wrecking the house.
Synopsis: Some remodeling projects require the removal of an interior wall to expand a space or to improve views. But taking down a wall is not necessarily a straightforward process, as former FHB associate editor Chris Ermides shows in this article. Removing a wall is a step-by-step process that requires forethought. Among the issues to consider: Is the wall load-bearing? What types of electrical wiring run in the wall? Is there plumbing to deal with? Once those issues have been addressed, you can begin dismantling the wall piece by piece. Careful deconstruction—not demolition—will allow you to reuse materials, if possible, and will also keep you and your project safer in case you missed something during your early investigation. Want to learn more? You’ve done your homework by assessing what’s in your wall, but before you un-build it, learn how to support your structure with a brace wall and contain the inevitable dust.
I busted open my first wall sometime in high school. It wasn’t an act of vandalism; I was helping my dad to remove the wall between our kitchen and dining room, and not without trepidation. Walls are built for a reason, I thought, if not to hold up the house, then to have a place for outlets and light switches. Besides, I knew there was stuff in walls that I couldn’t see. Lucky for me, my dad believed in doing everything slowly and methodically. We didn’t tear down the wall. We assessed it first to see if it was bearing any weight, and then we tried to sniff out what might be hidden behind the plaster. When all that work was done, we dismantled the wall.
Since that first experience, I’ve removed a lot more walls. To learn more about the process, I interviewed a bunch of remodelling contractors who do this work daily. This article is a collection of what I’ve learned, but the truth is that the basic process is much the same as what my dad taught me almost two decades ago.
Unbuild the walls
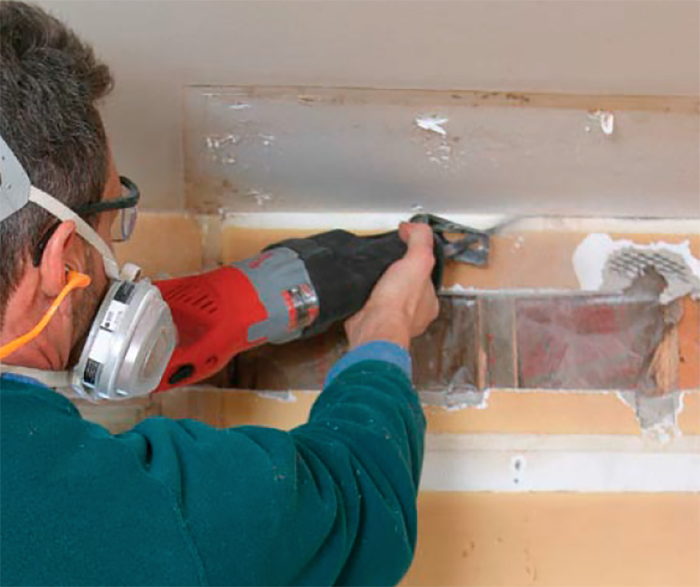
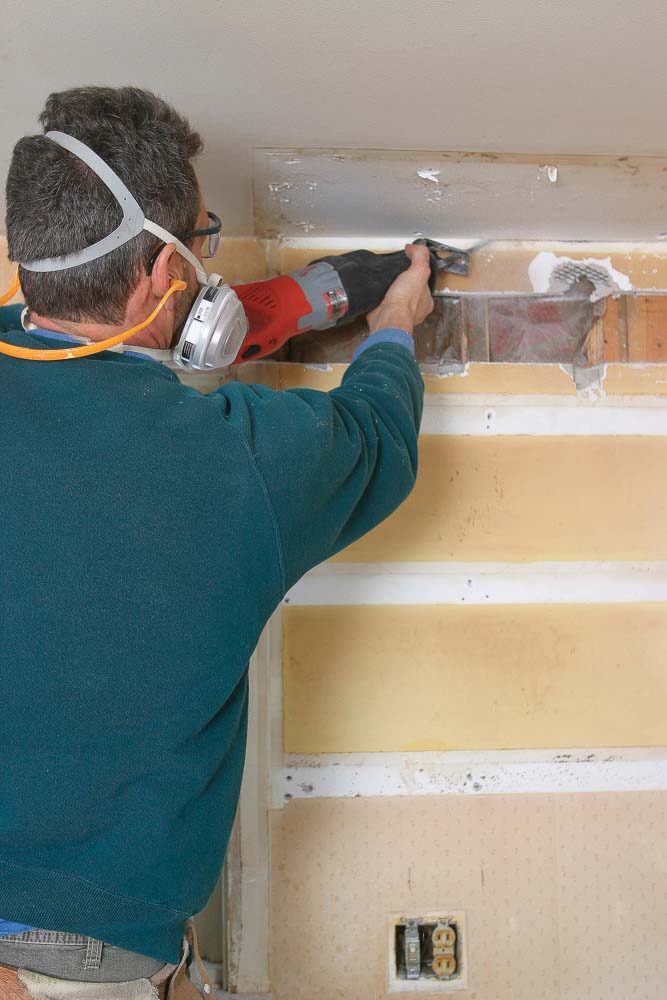
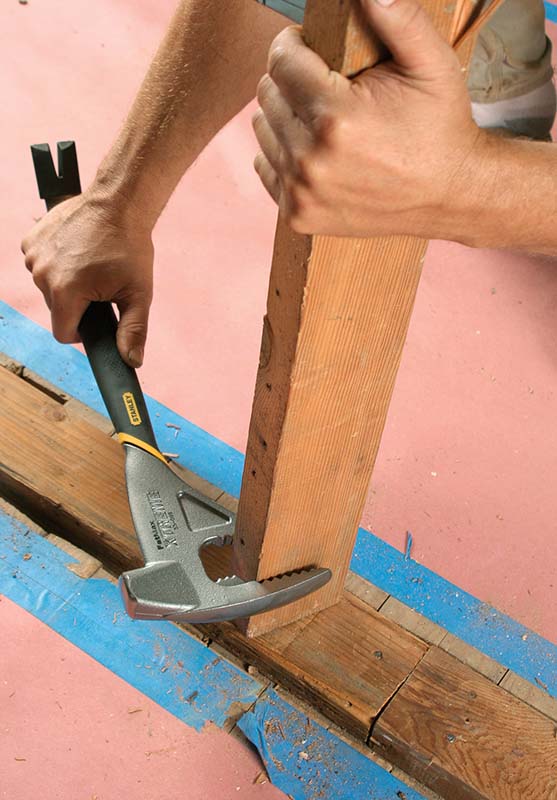
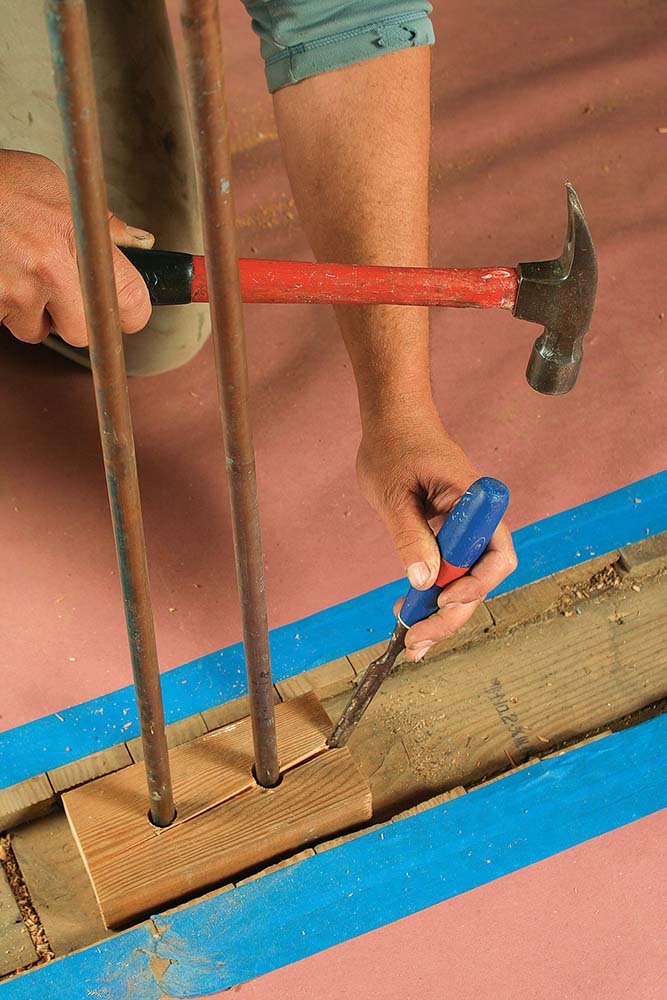
Walls are built in an organized way, and that’s how they should be taken down. Studs go up first, and they come down last. Trim goes in last, and it comes off first. That might sound trivial, but there are plenty of people who take a different tack. Cutting through a wall with a reciprocating saw and then attempting to remove full sections might seem like the most efficient approach, but it’s dangerous. Attacking an enclosed wall haphazardly with a power tool or sledgehammer is like peeling away the shingles on a roof with a backhoe bucket.
With the basic precautions shown here, you can begin to dismantle a wall safely at any time. However, it’s important to know if a wall is bearing weight before messing with the framing. Spotting a load-bearing wall isn’t always easy, but there are some telltale signs. If you’re unsure, hire an engineer. An engineer is also the person to consult when sizing a beam to replace a bearing wall. That beam can be mounted within the finished ceiling in line with the joists above, where you won’t be able to see it, or below the joists, where it can be trimmed as an architectural detail. After you have determined whether the wall is bearing weight, the next step is to figure out what’s in it.
|

Pretend the wall could shock you
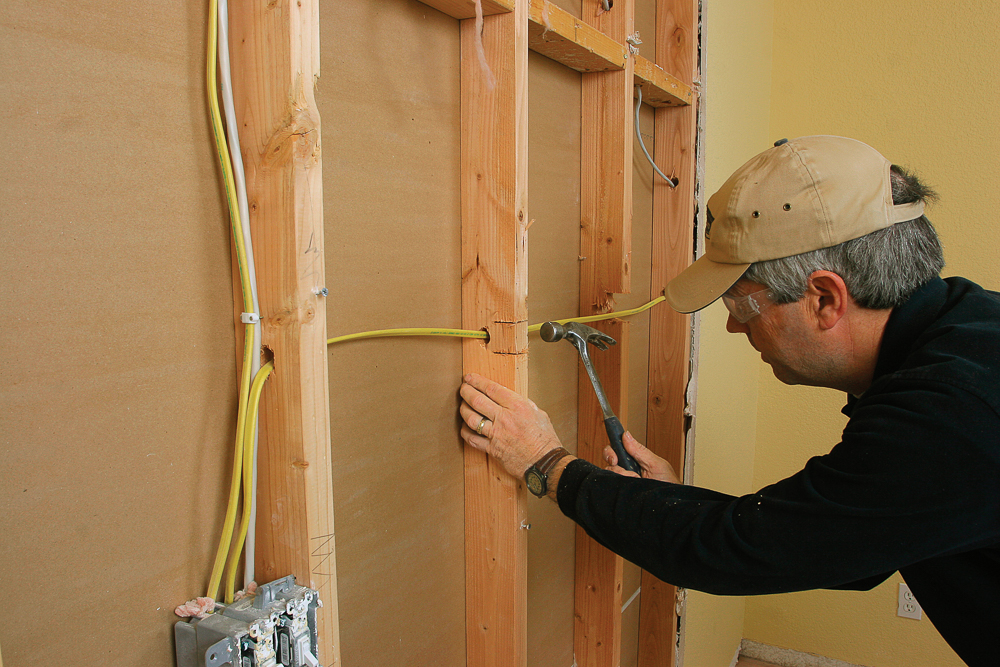
Chances are good that electrical wires are running in and through the wall you want to remove. Light switches, fixtures, and outlets are obvious indicators, but don’t think that they tell the whole story. Look in the basement and attic for cables that enter or exit the wall.
Turn off the power to the circuits you discover before even starting to remove the plaster and lath or the drywall. It’s possible that old wiring in the wall could be in bad shape. Even if it’s not, though, accidentally loosening or damaging wires during demolition can cause immediate and latent danger, including shock, electrocution, and fire. Even after you’ve done your electrical investigative work, be ready for weird stuff. Cliff Popejoy, an electrical contractor in Sacramento, Calif., was called to a house after the homeowner got a shock from touching the washing machine and the wall at the same time. Two of the walls were plaster on metal lath, and both were energized to 120v because a piece of lath was touching the hot terminal of a non-GFI receptacle.
Once you are inside the wall, dealing with electrical wiring means rerouting or dead-ending circuits. An electrician is the best person to do the job. If you’re tackling it yourself, though, keep these things in mind.
The best way to reroute cable is to remove it back to the last undisturbed box (at a receptacle, switch, or fixture) and to run new cable. This is easy with modern (grounding) nonmetallic (NM) cable. If the wiring is old armored cable, flexible metal conduit (EMT), or knob-andtube, it’s time to check with the code official to see what materials must be used.
If the part of the wiring that you’re removing doesn’t feed anything and you can’t follow the wiring back to an existing box, you need to dead-end the wiring in its own electrical box. Code requires that the box be accessible. If you can’t put it in a basement, a crawlspace, or an attic, you’ll have to put it in a wall or cabinet and cover it with a blank plate.
Although low-voltage wiring (doorbell, thermostat, intercom, telephone, cable, etc.) can be spliced outside a box, it’s bad practice to seal a splice inside a wall. Follow the wire back to the attic, the crawlspace, or the basement, and splice the cable there. Or use a low-voltage ring and a blank coverplate in the wall so that the splices are accessible.
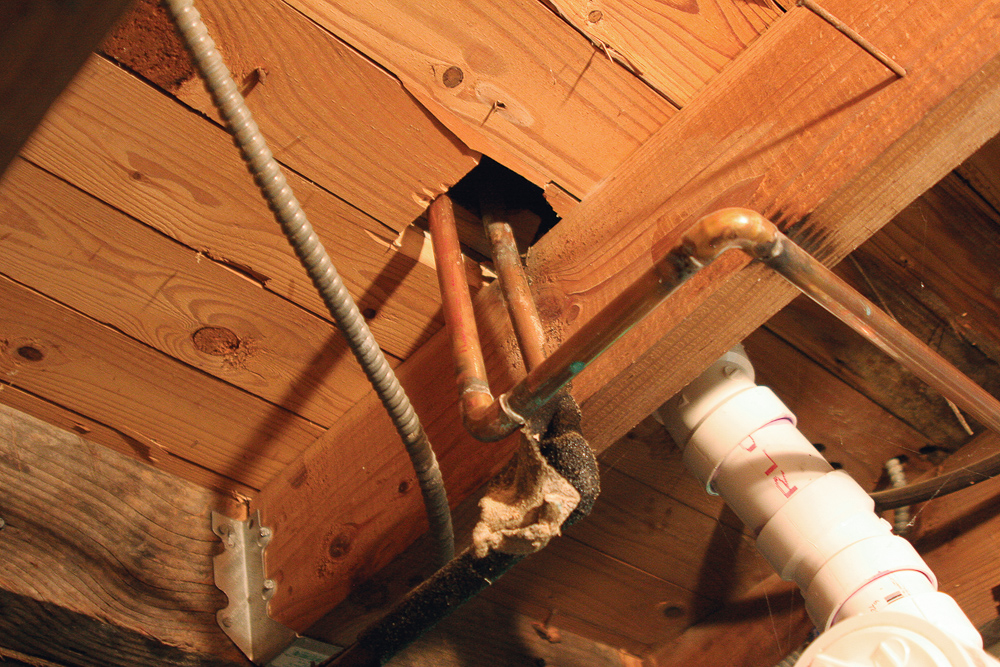
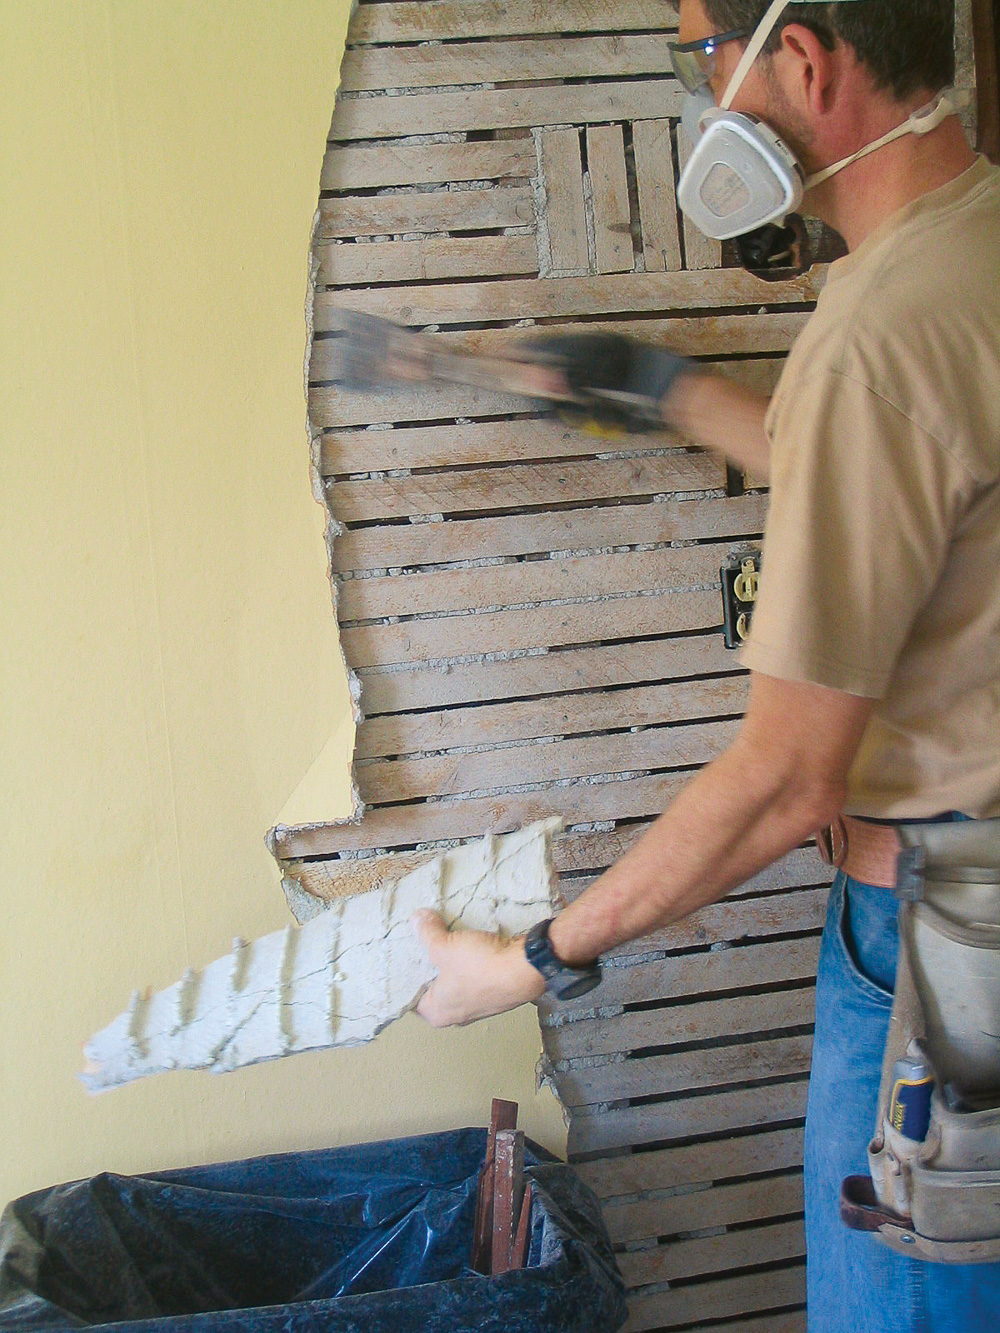
See pipes? Think flood insurance
If you’re lucky, electrical cable will be the only thing you have to deal with, but don’t proceed under that assumption. Unlike electrical cable, pipe generally runs in a straight path, so it is fairly easy to sleuth out. Check in the basement for plumbing lines and in the attic for vent pipes.
There aren’t as many indicators of hidden pipe as there are of electrical work. The proximity of kitchen faucets and bathroom fixtures can offer some clues. If you suspect there is plumbing in the wall, turn off the water at the closest shutoff before beginning any demolition.
There are lots of good reasons to hire a licensed plumber to reroute supply, drain, or vent pipes. Most states allow nonlicensed plumbers to remove only fixtures that are attached to a shutoff valve; anything beyond the shutoff valve, as well as drain and vent piping, must be removed and rerouted by a licensed plumber.
But the best reason could be that licensed plumbers have insurance to cover damage caused during remodeling work. While modern copper and PEX plumbing can be resilient, jostling old galvanized and copper pipe can weaken joints elsewhere. And given the fact that 4-in. cast-iron pipe weighs about 2 lb. a foot, removing 8 ft. from a stack can be dangerous.
Black iron and flexible gas lines are another concern. These lines should be rerouted only by a licensed gas contractor.
All this investigative work will pay off by giving you a good idea of what’s lurking behind the finished surfaces. When the trim and wallboard are gone and the studs and plates are down, you might have to reroute some wires or pipes, but you won’t
be scrambling to make emergency repairs.
Investigate what’s in the wall

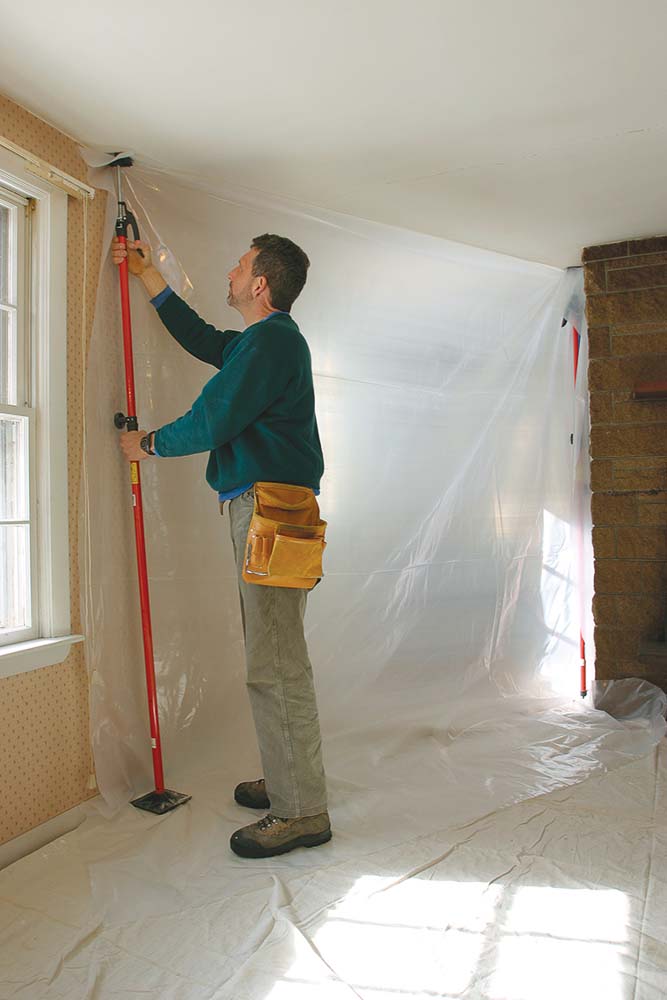
Protect floors, and manage dust
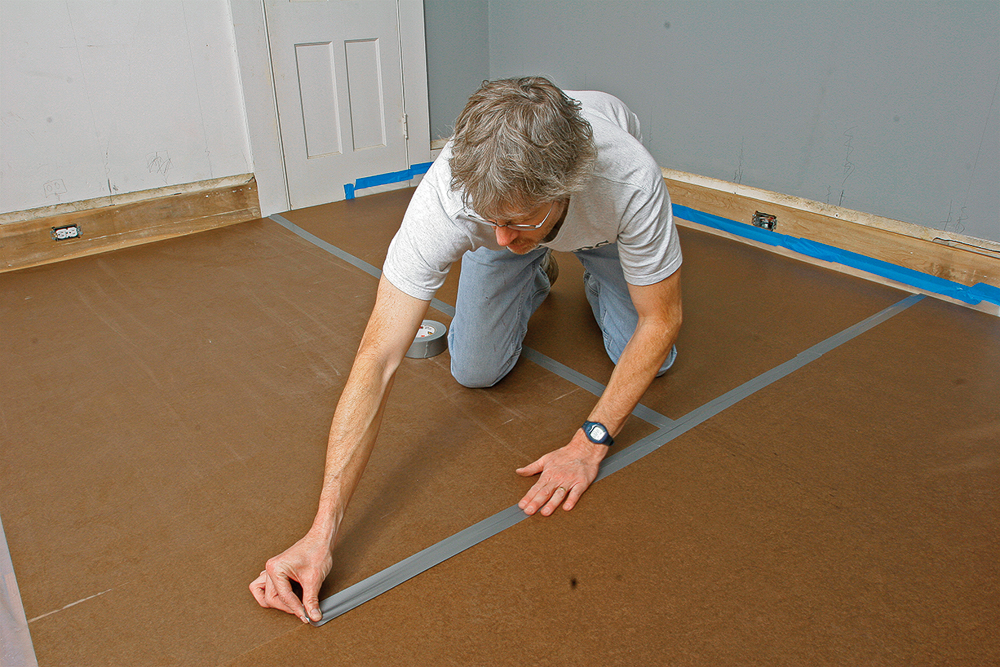
Thick protection in a roll. Ram Board (www.ramboard.com; about 16¢ per sq. ft.) offers good protection and comes in rolls. It’s durable, easy to install, and reusable. It won’t take a beating like Masonite, but it comes close.
Inexpensive, but thin. Red (or brown) rosin paper is readily available and cheap (about 3¢ per sq. ft.), but it won’t take much of a beating. Save it for tiled or carpeted floors.
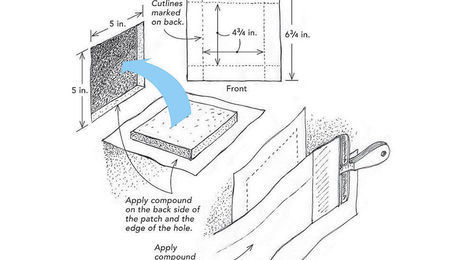
Dismantle the wall, don’t demolish it: tips for careful deconstruction

Drawings courtesy of Christopher Mills; Photos courtesy of Justin Fink, Brian Pontolilo, and John Koss.
RELATED LINKS