14 Tips for Bath Plumbing
From the supply lines to the waste line, these simple rules will make your work better.

Synopsis: When it comes to plumbing, it’s easy to make simple mistakes that can haunt you days, weeks, or even years later. In this article, veteran plumber Mike Lombardi offers 14 tips that will help you to improve your rough plumbing work in bathrooms. Lombardi’s advice includes the following tips: dry-fitting and assembling fittings before installing them; using the right number of wraps of tape; using pipe dope; wearing safety gear; wiping soldered joints; knowing wall finishes; mixing and matching tubing styles when appropriate; securing vents and stacks before cutting; reaming pipe cuts; using the right glue; including cleanouts; using the right slope; using dish soap for flexible couplings, and using air-admittance valves.
I’ve been a plumber for almost 40 years. I learned the trade from some really good plumbers, but I’ve also learned from making mistakes and seeing the mistakes of other pros and amateurs. This experience has made me a better plumber and has helped me to build a loyal clientele. A recent job, a full bath remodel at Fine Homebuilding’s Project House, offered the perfect opportunity to share some of my favorite hard-earned lessons for better and easier bath plumbing.
The job included moving the sink and the toilet to make room for a new barrier-free tile shower, so we tackled all the typical full-bath rough-in tasks. We used as many cost-saving strategies as we could think of, provided they didn’t sacrifice the quality or the longevity of the job. One thing that always makes jobs like this go easier is to have locations for fixtures, tile, and plumbing decided well before rough-in starts. Changes and rework can quickly blow any budget. Plumbers and tile setters don’t like redoing their own work, and they will charge accordingly to fix problems resulting from poor planning.
14 Tips for Bath Plumbing:
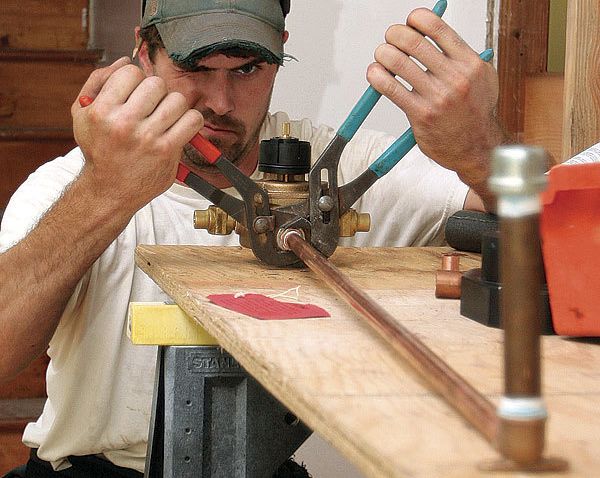
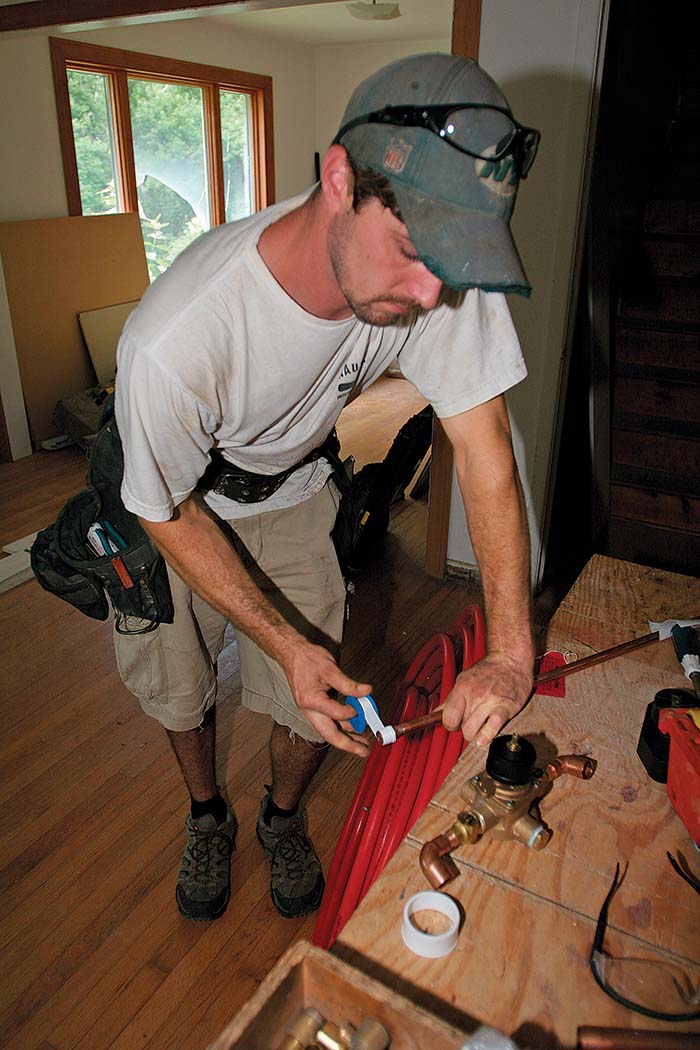
1. Assemble what you can. It’s often easier to dry-fit and assemble fittings before tucking them into a stud or joist cavity. For example, attaching the supply lines and shower arm before putting the mixing valve into the wall provides more room for turning wrenches and pliers.
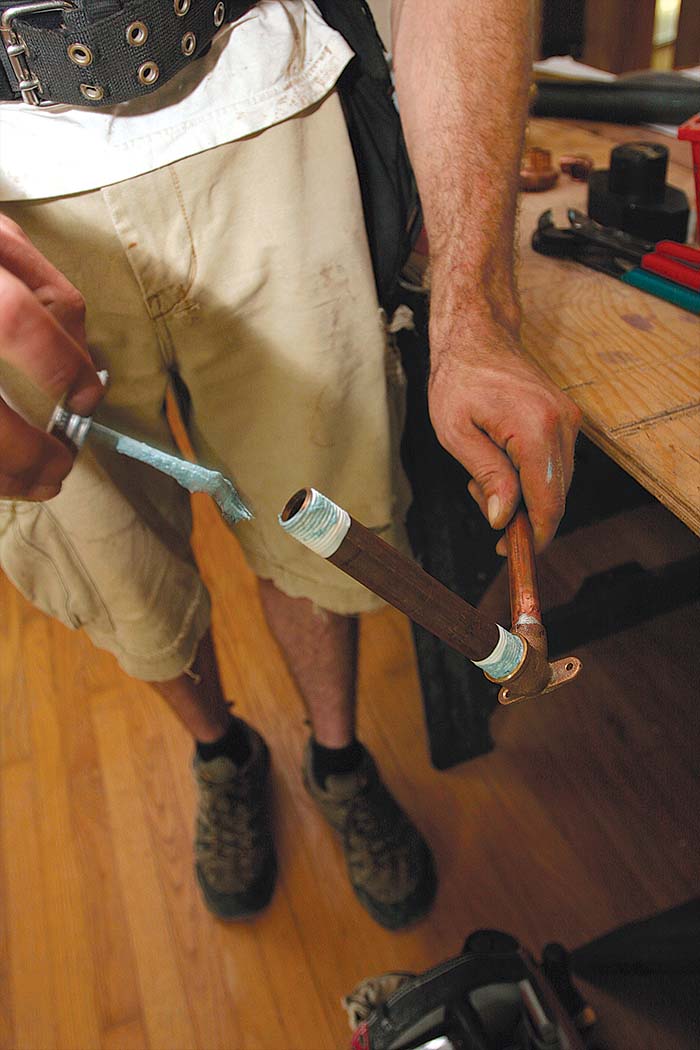
2. Use the right number of wraps. Start threaded connections by covering the male side of the fitting with three wraps of Teflon tape. Larger pipes will take up to six wraps. Wrap the tape in a direction that follows the pipe or fitting as it’s tightened.
3. Use pipe dope, too. Thread-sealing compound lubricates the tape so that it doesn’t shred, and it also provides extra insurance against leaks. The author prefers Hercules Megaloc (herchem.com) non-hardening thread sealer.
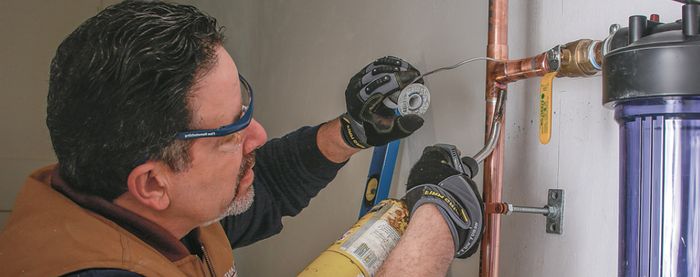
4. Wear your safety gear. Spattering solder, dripping PVC primer and glue, and general overhead work contribute to the high incidence of on-the-job eye injuries among plumbers, so it’s important to wear eye protection. Pro-quality plumbing torches are loud, so wear hearing protection when soldering.
5. Wipe soldered joints. Best practice is to wipe soldered joints after you sweat them, but it’s not just about looking neat and clean. Soldered copper connections depend on a layer of flux, but flux is corrosive and should be removed while it’s still hot. Always use a dry rag to remove flux. A wet rag cools the joint too suddenly, resulting in a weaker connection.
6. Know the wall finish. The difference in thickness between one type of tile and another can determine if a shower valve’s handle and trim ring will fit. You often can order different trim kits to compensate for thick wall tile, but it’s easier to set the valve in the right spot.
7. Mix and match. PEX tubing saves labor and works great, but the author prefers the added rigidity of copper for supplying shower valves, shower arms, and valve stub outs. Insulating the copper reduces noise, saves energy, and prevents condensation, which can lead to mold growth.
8. Secure vents and stacks before cutting. Existing waste lines and vents are often perfectly serviceable, but you often need to add, move, or eliminate pipes during remodeling work. Secure existing pipes with two-hole straps before cutting into them, or risk bringing down all the pipe above you.
9. Ream pipe cuts. The little burrs left when you cut plastic drain pipe tend to snag whatever nastiness is passing through the pipe. Eventually, the rough edge creates a clog big enough to require professional drain clearing. Deburring also makes dry-fitting easier. Copper supply lines also should be reamed.
10. Use the right glue. PVC and ABS use different cements for joining pipe and fittings. ABS piping doesn’t require primer, but you should prime both male and female sides of any PVC connections. Ensure a neater job by holding the pipe or fitting so that excess primer drips off instead of running down the side of the pipe. Apply two coats of glue to the male side and a single, light coat to the female side of the connection.
 |
 |
 |
11. Include cleanouts. Code requires cleanouts where pipes transition from vertical to horizontal.
12. Use the right slope. Sloping waste lines from 1⁄8 in. to 1⁄4 in. per ft. allows proper drainage and keeps solid waste moving along.
13. Use dish soap for flexible couplings. Plumbers often depend on flexible couplings for making repairs and connecting the different kinds of pipe used in waste lines and vents. Make it easier to slide the tight-fitting couplings onto the pipes they’re joining by first adding a few drops of dish soap.
14. AAVs are your friend. Air-admittance valves allow air into drain lines while preventing sewer gas from escaping. They’re great for remodeling work, as they can replace many feet of vent piping. Just make sure they’re accessible. Covering them with HVAC return registers in inaccessible locations allows them to breathe and provides future access.
To view the entire article, please click the View PDF button below.


