
It’s best to mix a small amount of grout at first and learn to become consistent at preparing the material to the proper consistency. Grout goes off and become unworkable in only a few hours—less in hot weather.
You’ll need a small, clean bucket and a margin trowel for mixing the grout powder and water together. Follow the manufacturer’s instructions for mixing the powder with either water or water with a latex additive.
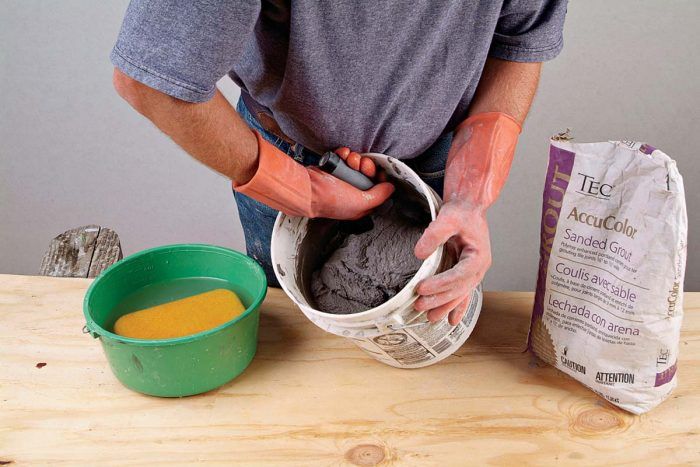
Start with less liquid than you think you need, adding the grout powder 1 to the bucket and mixing it thoroughly with a margin trowel 2. For really big batches, use a power mixer.
Gradually add more liquid as necessary by squeezing it from a clean sponge 3.
Keep stirring until the grout is thoroughly mixed, with no puddles of water or pockets of unmixed powder. Ideally, the final mix should have a soft, but not slushy, consistency that resembles peanut butter or toothpaste. The grout should have a sheen but not be too shiny or wet looking.
After mixing, allow the grout to slake for 10 minutes (or according to the directions on the bag). Slaking is a physical and chemical reaction that allows the liquid to penetrate and dissolve all of the components of the grout. It’s very important to allow this rest period because slaking directly affects the final density, shading, and color of the grout. After slaking, stir the grout thoroughly without adding any additional liquid. The mixture may seem stiff at first, but adding liquid will weaken the grout.
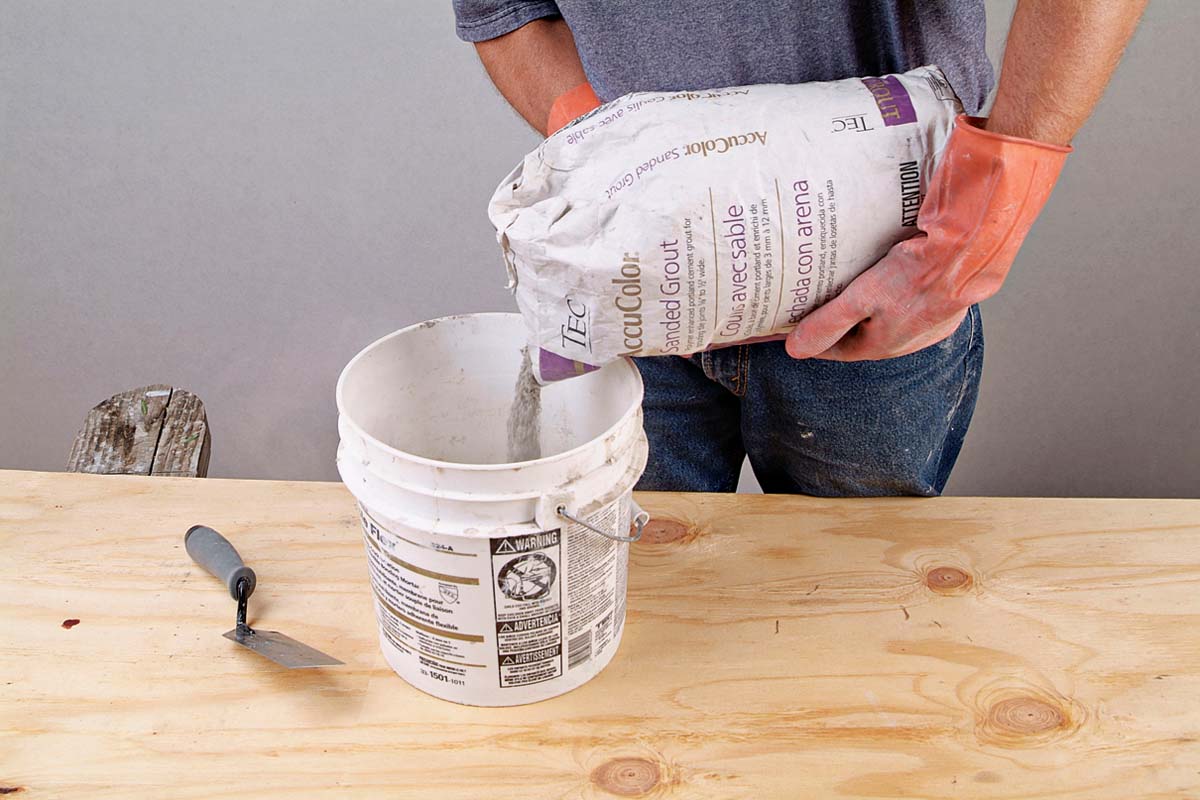 |
1. Always pour dry grout powder into the liquid, not vice-versa. |
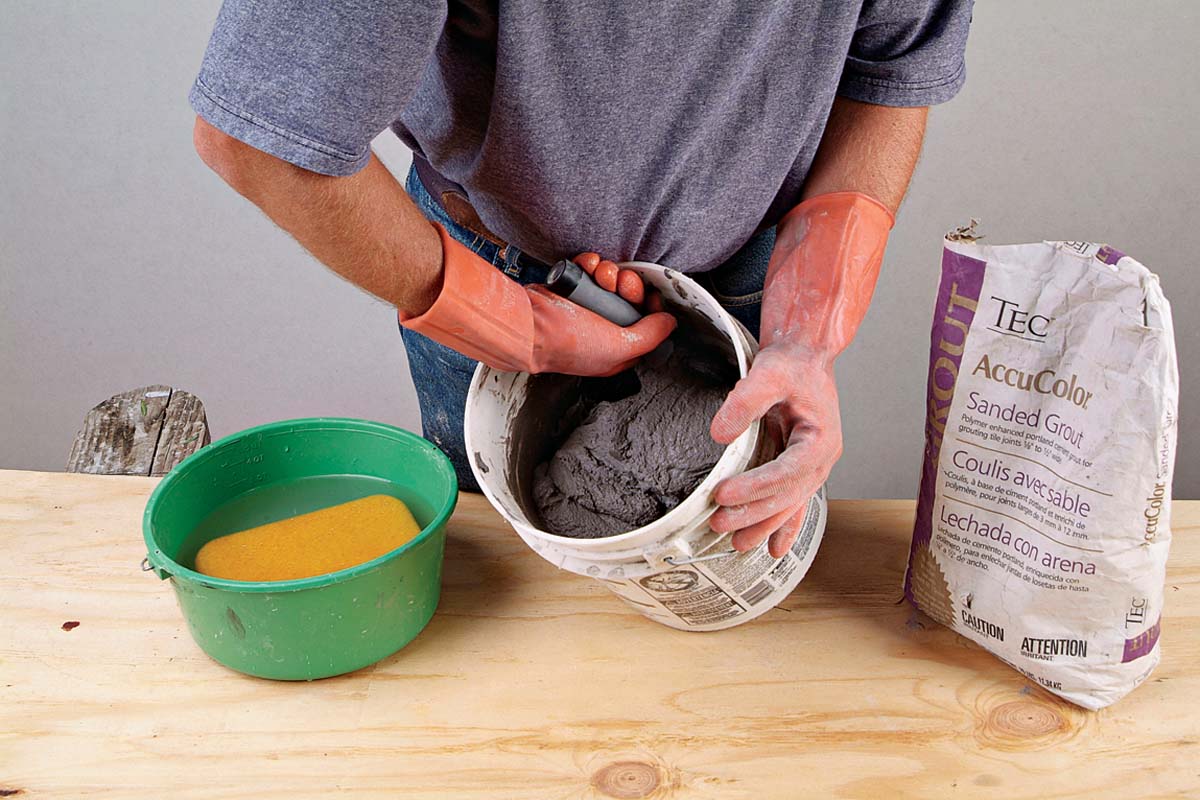 |
2. Mix grout completely, scraping the sides and bottom of the bucket. |
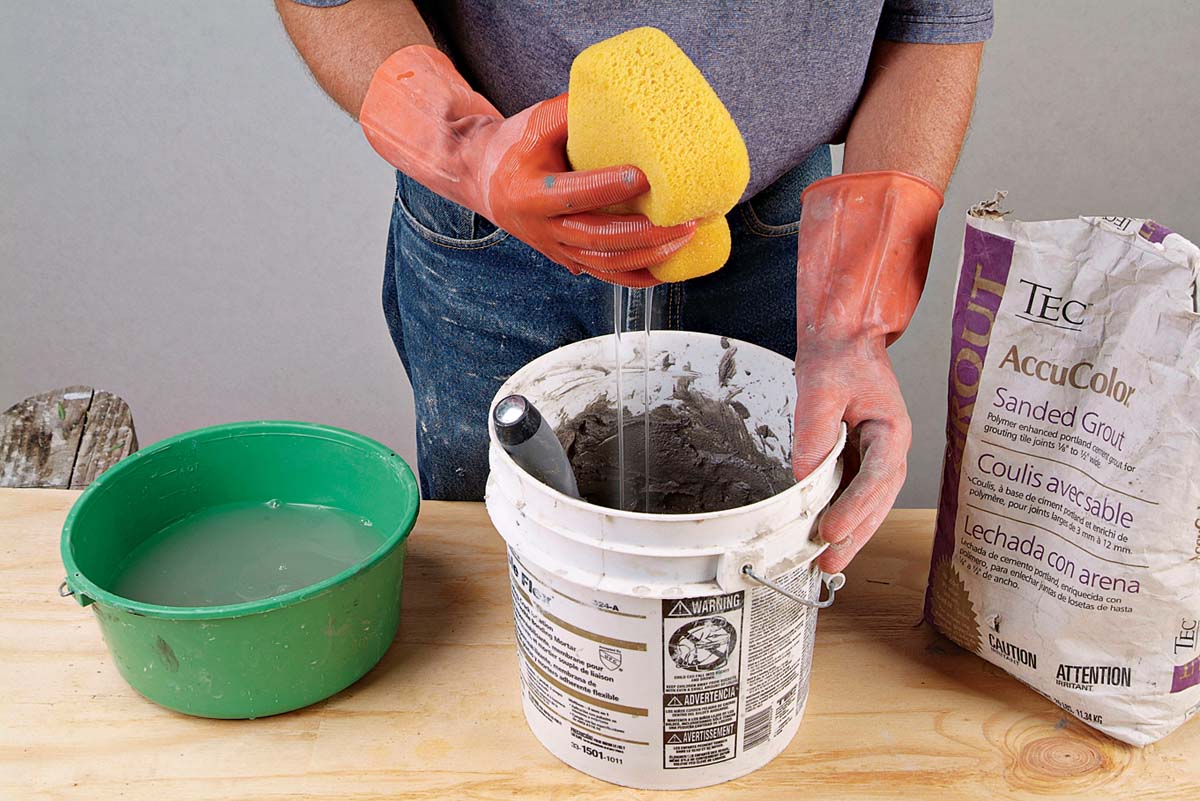 |
3. You can add water to a too-dry grout mix a little at a time by squeezing it from a sponge. |
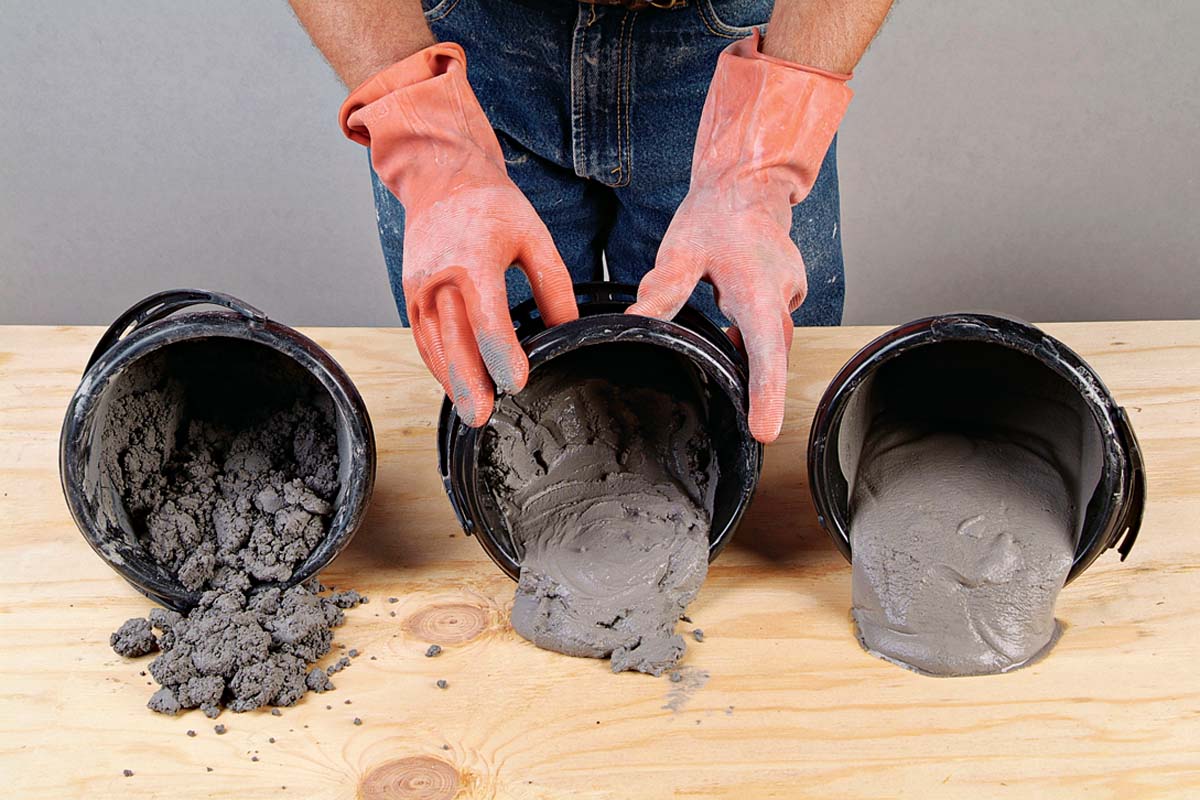 |
The bucket in the middle has the correct consistency. The grout on the left is too dry. The pourable grout on the right will dry to a weak powdery joint. |
| What can go wrong
Never dip a wet margin trowel or gloved hand into a box or bag of grout, as you’ll cause clumps in the powder. |
 Excerpted from Tiling Complete, 2nd Edition by Robin Nicholas and Michael Schweit.
Available in the Taunton Store and at Amazon.com.

