The Practical Details of Kitchen Islands
Countertop dimensions, available workspace, and traffic flow all play a big part in getting the most out of your kitchen island.

Synopsis: Associate editor Matthew Millham explains the code requirements and practical decisions when it comes to designing a kitchen island. With detailed drawings, he describes how to best utilize the available space and determine clearances, where to set the height of the counter and placement of fixtures, and the proper dimensions of landing areas and seating heights. He also outlines the requirements for under the counter—electrical, plumbing, venting, and storage.
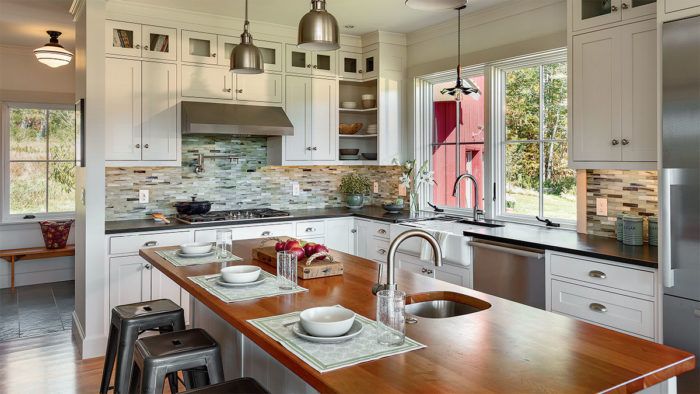
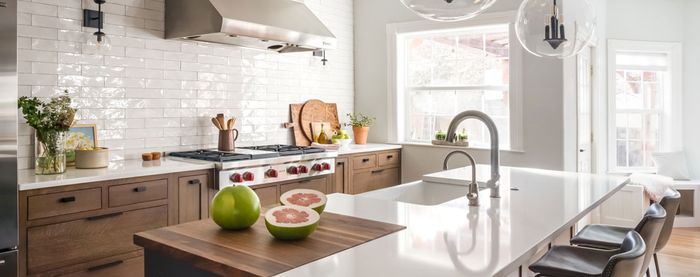
Oh, the kitchen island. Almost everybody seems to want one, and for good reason. With the kitchen and entertaining spaces of homes increasingly melding together, islands serve numerous purposes. They’re transitional areas, where one side may pull double duty as a homework desk and dining counter. They help define the area between the kitchen and the space beyond. They’re social gathering places that allow the cook to interact with family and guests. But ultimately, they’re part of the kitchen, and they need to play nice with it.
Before even thinking about aesthetics, it’s important to nail down the practical details. Above all, an island should add functionality and efficiency to a kitchen, not hamper them. Here are some guidelines and ideas to help you get the most out of your kitchen island and get the thumbs-up from code-enforcement officers.

Clearances Determine Available Space
Even a small island has big space requirements. The National Kitchen and Bath Association (NKBA) recommends that work aisles be at least 42 in. wide for one cook and at least 48 in. wide for two or more cooks. Walkways that pass around the island should be at least 36 in. wide. If the island has a seating area, and no traffic passes behind the seated diners, the recommended minimum space from the edge of the counter to an adjacent wall or obstruction is 32 in. For room to shuffle behind seating, increase the distance to 36 in. For walking room, bump it up to 44 in.
Practically, what does that mean? Say you have a 3-ft. by 5-ft. island. For a rough estimate, figure 42 in. all around. The actual space required to accommodate this modest island is 120 sq. ft. These are just guidelines, though, not code requirements, and they’re considering the “average” user. Families or cooks that are on the petite side can easily get away with narrower work aisles.
The Work Triangle Still Works

The work triangle has been the backbone of efficient kitchen design for more than half a century, and it revolves around the three primary work centers—the sink, the range, and the refrigerator. These elements are typically arranged in a triangle, with no leg less than 4 ft. long, and none longer than 9 ft. Nothing should get in the way of any leg of the work triangle—including an island. Think about how you move through the kitchen, and how many times things will need to be moved to go from storage to prep to cooking. Keeping the work triangle free of obstructions reduces unnecessary moves. Incorporating a work center or two into the island can keep it from becoming an obstacle to efficiency. If it obstructs workflow, reconsider the size, shape, and placement of the island, or whether you should have one at all.
To view the entire article, please click the View PDF button below.
Fine Homebuilding Recommended Products
Fine Homebuilding receives a commission for items purchased through links on this site, including Amazon Associates and other affiliate advertising programs.

A House Needs to Breathe...Or Does It?: An Introduction to Building Science

Homebody: A Guide to Creating Spaces You Never Want to Leave

Not So Big House


View Comments
This is one of the most well-written pieces I’ve seen regarding kitchen design.