
Upside-Down Roofing
Faster, safer, easier—instead of shingling from the bottom up, we're shingling from the top down.
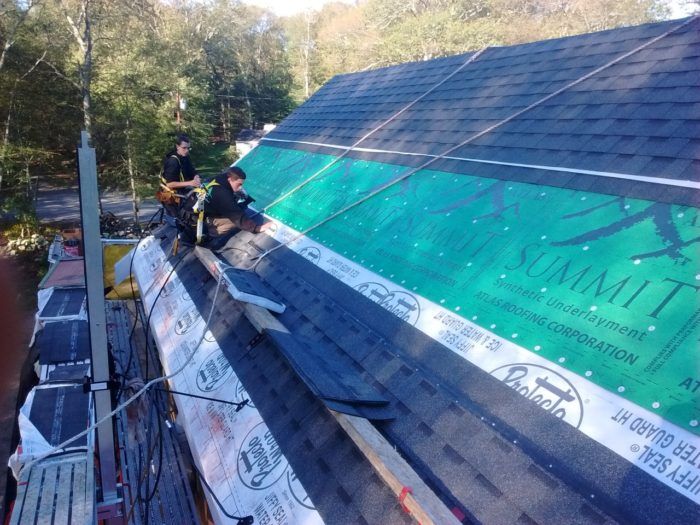
It sounds counterintuitive, but on a steep roof like the one on the FHB House (10-in-12 pitch), it is often faster to shingle the roof in sections starting at the top and working backward to the eave edge. When Nick Addy and I installed the underlayment, we positioned roof jacks and planks about 6 ft. apart up the south-facing roof slope. I worked off the planks to install the rake drip edge, and when the boom truck delivered the shingles, I scattered bundles along the planks ready for installation. This is one of the advantages of top-down shingling — we can install and load the roof staging and avoid the effort of shuttling bundles around on the roof. Plus, we don’t have to walk up and down the lower shingles, scuffing them along the way.
We marked a layout to match the Atlas shingle exposure — a convenient 6 in. — starting from the top of the eave-edge shingle course (14 in. above the drip edge = height of the shingles). Then we snapped chalklines for every course. While we could have snapped every third or fourth line to guide shingle alignment, it only takes a couple extra minutes to snap all the lines.
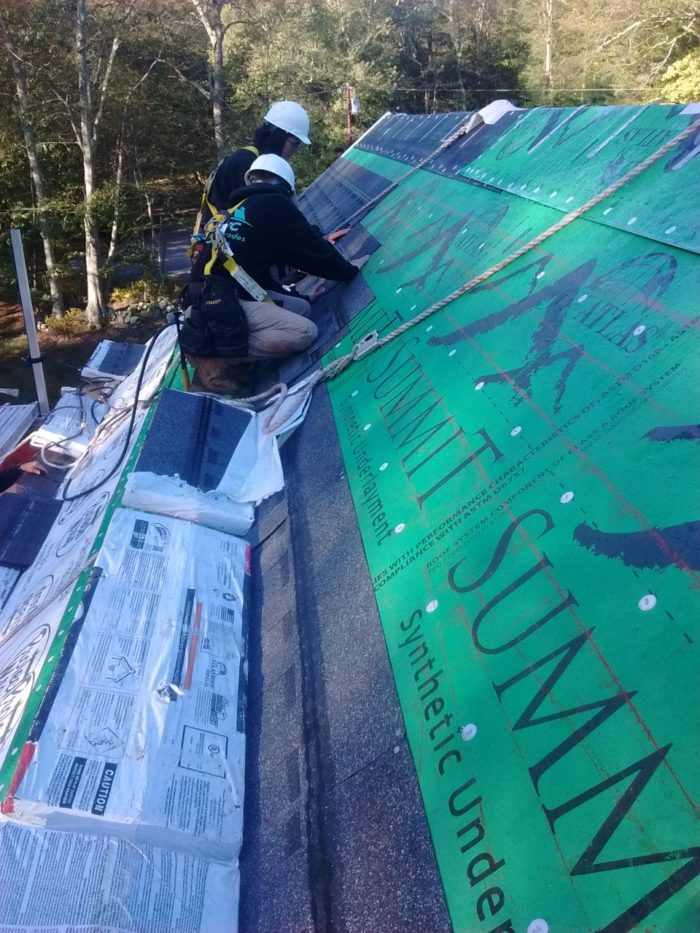
Starting with the first full shingle that fits above the plank, we nailed the first course with two nails at the top of each shingle — not on the nail line. Later, we’ll need to lift the shingles in this course to slip shingles in from below, so nailing high is a necessity.
While one of us cut starter shingles and shingles to end out the courses at the opposite rake, the others installed shingles. Just like roofing from the bottom up, Nick and Addy installed shingles across the roof area from plank to ridge. After breaking down the plank and jacks that supported us on the upper section, we started installing shingles in the middle section. We installed the first courses of shingles in the same fashion, by nailing along the top edge and then shingling up the slope in the regular way up until we hit the upper section.
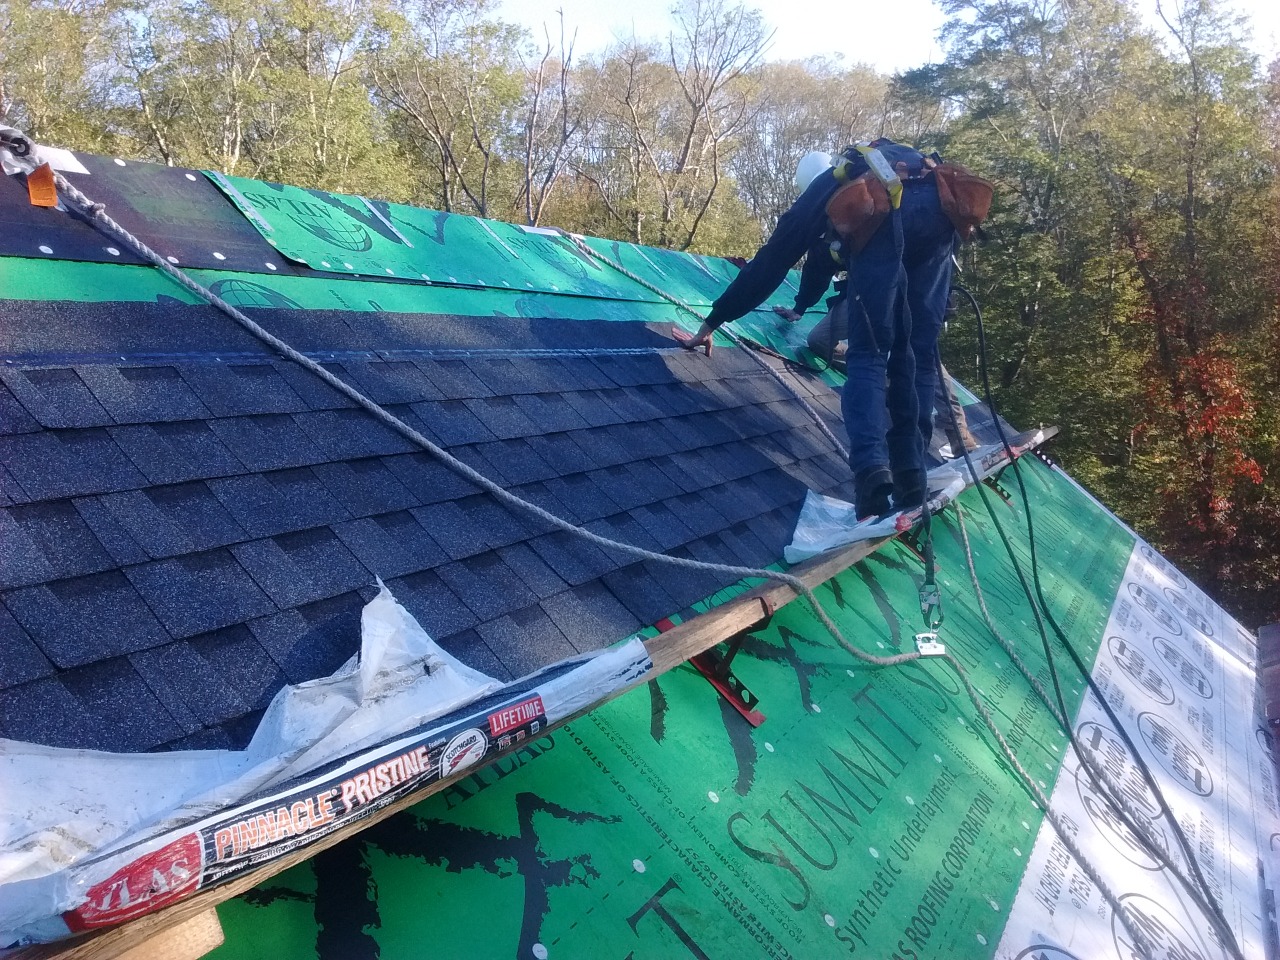
Top-down roofing slows down a little when joining a lower section into an upper section. The first course in the upper section has to be lifted in order to slide and nail down the last course of the lower section in place. Then the second course in the upper section has to be lifted so the first course in the upper section can be nailed off. This is easy to do as long as the shingles in the upper section haven’t sealed together.
|
|
|

If it’s cold out, the shingles don’t seal right away, but when it is hot or sunny, the self-sealing strip can reach activation temperature and bond before we shingle the section beneath. To prevent this, we slipped a strip of release film I saved from a roll of peel-and-stick flashing tape between the shingle courses.
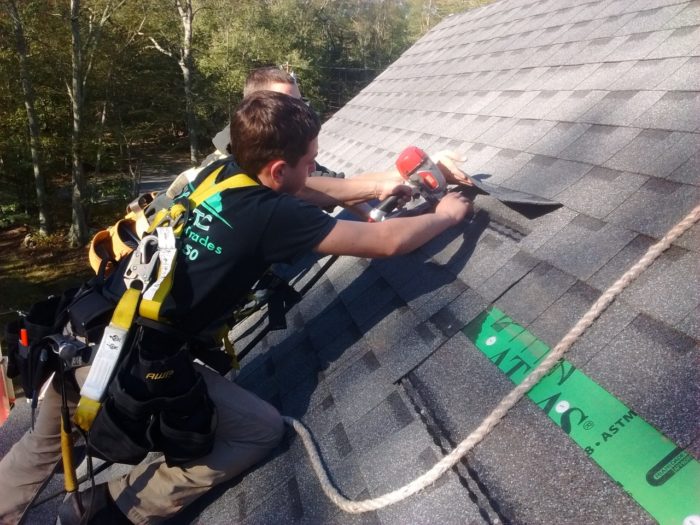
After I repositioned the pump-jack braces down to the wall, the guys finished off the last three courses of shingles along the eve edge before moving on to the front of the house.

Fine Homebuilding Recommended Products
Fine Homebuilding receives a commission for items purchased through links on this site, including Amazon Associates and other affiliate advertising programs.
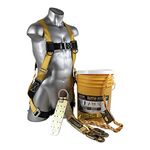
Fall Protection
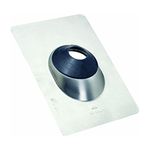
Flashing Boot

Roof Jacks

View Comments
What is the procedure for top-down with a valley? Also, I have a house that needs a tear off of at least two layers - any tips on setting up planks for a tear off?