
Making Receptacles Flush
Add plastic spacers or goof rings to bring receptacles or switches flush with the surface when the box itself isn't flush.
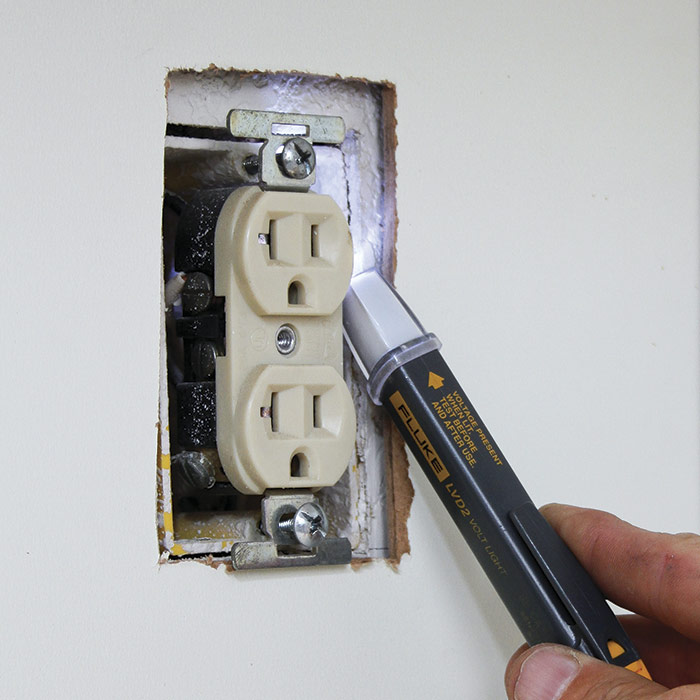
Before starting this repair, turn off the power to the outlet and test to be sure it’s off.
Outlet boxes installed below finish surfaces are a common problem in older homes. In some cases, box edges were installed flush but remodelers later drywalled over existing walls in bad shape. Code allows a maximum box setback of 1⁄4 in. from noncombustible surfaces. If box edges are deeper than that, you must add a goof ring (box extender) to make box edges flush, as explained in the following section.
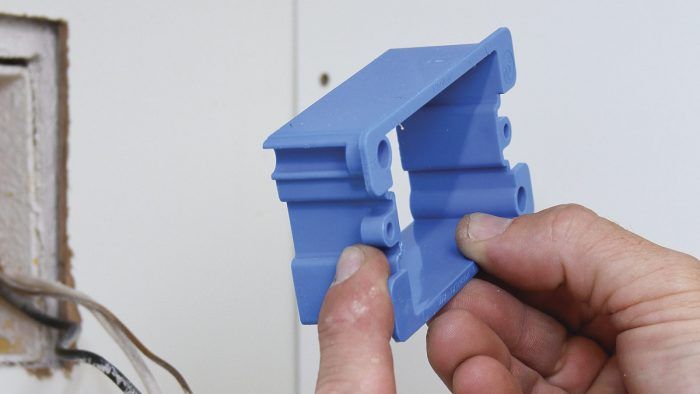
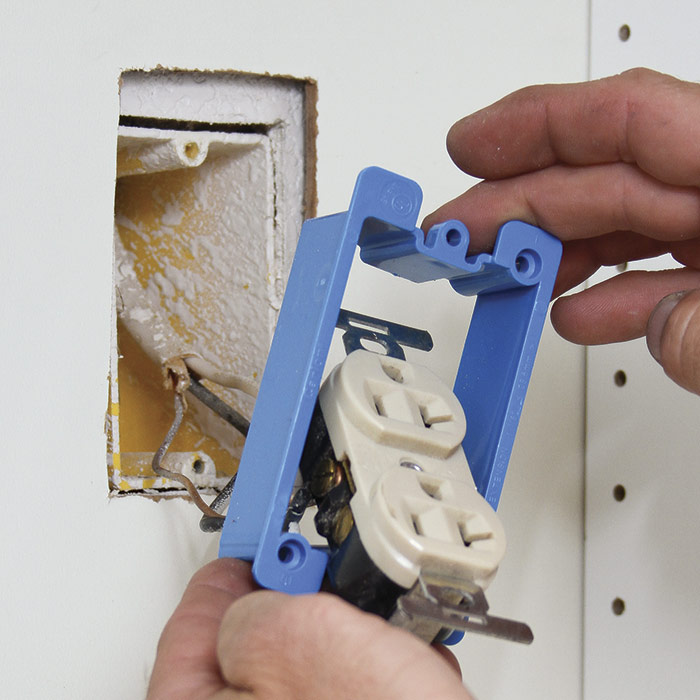
If an outlet box is only slightly below the surface, however (1⁄4 in. or less), you should still bring the device flush to the drywall to mount it securely. If you’re using adjustable boxes in new work, that’s not a problem because you can turn a screw to raise the box until it’s flush. But a nail-on box below a drywall or a plaster wall calls for a different solution: plastic spacers 1.
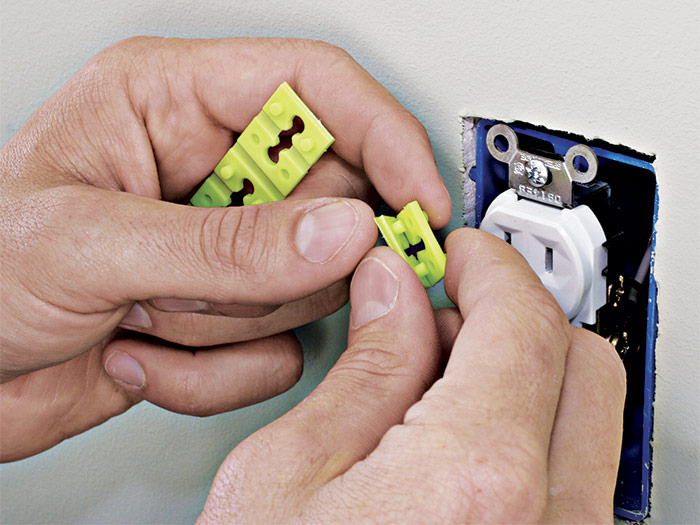
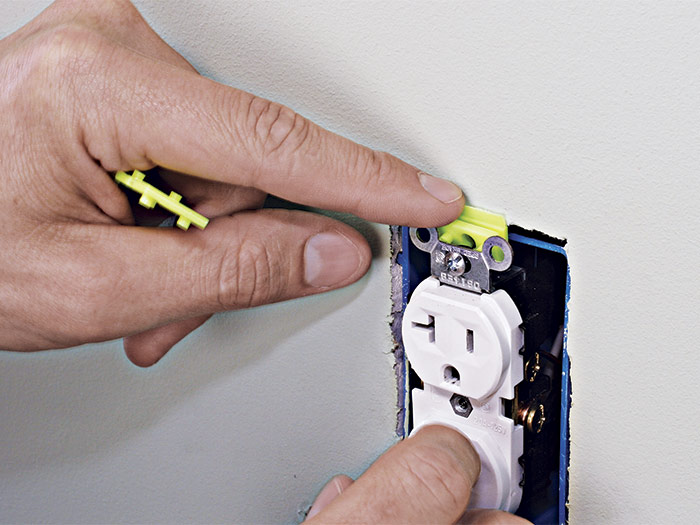
Sometimes called caterpillars, plastic spacers build up the level of the receptacle or switch so its mounting tabs are flush to the drywall. These spacers take up the space between the mounting plate on the box and the device. Break off pieces from the strip; the style shown in the photo’s folds. Insert the spacer behind the screw tabs, tighten the mounting screws, and the box will be snug 2.
Avoid the temptation to use the plastic cover plate to pull a device up to the surface. After a plug is inserted into the receptacle a few times, the receptacle moves and the cover plate cracks, which is both unsightly and unsafe. In time, wire connections to a device can loosen and the resultant arcing may cause a house fire.
Getting Box Edges Flush
If an outlet box is more than 1⁄4 in. below a noncombustible surface, use an add-a-depth ring (aka a goof ring or a box extender) to make box edges flush. Plastic goof rings, being nonconductive, are best.
Before starting this repair, turn off the power to the outlet and test to be sure it’s off. If this condition has existed for some time, it’s also wise to plug in a circuit analyzer 1 to see if the circuit is correctly wired. Remove the plastic cover plate to expose the conductors in the box and test again 2. Once you’ve again verified that the power is off, unscrew the device and pull it out from the box.
 |
 |
 |
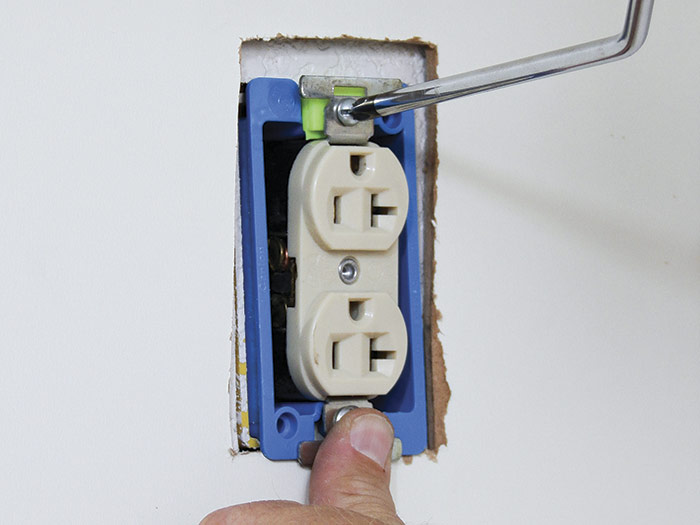
Slide the plastic goof ring over the receptacle and fit both back into the outlet box 3. As most goof rings have integral spacers 4, you may not need to use plastic spacers to make the device flush. In the example shown, the cabinet back was not parallel to the wall (and to the outlet box behind it) so the electrician added plastic spacers behind the top mounting tab of the receptacle 5. When the cover plate was reinstalled, it now sat flush and the receptacle was solidly mounted.
 |
 |
Note: The cabinet back was particleboard, so the goof ring also corrected another code violation: Outlet boxes must be completely flush with combustible surfaces such as wood paneling or wood composites, with no gaps around the box.

Excerpted from Wiring Complete, 3rd Edition (The Taunton Press, 2017) by Michael Litchfield and Michael McAlister
Available in the Taunton Store and at Amazon.com.

