FHB Logo Facebook LinkedIn Email Pinterest Twitter Instagram Plus Icon Close Icon Navigation Search Icon Navigation Search Icon Arrow Down Icon Video Guide Icon Article Guide Icon Modal Close Icon Guide Search Icon Skip to content
Subscribe

In every issue you'll find...

  • Expert insights on techniques and principles
  • Unbiased tool reviews
  • Step-by-step details to master the job
  • Field-tested advice and know-how
Subscribe Now!
Subscribe
  • How-To
  • Design
  • Tools & Materials
  • Videos
  • Blogs
  • Forum
  • Magazine
  • Members
  • FHB House
  • Podcast
  • Join
  • Log In
Subscribe

Fine Homebuilding Project Guides

Framing

Guide Home
Chapter
  • Introduction to Framing
  • Framing Tools, Techniques, and Materials
  • Framing Floors
  • Framing Walls
  • Framing Stairs
  • Framing Roofs
  • Efficient Framing Methods
  • Timber Framing
How-To

Framing and Sheathing Floors

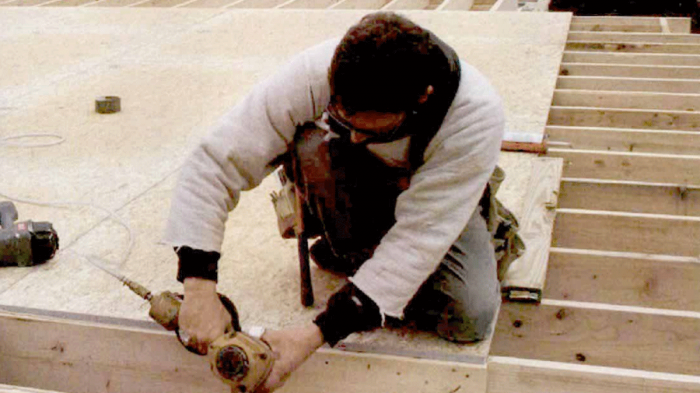
If you do the layout carefully and precut all the joists, the floor will go together quickly like a giant jigsaw puzzle.
By Rick Arnold, Mike Guertin Issue 117

Synopsis: Two carpenters explain their approach to framing and sheathing floors, which includes careful planning and labeling parts and pieces to avoid confusion. They also make a case against bridging, the mid-span bracing installed between floor joists.


We’ve finished backfilling the foundation, and the mudsills are level and square. Now the real fun begins: saws screaming, hammers humming, sawdust flying. But as anxious as we are to shift into high-gear production mode, we always approach the task of floor framing methodically and thoughtfully. With this strategy, everything goes together right the first time, and the reciprocating saw and the cat’s paw stay in the toolbox where they belong.

A good framing plan streamlines layout and installation—Before we even think about getting our tools out, and usually before breaking ground, we start our floor on paper with a framing plan. Most of the house plans we work from do not include a framing layout, so usually we create our own.

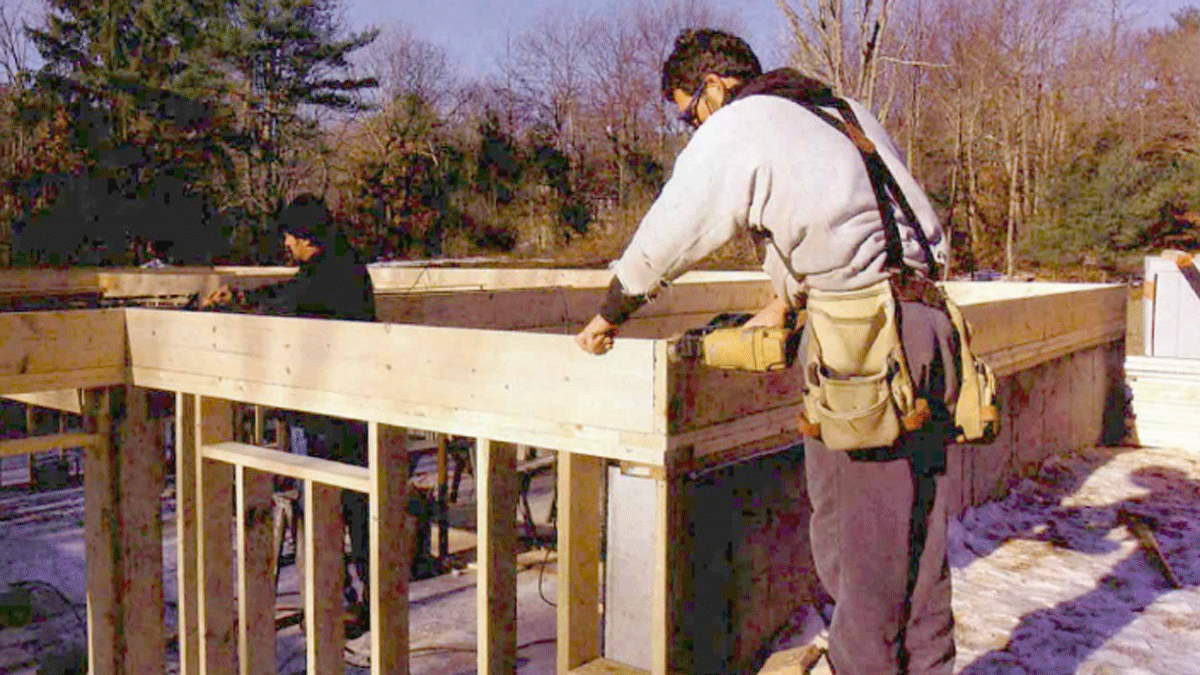
Builder framing a house

First, we choose the best starting point for the joist layout to minimize the number of joists and the subfloor waste. After looking at how the house is laid out (where the jogs are; how the roof trusses will be laid out; where bearing walls are; where toilets, tubs and showers fall), we decide where to begin the layout. With the house featured in this article, the natural starting point was the front left corner because of the two adjoining sections where the joists changed direction. When in doubt, we usually pick the 90° corner that has the longest uninterrupted legs. All smaller sections are then blended into the larger layout.

On our plans we draw lines for each joist, header, in-floor beam and any special framing details for the house. By using a different colored pencil for each joist length, we can use the plan for accurate material ordering later. When materials are delivered, the joist plan also enables us to direct the different-length 2xs to the appropriate areas of the floor with just a glance.

We try to have a preliminary meeting (or at least a couple of quick faxes) with the plumber and heating contractor to identify any joists that might pose a problem with their systems. We can also alert each contractor if we see that both of them expect to fill the same joist bay. By moving a joist a couple of inches to one side or to the other, we sometimes can resolve competition for space. We generally try to avoid having a joist positioned directly below a wall above, and knowing which interior walls will contain vents, drains or ductwork keeps us from placing a joist where it might have to be cut.

framing and sheathing floors magazine spreadFrom Fine Homebuilding #117

For more photos and information on framing and sheathing floors, click the View PDF button below. 


Sign up for eletters today and get the latest how-to from Fine Homebuilding, plus special offers.

Signing you up...

This site is protected by reCAPTCHA and the Google Privacy Policy and Terms of Service apply.
See all newsletters
See all newsletters
View PDF
Previous: The Well-Framed Floor Next: Framing Floors and Stairs with Larry Haun

Guide

Framing

Chapter

Framing Floors

Log in or create an account to post a comment.

Sign up Log in

Become a member and get full access to FineHomebuilding.com

Framing

Framing

Trusted, in-depth guidance from the pros for framing a durable, code-compliant house

View Project Guide

View All Project Guides »

Become a member and get unlimited site access, including the Framing Project Guide.

Start Free Trial

Introduction to Framing
  • House Framing Concepts, Tips, and More
Framing Tools, Techniques, and Materials
  • Tools
  • Techniques
  • Framing Lumber
  • Steel
Framing Floors
  • Floor Framing
  • Engineered Floors
  • Floor Sheathing
Framing Walls
  • Wall Framing Basics
  • Layout
  • Wall Assembly
  • Raising and Straightening Walls
  • Framing Rough Openings
  • Blocking
Framing Stairs
  • Stair Layout
  • Building Stairs
Framing Roofs
  • Roof-Framing Basics
  • Roof Design
  • Laying Out and Cutting Rafters
  • Framing Valleys
  • Working with Trusses
  • Dormers
  • Special Situations
Efficient Framing Methods
  • Advanced Framing
  • Double-Stud Walls
Timber Framing
  • Timber-Frame Construction
  • Timber-Frame Design

Fine Homebuilding

Follow

  • twitter
  • facebook
  • instagram
  • pinterest

Newsletter

Get home building tips, offers, and expert advice in your inbox

Signing you up...

This site is protected by reCAPTCHA and the Google Privacy Policy and Terms of Service apply.
See all newsletters
See all newsletters

Membership & Magazine

  • Online Archive
  • Start Free Trial
  • Magazine Subscription
  • Magazine Renewal
  • Gift a Subscription
  • Customer Support
  • Privacy Preferences

Taunton Network

  • Green Building Advisor
  • Fine Woodworking
  • Fine Gardening
  • Threads
  • About
  • Contact
  • Advertise
  • Careers
  • Copyright
  • Terms of Use
  • Site Map
  • Do not sell or share my information
  • Privacy Policy
  • Accessibility
  • California Privacy Rights

© 2023 The Taunton Press, Inc. All rights reserved.

X
X
This is a dialog window which overlays the main content of the page. The modal window is a 'site map' of the most critical areas of the site. Pressing the Escape (ESC) button will close the modal and bring you back to where you were on the page.

Main Menu

  • How-To
  • Design
  • Tools & Materials
  • Video
  • Blogs
  • Forum
  • Reader Projects
  • Magazine
  • Members
  • FHB House

Podcasts

  • FHB Podcast
  • ProTalk

Webinars

  • Upcoming and On-Demand

Account

  • Log In
  • Join

Podcasts

  • FHB Podcast
  • ProTalk

Webinars

  • Upcoming and On-Demand

Popular Topics

  • Kitchens
  • Business
  • Bedrooms
  • Roofs
  • Architecture and Design
  • Green Building
  • Decks
  • Framing
  • Safety
  • Remodeling
  • Bathrooms
  • Windows
  • Tilework
  • Ceilings
  • HVAC

Magazine

  • Current Issue
  • Past Issues
  • Magazine Index
  • Subscribe
  • Online Archive
  • Author Guidelines

All Access

  • Member Home
  • Start Free Trial
  • Gift Membership

Shop the Store

  • Books
  • DVDs
  • Taunton Workshops

More

  • FHB Ambassadors
  • Reader Projects
  • Podcast
  • Customer Support

Account

  • Log In
  • Join

Newsletter

Get home building tips, offers, and expert advice in your inbox

Signing you up...

This site is protected by reCAPTCHA and the Google Privacy Policy and Terms of Service apply.
See all newsletters
See all newsletters

Follow

  • twitter
  • facebook
  • instagram
  • pinterest

Join All Access

Become a member and get instant access to thousands of videos, how-tos, tool reviews, and design features.

Start Your Free Trial

Subscribe

FHB Magazine

Start your subscription today and save up to 70%

Subscribe

We hope you’ve enjoyed your free articles. To keep reading, become a member today.

Get complete site access to expert advice, how-to videos, Code Check, and more, plus the print magazine.

Start your FREE trial

Already a member? Log in