A Durable Roof-Valley Repair
Eliminate leaks with peel-and-stick membrane and metal flashing.

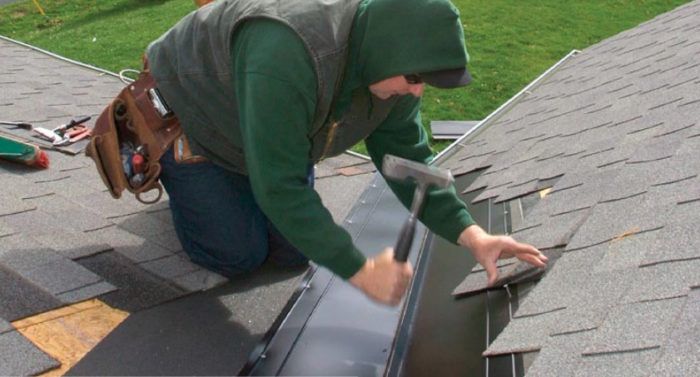
Synopsis: Roofing contractor Stephen Hazlett shows the proper steps and discusses the best techniques for repairing roof valleys, both woven and cut. Hazlett’s process involves using specialized tools such as a utility knife fitted with a hook blade, a roofer’s pry bar, and a metal seamer. His technique begins with the careful removal of old shingle, the placement of a waterproof membrane, and the installation of valley flashing, followed by the replacement of the roof shingles. Hazlett emphasizes the need for a clean, orderly process to make the repair long-lasting.
When I started my roofing business almost 20 years ago, I quickly found myself specializing in roof repair, mostly reflashing valleys and chimneys on older roofs. Years later, those projects are still my favorites. Repair work has provided me with an excellent opportunity to learn from other peoples’ roofing mistakes.
Old roofs usually aren’t worth fixing
The quality and efficiency of a valley repair are determined largely by how well you can unzip the old valley. Thirty-year dimensional shingles in pretty good shape are a perfect candidate for valley repairs. Old wafer-thin 20-year shingles usually are not worth repairing because they’re too delicate. It’s better to replace the entire roof than to fool around with patches. Ironically, 50-year shingles are nearly as unsuited to repairs, but for a different reason. The seal-down strip is too good, which makes it almost impossible to separate the shingles without causing extensive damage. Here’s one tip: You may be able to cut the seal-down strips on 50-year shingles using a long, thin knife, such as an old bread knife. Warm the blade with a heat gun, and use the back of the blade (not the serrated cutting edge) to slice through the sticky tar.
During warmer months, I usually start a valley repair around 7 a.m., when the shingles are cool and easy to separate. I try to unzip the valley quickly because by 9 a.m., the shingles are often too hot to separate cleanly. During cooler months, I start later (from 8:30 a.m. to 9 a.m.) to give the shingles a chance to warm enough to be pliable.
Roofing tools work better than carpentry tools
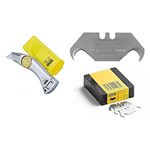
A few basic tools are necessary for a valley-flashing replacement project. First, you need a utility knife with a hook blade rather than one with a straight blade. The hook blade allows you to cut an underlying shingle from the top without damage to the membrane below. A standard utility-knife blade, on the other hand, forces you to cut from below the shingle with the blade tip protruding above the shingle being cut. This slow technique is a fit the flashing to the valley pain in the neck.
The second item is a roofing hatchet. I prefer an Estwing hatchet for its all-steel construction and its flat, blunt blade, which tapers to a wedge-shaped head. These features make the hatchet ideal for separating shingles from each other. With heavy weight and a short handle, this tool has enough punch even in tight spaces. Typical carpentry hammers are too light and have a long handle that interferes with the short strokes needed for remodel roofing. They also lack a tapered hatchet blade.
The third tool is a roofer’s pry bar. It must have just the right length and just the right angle in the shank to reach under a shingle and pop out roofing nails. I now use an Estwing Roofers’ bar, which is almost perfect (it has a little too much spring for me). Ordinary carpenters’ flat bars don’t have the right weight, angle, and length for the job.
From Fine Homebuilding #182
For more photos and details on durable roof-valley repair, click the View PDF button below.
Fine Homebuilding Recommended Products
Fine Homebuilding receives a commission for items purchased through links on this site, including Amazon Associates and other affiliate advertising programs.

Hook Blade Roofing Knife

Roofing Gun

Fall Protection


