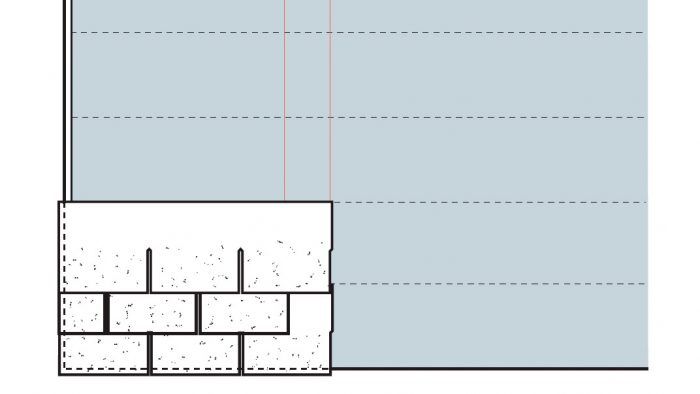
As you work up the roof, align the tops of shingles to horizontal chalklines. Chalklines wear off quickly, so don’t snap them too far in advance; snapping chalklines each time you roll out a new course of building paper is about right. However, to get the measuring done all at once, you can measure up from that original 12-in. line and use a builder’s crayon to mark off exposure intervals along the rake edges on both ends of the roof, and then snap chalklines through those marks later.
Alternatively, if you snap chalklines only every second, third, or fourth course, use the gauge on the underside of your pneumatic nailer or on your shingle hatchet to set exposures for intervening courses. If your shingling field is interrupted by dormers, always measure down to that original 12-in. line to reestablish exposure lines above the obstruction.
Finally, if the ridge is out of parallel with the eaves by more than 3/4 in., stop shingling 3 ft. shy of the ridge and start adjusting exposures so that the final shingle course will be virtually parallel with the ridge. For example, if there’s a discrepancy of 1-1/2 in., then at 3 ft. below the ridge, you’ll need to reduce exposures on the narrow end of the roof by 1/4 in. in each of six courses.
Fine Homebuilding Recommended Products
Fine Homebuilding receives a commission for items purchased through links on this site, including Amazon Associates and other affiliate advertising programs.

Milwaukee M18 Fuel 18v Cordless Circular Saw (2730-22)

DEWALT 18v Cordless Multitool (DCS355)

DEWALT 2 1⁄4-hp Router Combo Kit (DW618PK)


