Replacing a Roof: How to Strip Old Shingles and Patch Sheathing
A pro roofing contractor demonstrates how to keep a job site clean, remove worn-out roofing, and replace damaged board sheathing before installing a new roof.

VIDEO TRANSCRIPT
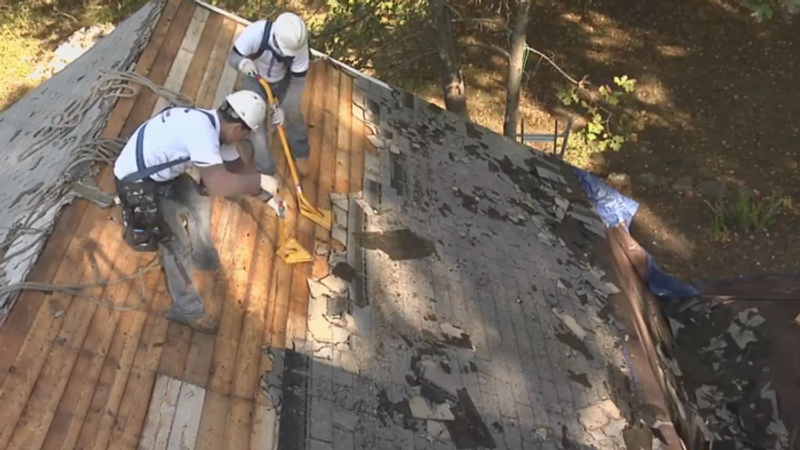
Narrator: The first step when stripping a roof is preparing the site. The guys place plywood against the house to protect windows and siding from falling debris. They also stage a tarp that spans the work site and nail it through the edge of the old roof. The tarp helps protect the house and makes cleanup a whole lot easier. When you’ve got the room, it’s a good idea to place a Dumpster next to the building so you can send the old shingles directly into it. We had room for our Dumpster in the front. Here in the back we’ll be hauling debris by hand.
Now it’s time to rip off the old shingles.
Tom Melillo, residential project manager, roof services: They start up at the ridge and pull off the ridge capping shingle first, and a few courses down from the ridge. Then they get behind it and start ripping downward, letting gravity help them as they remove shingles from the roof. This is the preferred tool to remove roofing; it’s called the Shingle Eater. It has a big wide claw on it, called a bear claw, with some pretty nasty teeth that get underneath the shingle and pull the nails out. It’s pretty ergonomic; it has a leverage point that with minimum effort gives you maximum results.
Narrator: Working from the top down is also a smart safety precaution, since it gives you stable footing above, clear from the debris.
Tom Melillo: At the vertical tie-in between roof and wall, there’s step flashing. What we’re seeing are some nails that have been driven through the step flashing. It’s OK to drive nails through step flashing when it’s on the wall; but these nails have been driven through the step flashing on the roof. It’s a place where water can get in potentially. The black horizontal lines running away from the house are a by-product of water infiltration. The sheathing is not in such bad shape that it has to be replaced, but had it gone on much longer, we might have had to cut out a section of the sheathing and replace it. We’ll just let it dry for an hour before we put underlayment down, and it’ll be fine. As long as we can nail to it, we can save it.
We’re at the point in the job now where all the shingles have been removed from the roof. We have the chance to inspect the sheathing and make sure it’s in sound shape. Along the gable end here, one spot was fragmented, so we cut it out and replaced it with some 1×6 pine. After replacing it, we’re ready for the edge metal and ice shield.
Narrator: It’s important to take one more pass at the roof deck to remove or drive home any nails proud of the sheathing. This prepares the surface for installing the underlayment.


