Building a Privacy Screen
A lattice screen topped by a pergola provides the triple benefit of privacy, shade, and wind protection.
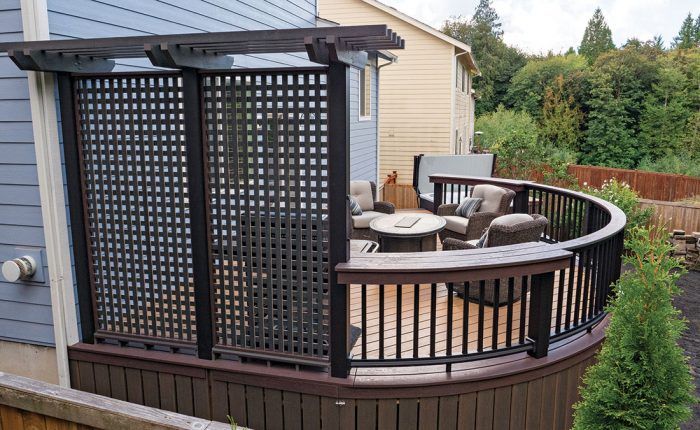
Too often, today’s homes are built cheek by jowl to each other, making a degree of separation a valued thing. Not only does a privacy screen help sequester your down time on the deck, but it also can add valued shade and defense from the prevailing wind.
And it is wind that you want to bear in mind when adding a screen. To make sure the screen will stay firmly in place, the posts that support it (and the decorative pergola above) should run to their own piers at grade level instead of merely being attached to the deck’s rim joist.
Privacy Screen/Pergola
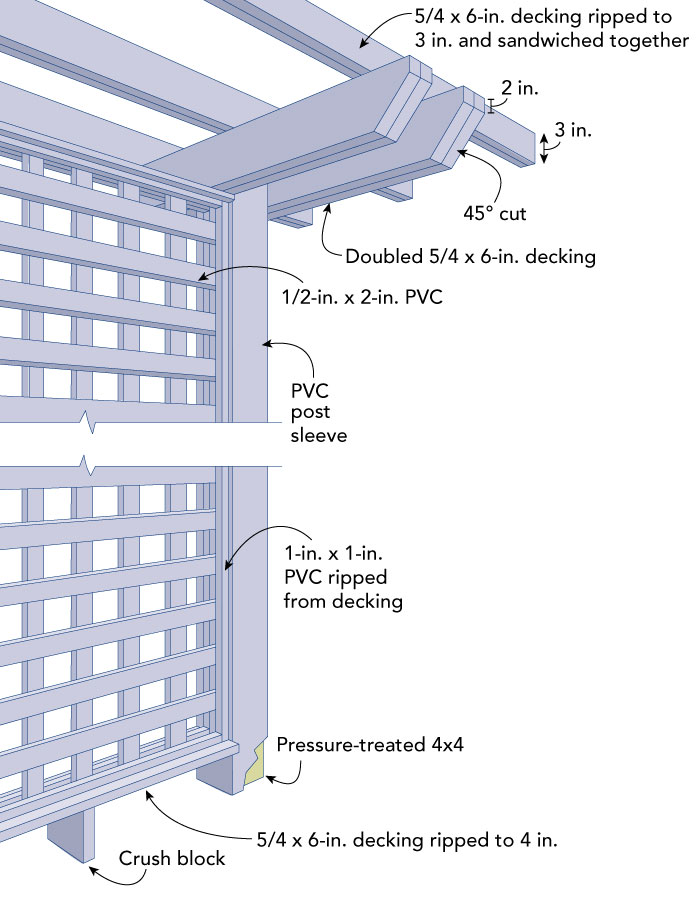
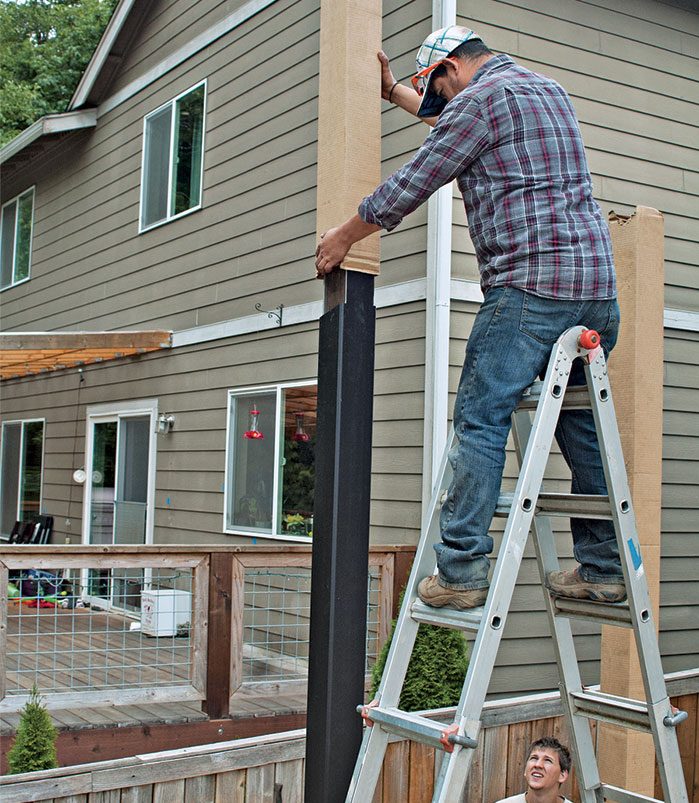
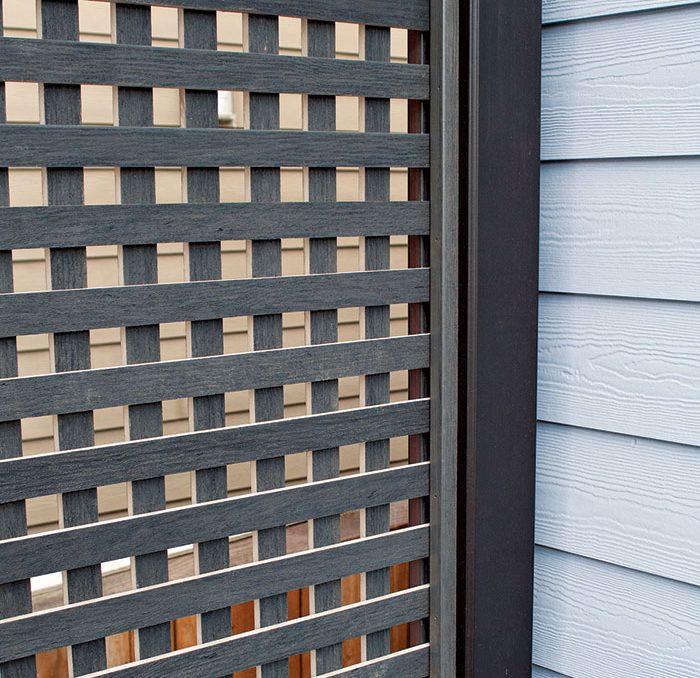
Supported by pressure-treated 4x4s covered with PVC post sleeves, 2-in. strips ripped from 1/2-in. PVC fascia make up the lattice in this screen. The strips are sandwiched between 1×1 strips attached to the post and top and bottom supports ripped from PVC decking. Doubled decking is used to make the pergola parts.
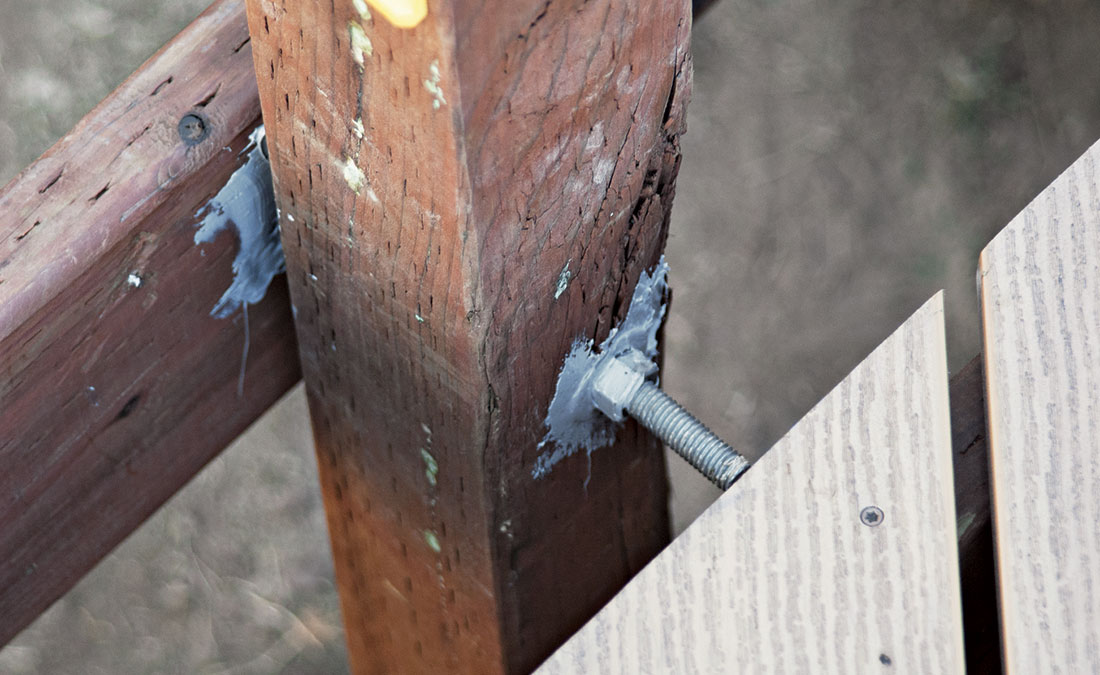
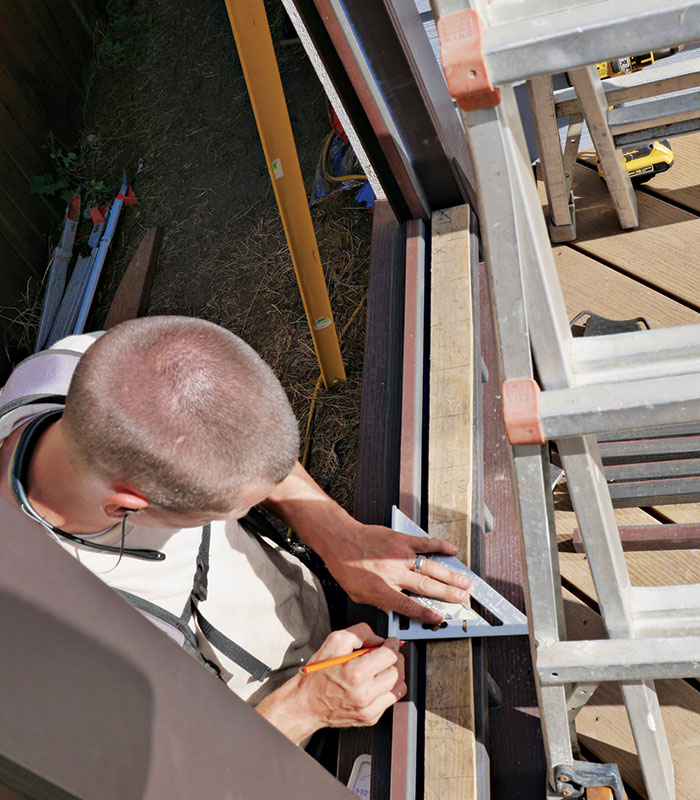
1. Secure the posts. Wind can be powerful. Run the posts for the screen from their own footing up to the pergola top. Secure them to the rim joist with a 1/2-in. carriage bolt. Coat the bolt thoroughly with exterior sealant.
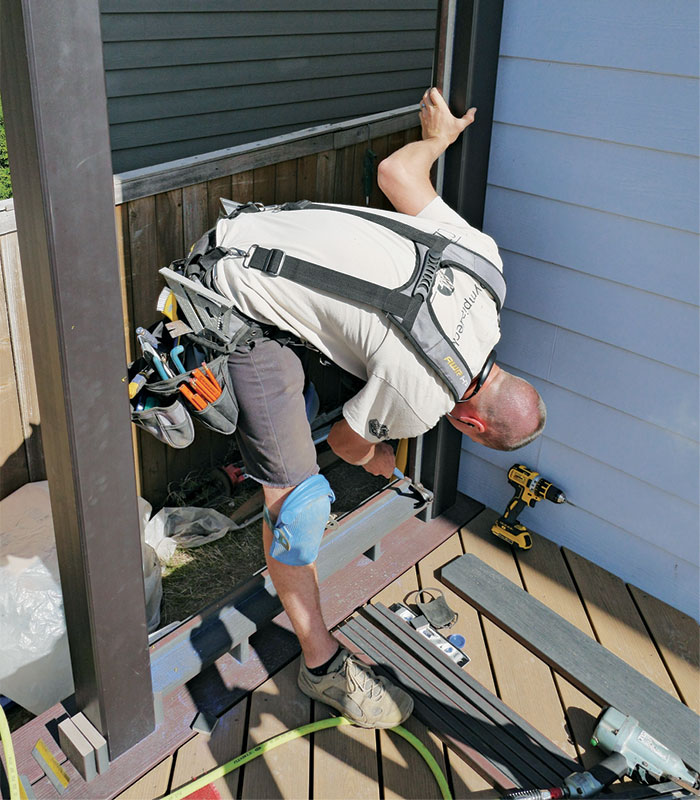
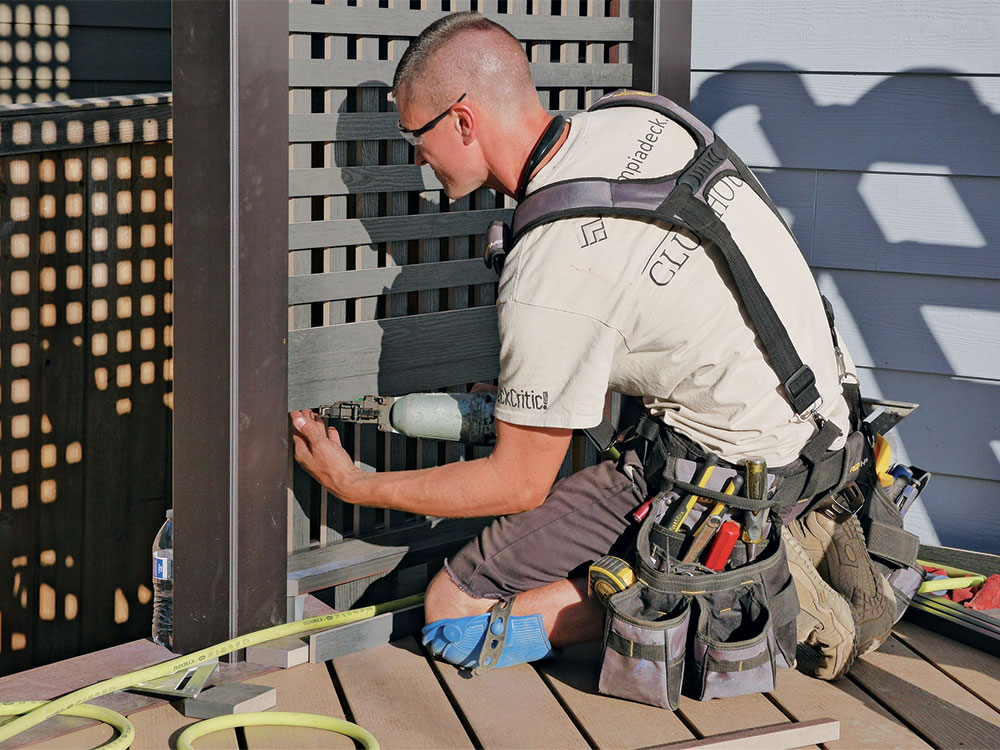
8. Attach the horizontal slats. Cut horizontal slats to width, less 1/4 in. Working from the top down, install the slats using a spare slat as a spacer. Fudge the spacing toward the bottom to come out with a neat result.
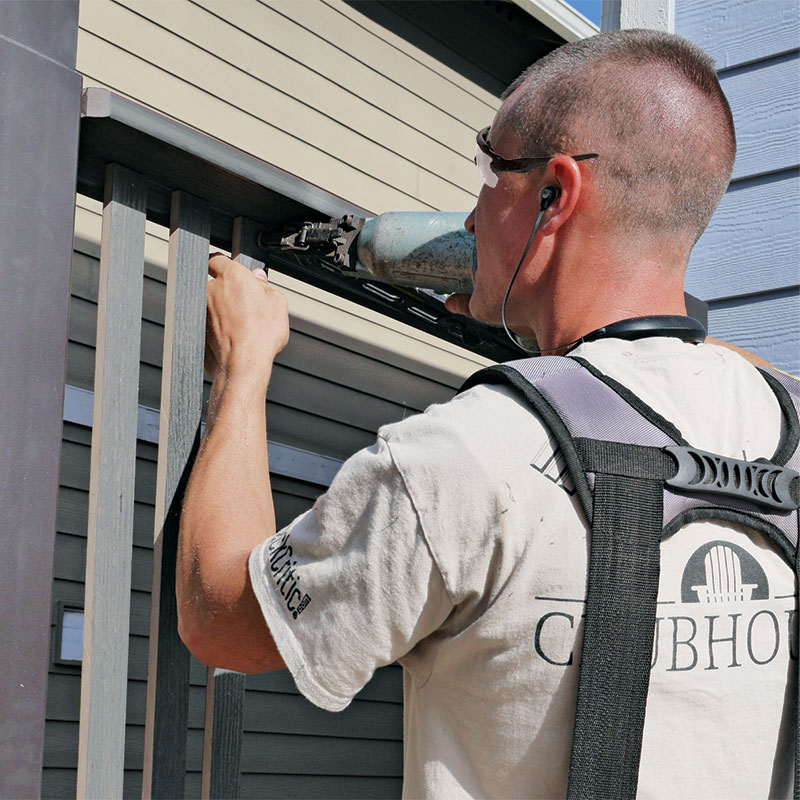
9. Trim out the lattice. From decking, rip 1×1 vertical trim pieces and attach them to the sides, drilling pilot holes and nailing in 4d galvanized finish nails.
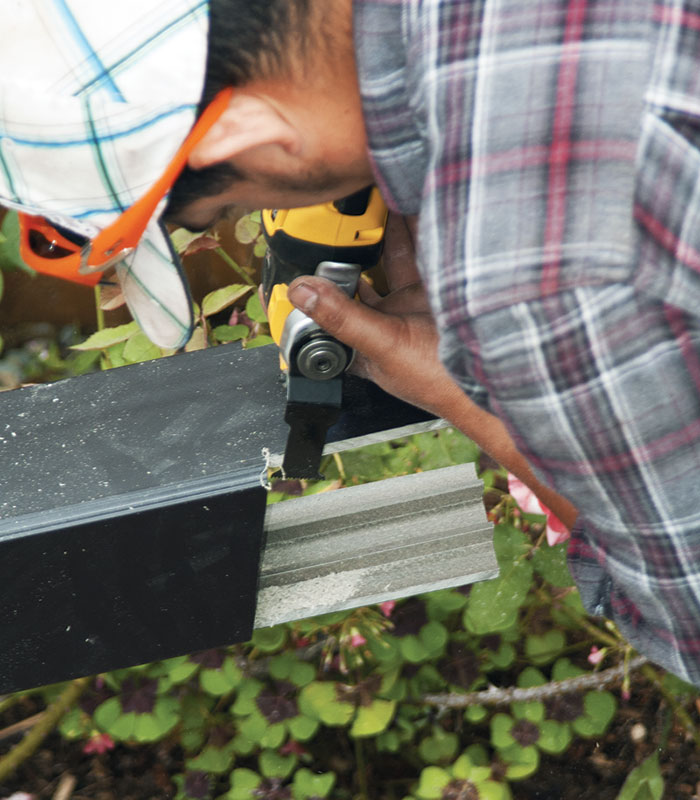
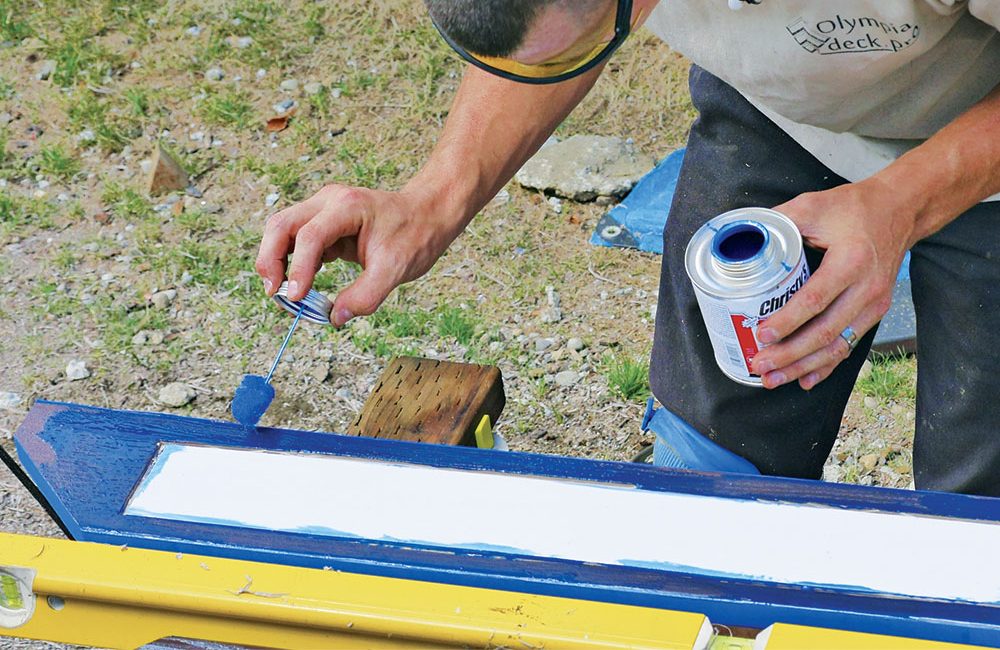
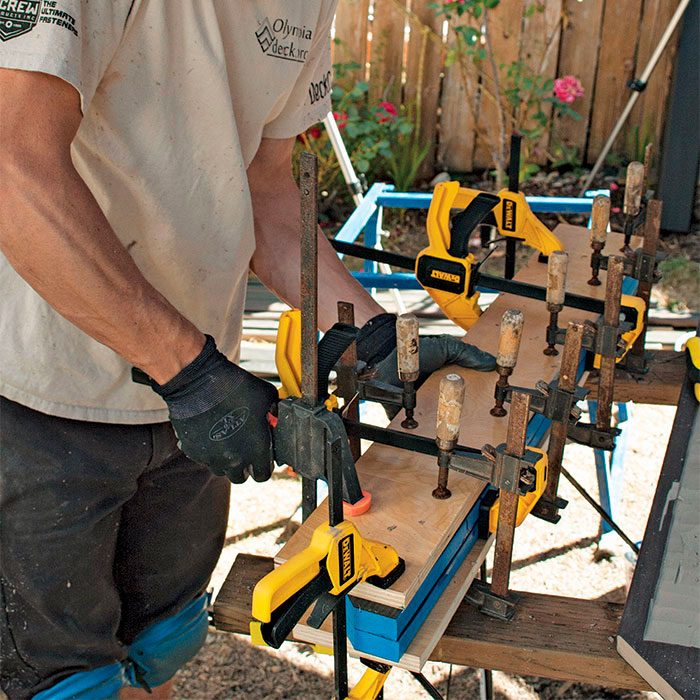
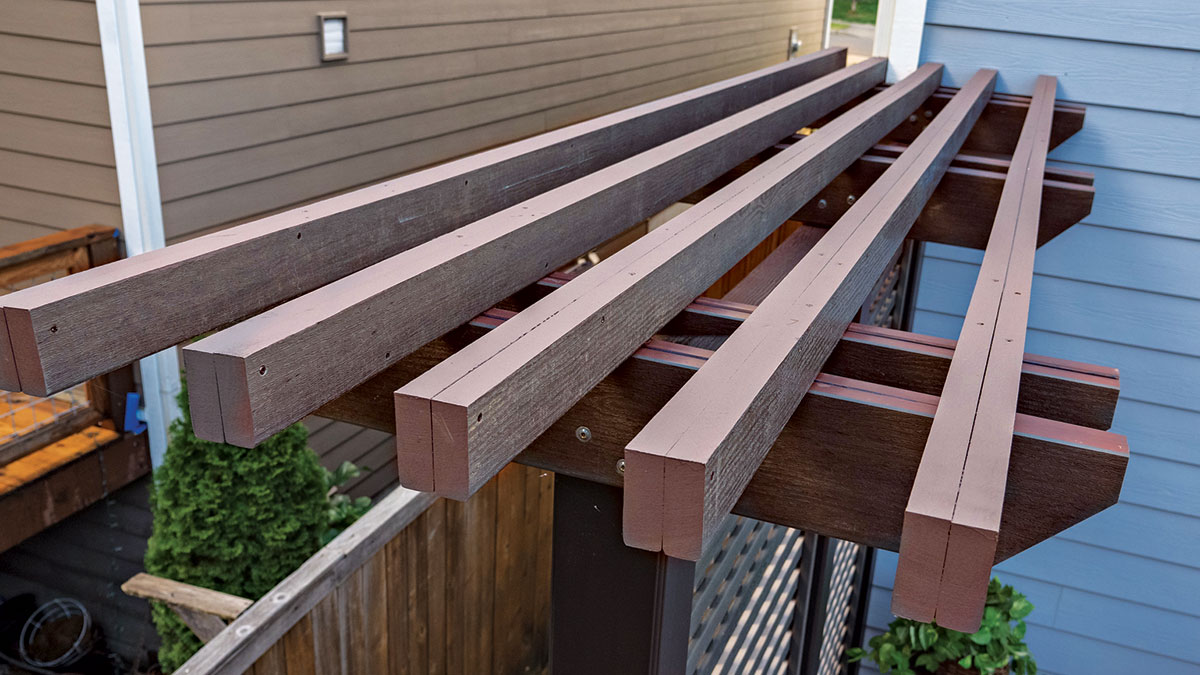
10. Add stiffeners. Double up decking for the pieces of the pergola. To avoid warp down the road, make plunge cuts with a circular saw and, using a chisel, carve out a cavity for a stiffener made of a scrap of 1/8-in. aluminum. Mask the edges with painter’s tape and apply PVC glue.
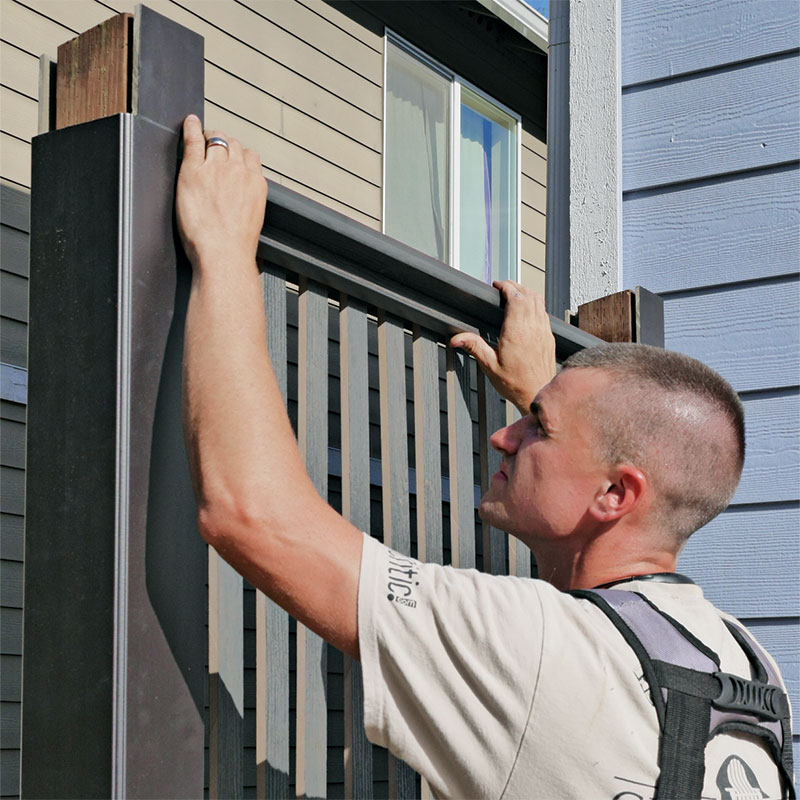
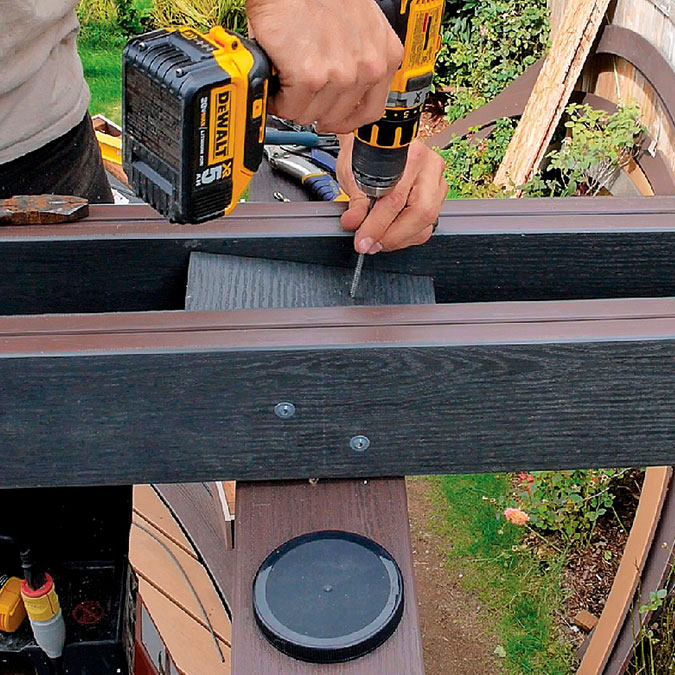
13. Complete the pergola. Drill pilot holes to toe-screw the topmost pieces using #8 x 3 1/8-in. structural screws.
Fine Homebuilding Recommended Products
Fine Homebuilding receives a commission for items purchased through links on this site, including Amazon Associates and other affiliate advertising programs.
FastenMaster Screw Bolt Fastening System

4-Gallon Piston Backpack Sprayer
N95 Respirator

