FHB Logo Facebook LinkedIn Email Pinterest Twitter Instagram Plus Icon Close Icon Navigation Search Icon Arrow Down Icon Video Guide Icon Article Guide Icon Modal Close Icon Guide Search Icon Skip to content
Main Menu
Subscribe

In every issue you'll find...

  • Expert insights on techniques and principles
  • Unbiased tool reviews
  • Step-by-step details to master the job
  • Field-tested advice and know-how
Subscribe Now!
Subscribe
  • How-To
  • Design
  • Tools & Materials
  • Videos
  • Blogs
  • Forum
  • Magazine
  • Members
  • FHB House
  • Podcast
  • Join
  • Log In
Main Menu Subscribe

Fine Homebuilding Project Guides

Decks

Guide Home
Chapter
  • Design & Planning
  • Tools & Materials
  • Footings & Foundations
  • Framing a Deck
  • Installing Decking
  • Installing Railings
  • Deck Stairs
  • Custom Details
  • Finishes and Maintenance
  • Complete Deck Builds
How-To

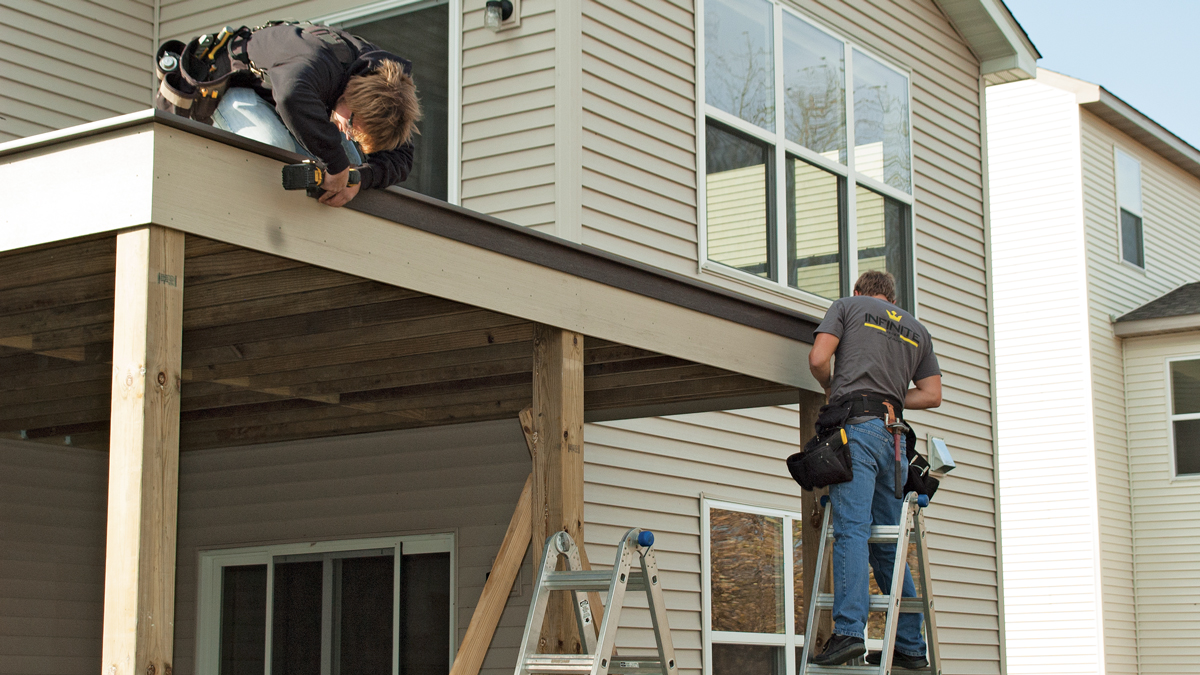
Adding Fascia on an Elevated Deck

A thin PVC board and a contrasting accent strip dress up the edge of a second-story deck.

By David Toht
Article Image

Often, homeowners opt to cover the rim joists and stair stringers with some sort of smooth, finished-looking material known in the trade as fascia. But many decks look fine without fascia. Particularly if you have access to brown-tinted pressure-treated lumber instead of the less attractive green tint, an unadorned rim joist can look great on its own. Even the fasteners on the joists will mostly disappear.

If you choose to add fascia, any kind of pressure-treated or otherwise rot-resistant lumber can be used. However, if you’ve opted for synthetic decking in one of the many colors available, you’ll want to consider using a complementary PVC fascia. PVC fascia typically comes in 1/2-in. x 11-3/4-in. planks. The material rips easily should you need to cover something less than 2×12. It not only covers framing but also gives you another tool for melding the deck to the house. It is well worth the cost and effort of installing it. Another advantage of PVC fascia is that, unlike wood, it is stable enough that you can glue miters and other joints.

Like synthetic decking, 1/2-in. fascia conforms to the surface beneath it. Set all framing fasteners even with the surface and grind down any framing protrusions.

TIP

Although fascia can be cut with a circular saw if you clamp a guide in place, cutting is faster and more accurate with a sliding compound miter saw equipped with a stand that supports long boards.


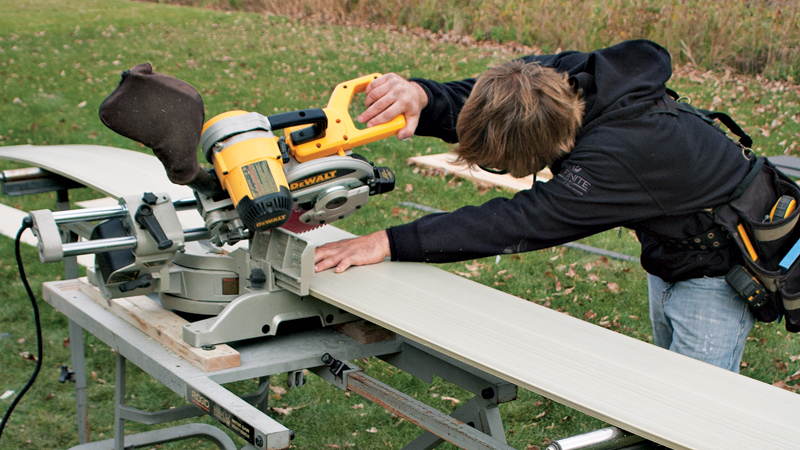
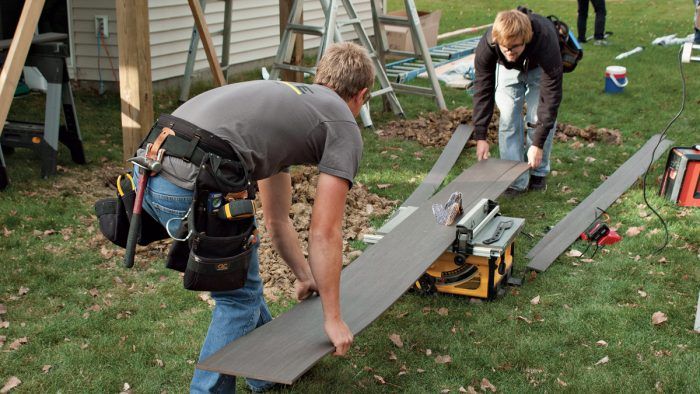
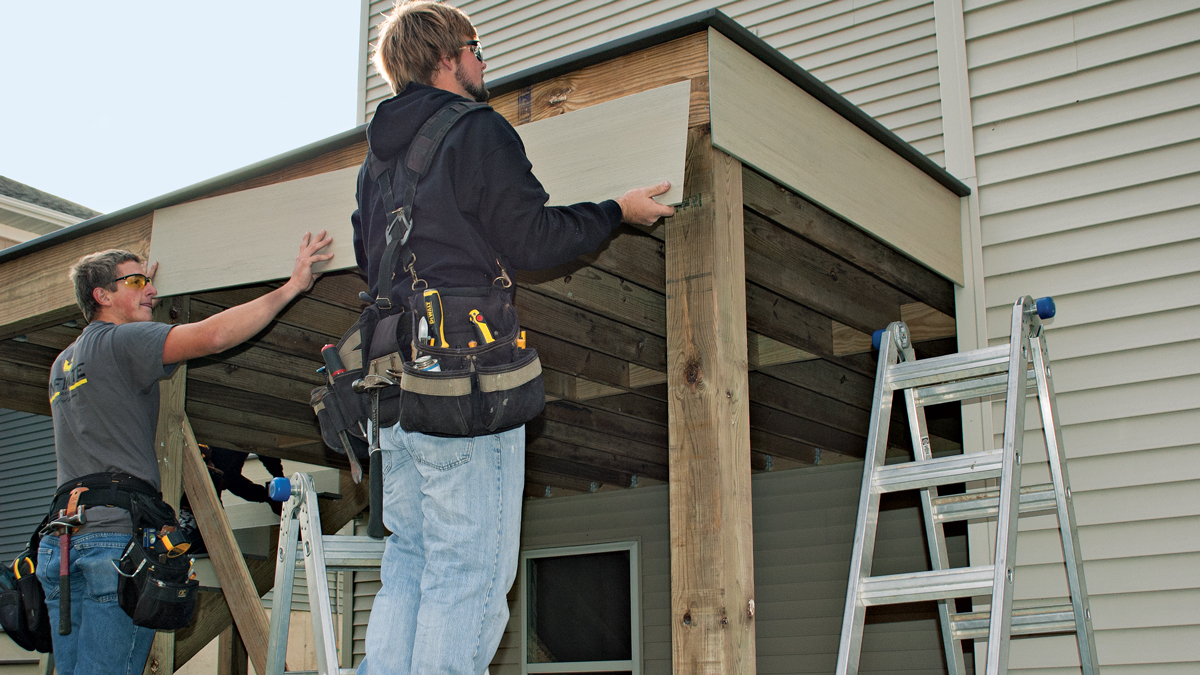
1. Mark and cut. Whenever possible, hold a piece of fascia in place and mark it for cutting. Make the cut and check the fit before fastening.

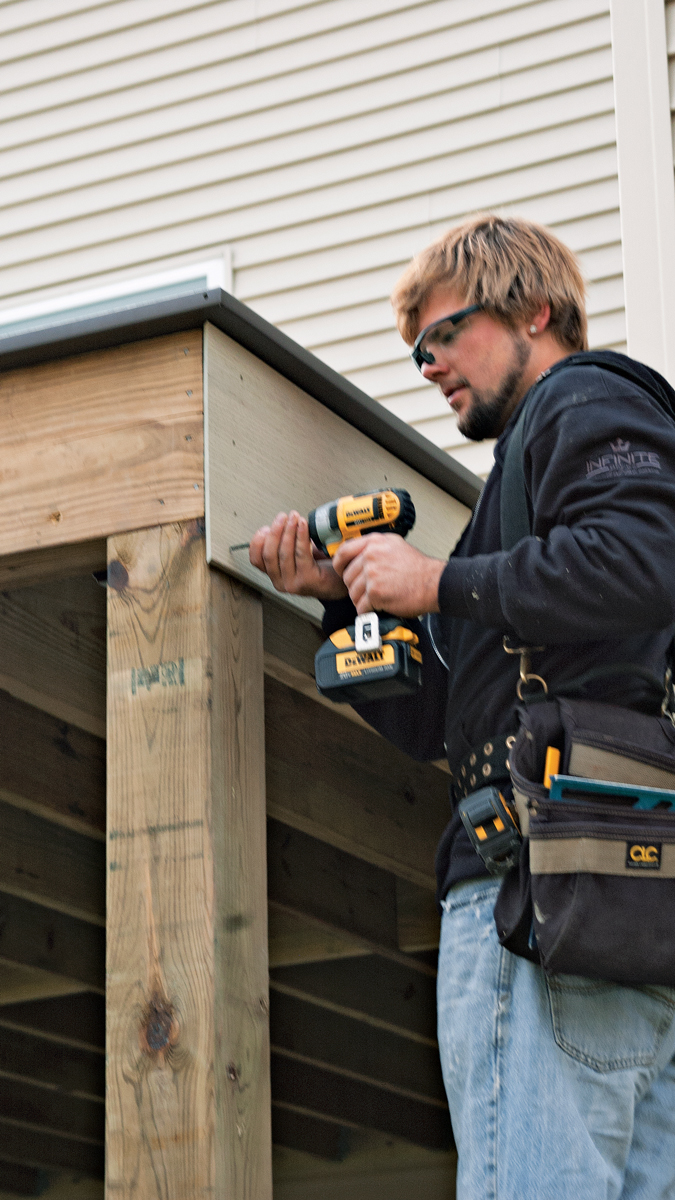
2. Fasten the first piece. Using trim-head fasteners, install the first piece. To avoid buckling, this full-width piece of 1/2-in. x 11-3/4-in. fascia requires four fasteners placed vertically every 12 in.

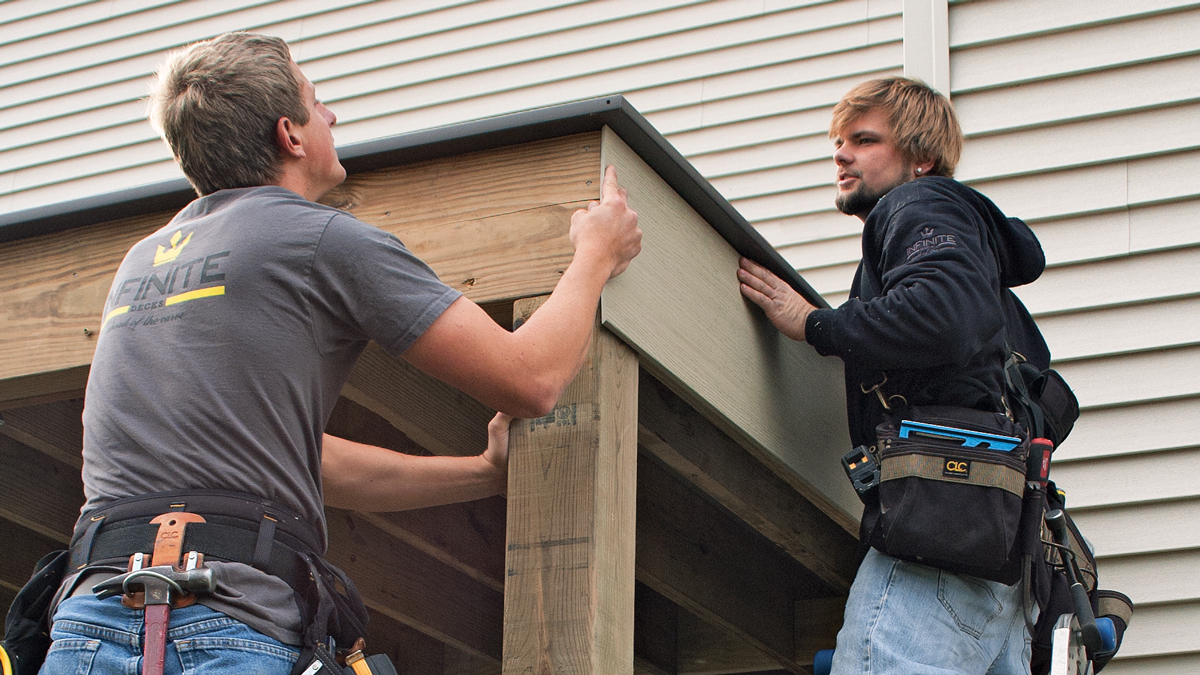
3. Test-fit the mitered corner. Cut the mitered end on the next plank and test the fit. You might have to recut it to get a tight joint—sometimes several times.

TIP

With most miter joints, it is only the fit of the very outside edge that counts. Often by using a block plane to cut back the inside edge of the miter—removing some of the “meat” of the miter—you can quickly get a neat fit.

4. Glue the miter. Using an adhesive recom­mended by the manufacturer, coat the edge of the miter cut.

5. Smooth the joint. Push the pieces together and fasten. When the adhesive dries, smooth away any burrs with a rasp or sanding block.

6. Make a midway joint. A 30-degree miter removes the possibility of a gap showing without leaving the thin sharp edge of a 45-degree miter. Glue these joints as well.

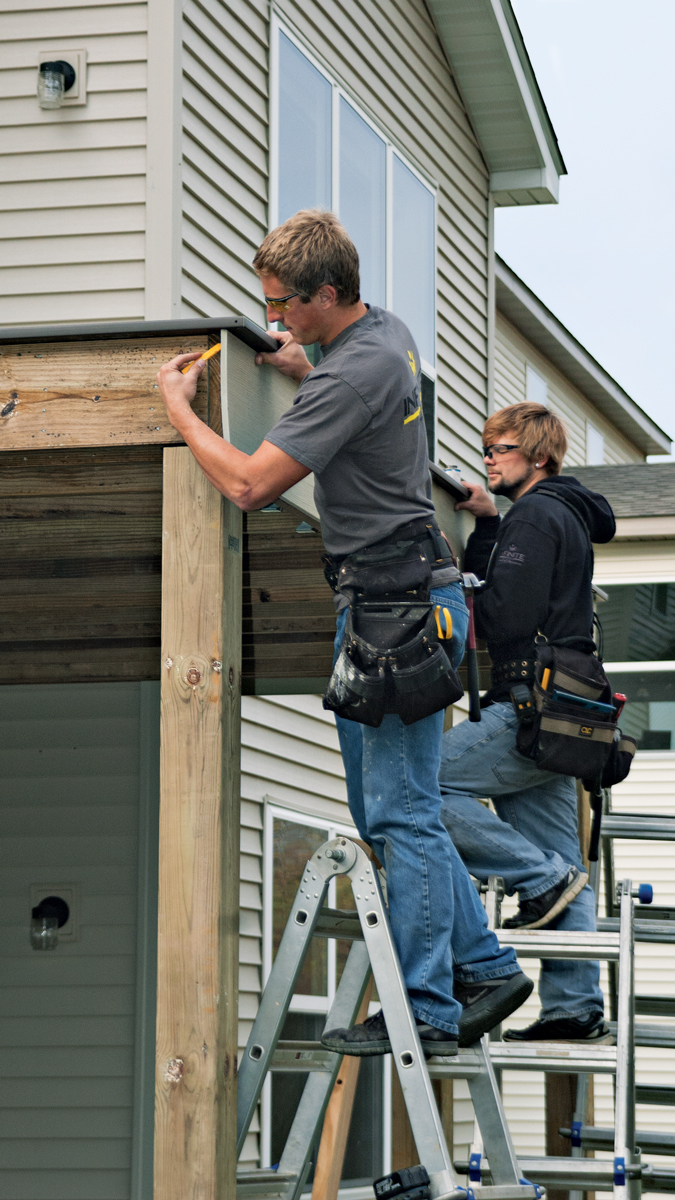
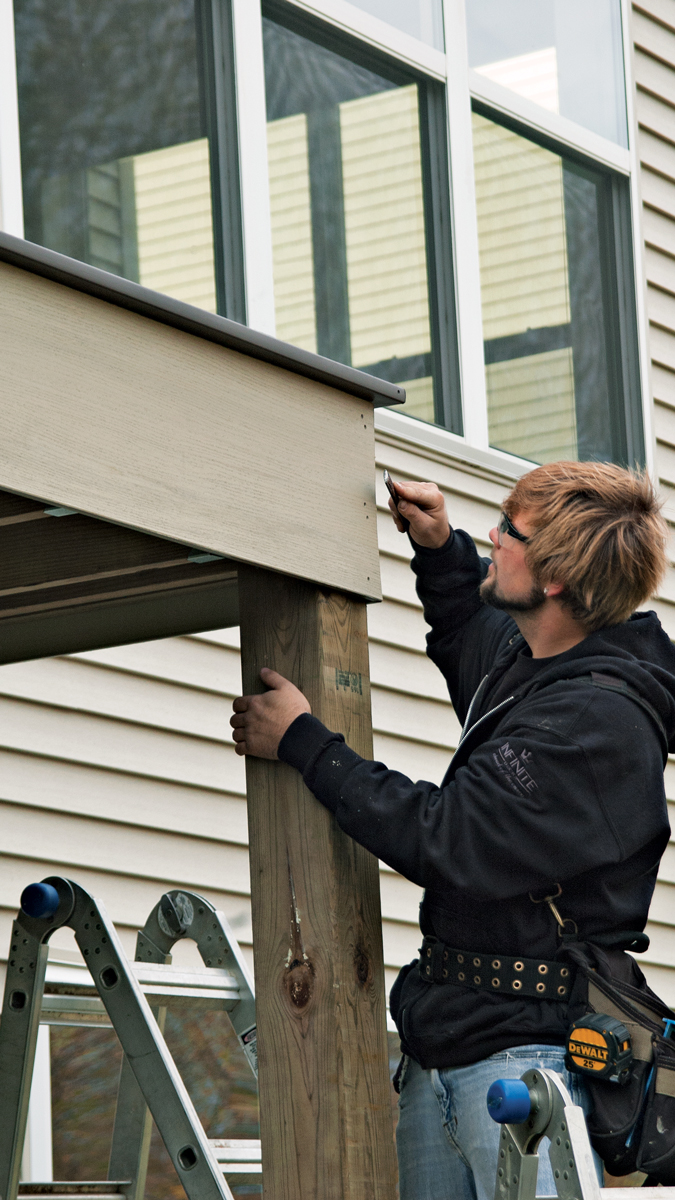
7. Mark for a corner. Continuing around the perimeter of the deck, mark for corners while holding the piece in place. Measuring leaves too much margin for error.

8. Cut the accent strip. As an added touch, consider cutting a 4-in. strip of contrasting material. A site-suitable tablesaw set on the ground makes it easier to cut floppy 1/2-in. fascia.

9. Install the accent strip. Using 45-degree miters at the corners and 30-degree miters for midway joints, install the accent strip.

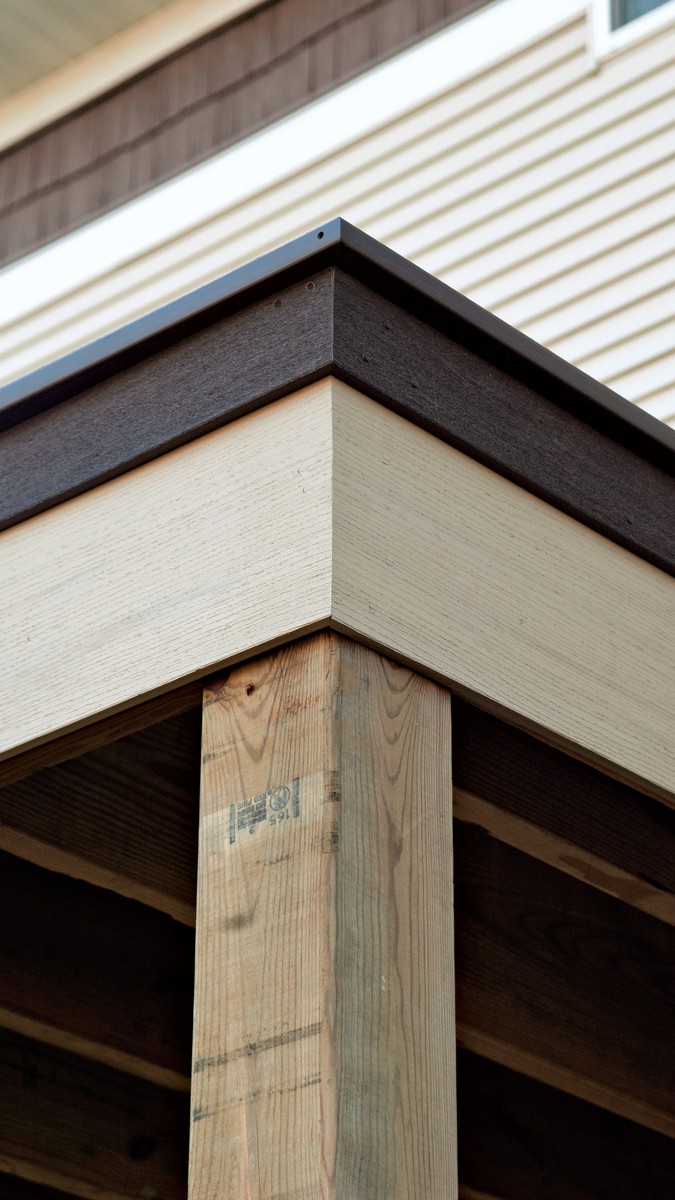
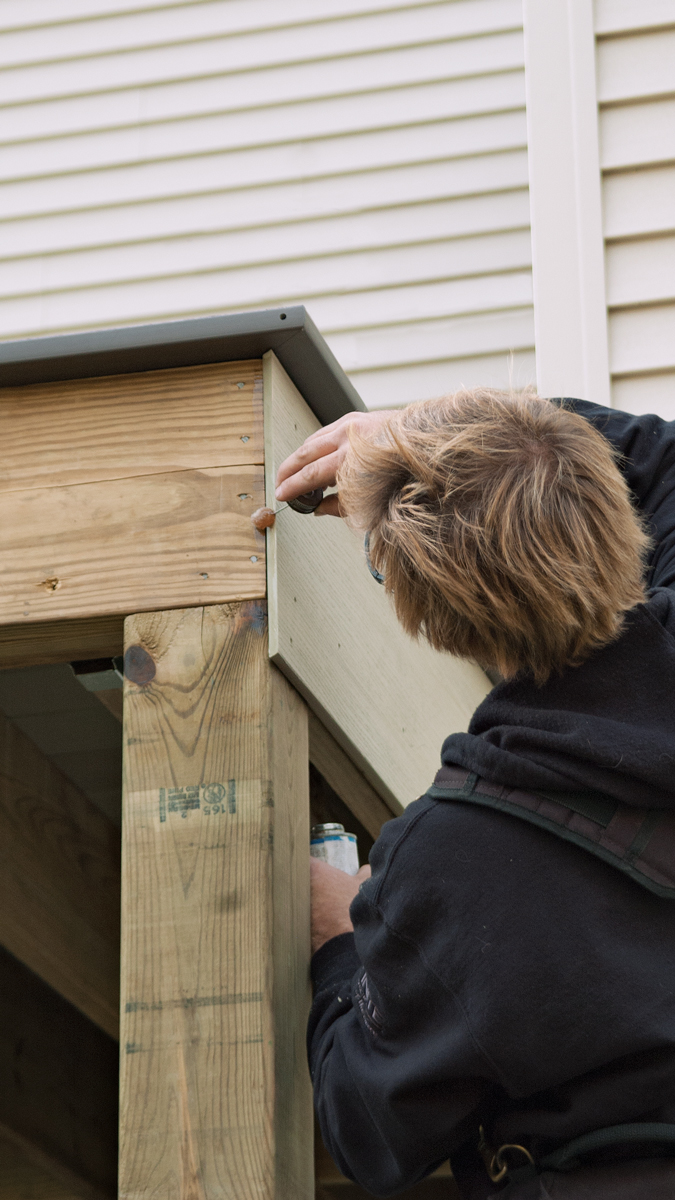
10. Add plugs. Tap in plugs as you would with decking. The result is a crisp, clean, finished look.

Sign up for eletters today and get the latest how-to from Fine Homebuilding, plus special offers.

Sign Up
X
X
Previous: How to Install Composite Decking Next: Adding Deck Fascia

Guide

Decks

Chapter

Installing Decking

Log in or create an account to post a comment.

Sign up Log in

Become a member and get full access to FineHomebuilding.com

Decks

Decks

Hundreds of articles and videos by top deck-building pros on how to design and build a beautiful, sturdy, and safe deck

View Project Guide

View All Project Guides »

Become a member and get unlimited site access, including the Decks Project Guide.

Start Free Trial

Design & Planning
  • Basic Design Options
  • Generating Plans
  • Calculating Deck Loads
  • Code Compliance
Tools & Materials
  • Deck Building Tools
  • Foundation and Framing Materials
  • Decking Materials
  • Fasteners and Hardware
Footings & Foundations
  • Choosing a Foundation
  • Sizing and Laying Out Footings
  • Excavation
  • Pouring the Foundation
Framing a Deck
  • Framing Overview
  • Installing the Ledger
  • Setting Posts and Beams
  • Installing Joists
Installing Decking
  • Decking Basics
  • Installation Process
  • Adding Fascia and Other Decorative Elements
Installing Railings
  • Installing Deck Railing Posts
  • Building Wood Rails and Balustrades
  • Non-Wood Railing Options
  • Installing Nonwood Balustrades
Deck Stairs
  • Deck Stairs Overview
  • Laying Out, Cutting, and Installing the Stringers
  • Installing Treads, Risers, and Stair Railings
Custom Details
  • Benches, Planters, and Privacy Features
  • Pergolas
  • Lighting
Finishes and Maintenance
  • Deck Finishes
  • Cleaning and Refinishing
  • Inspection and Repair
Complete Deck Builds
  • Grade-Level Decks
  • Raised Decks

Fine Homebuilding

Follow

Newsletter

Get home building tips, offers, and expert advice in your inbox

Sign Up See all newsletters

Membership & Magazine

  • Online Archive
  • Start Free Trial
  • Magazine Subscription
  • Magazine Renewal
  • Gift a Subscription
  • Customer Support
  • Manage Preferences

Taunton Network

  • Green Building Advisor
  • Fine Woodworking
  • Fine Gardening
  • Threads
  • About
  • Contact
  • Advertise
  • Privacy Policy
  • Careers
  • Copyright
  • Terms of Use
  • Accessibility
  • California Privacy Rights

© 2021 The Taunton Press, Inc. All rights reserved.

    Main Menu

  • How-To
  • Design
  • Tools & Materials
  • Video
  • Blogs
  • Forum
  • Reader Projects
  • Magazine
  • Members
  • FHB House
  • Podcasts

  • FHB Podcast
  • ProTalk
  • Account

  • Log In
  • Join

    Podcasts

  • FHB Podcast
  • ProTalk
  • Popular Topics

  • Kitchens
  • Business
  • Bedrooms
  • Roofs
  • Architecture and Design
  • Green Building
  • Decks
  • Framing
  • Safety
  • Remodeling
  • Bathrooms
  • Windows
  • Tilework
  • Ceilings
  • HVAC

    Magazine

  • Current Issue
  • Past Issues
  • Magazine Index
  • Subscribe
  • Online Archive
  • Author Guidelines

    All Access

  • Member Home
  • Start Free Trial
  • Gift Membership

    Shop the Store

  • Books
  • DVDs
  • Taunton Workshops

    More

  • FHB Ambassadors
  • Reader Projects
  • Podcast
  • Customer Support

    Account

  • Log In
  • Join

Newsletter

Get home building tips, offers, and expert advice in your inbox

Sign Up See all newsletters

Follow

Join All Access

Become a member and get instant access to thousands of videos, how-tos, tool reviews, and design features.

Start Your Free Trial

Subscribe

FHB Magazine

Start your subscription today and save up to 52%

Subscribe

We hope you’ve enjoyed your free articles. To keep reading, become a member today.

Get complete site access to expert advice, how-to videos, Code Check, and more, plus the print magazine.

Start your FREE trial

Already a member? Log in