Setting Up a Cut Station
A dedicated chopsaw station with a positive stop helps you make quick, accurate cuts.
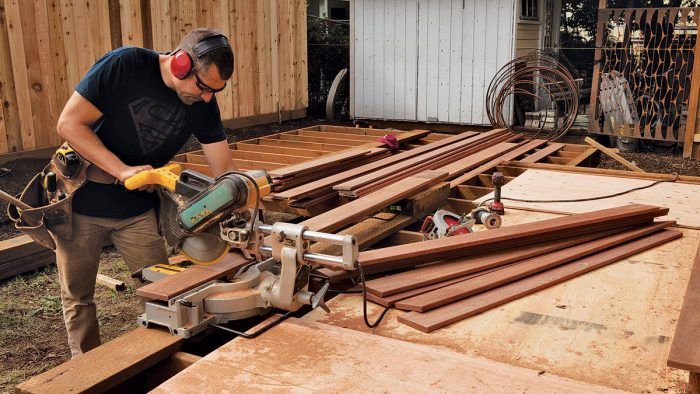
It’s well worth taking a few extra minutes to set up an practical and comfortable chopsaw cut station. A simple cut station like the one described here has a positive stop that enables you to repeat cuts without measuring each board. This is crucial for hardwood decks with small tolerances, where small variations in board length can easily be noticed. Even for softwood decks, a cut station will allow for quick, accurate cuts.
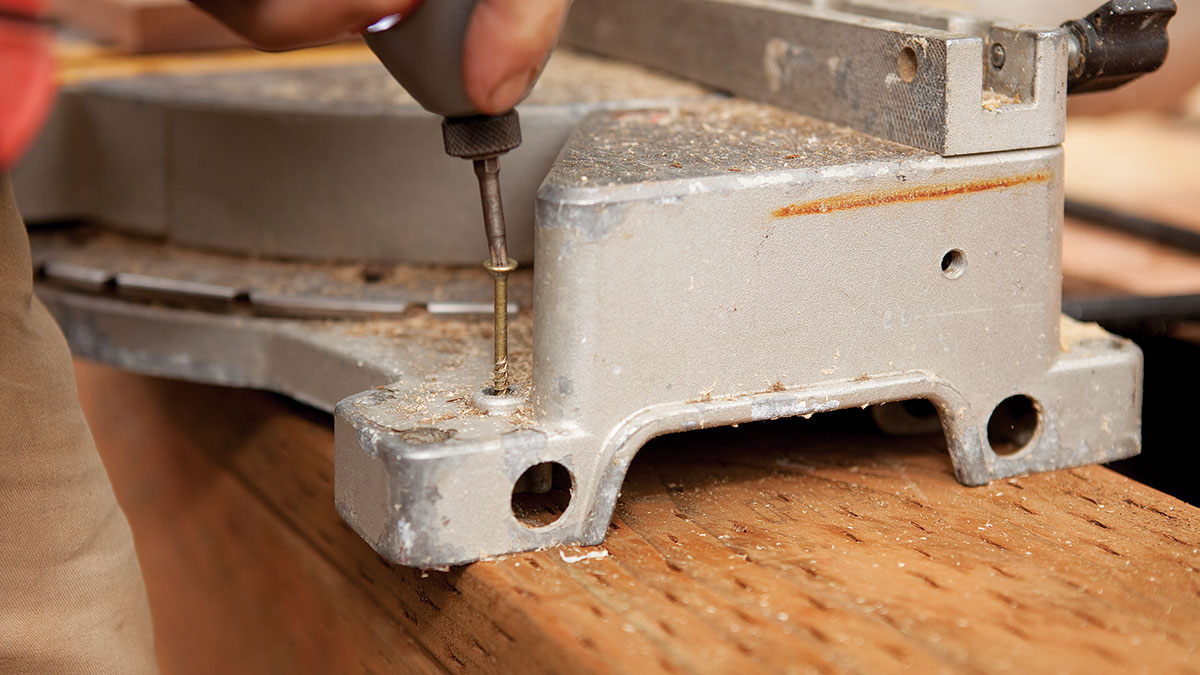
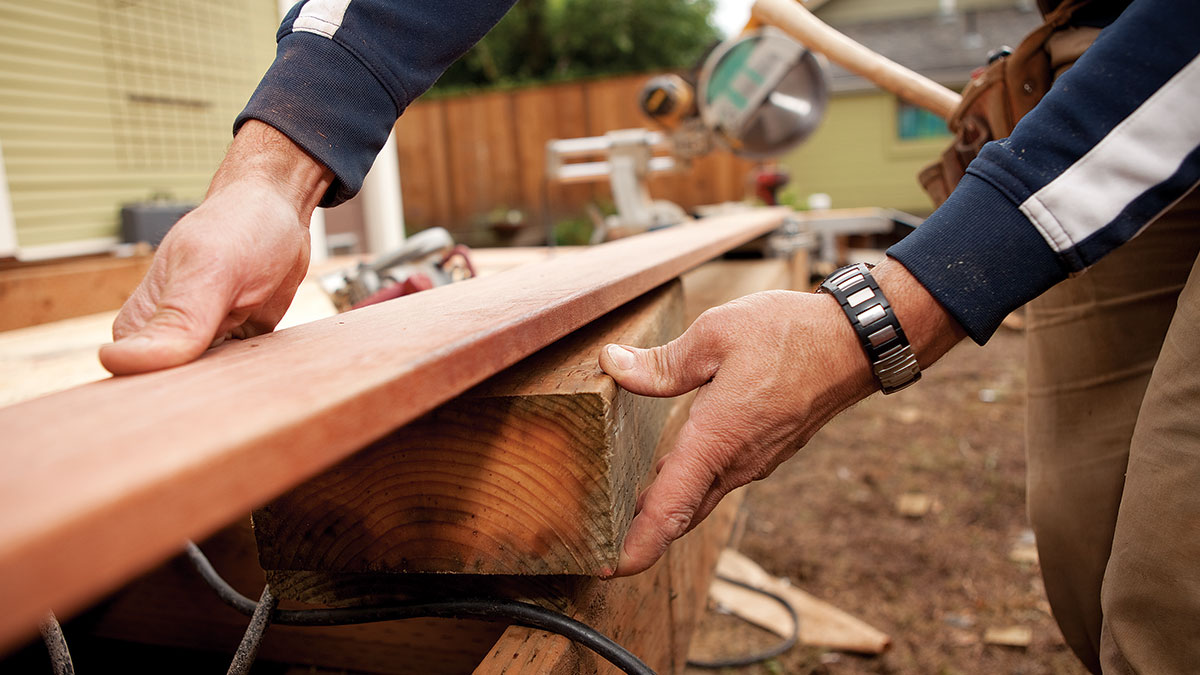
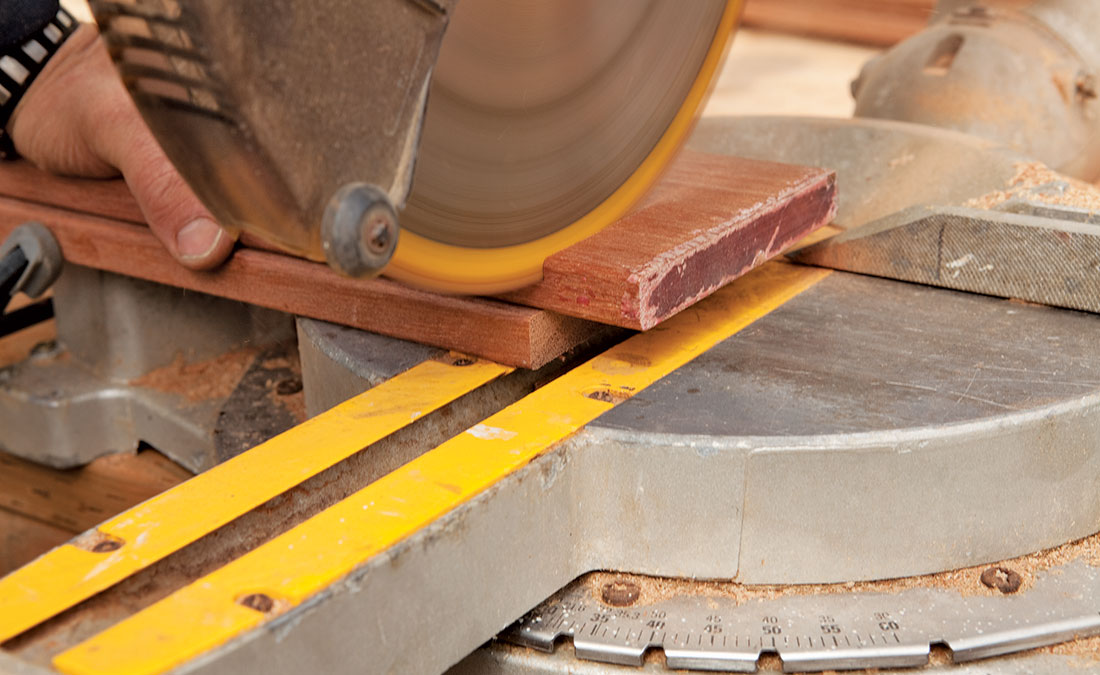
To set up a cutting station, first secure a chopsaw to a stable surface that provides support to the long deck planks. Two sawhorses set apart will do, but often a section of framing will work perfectly because it is very easy to break down and move this station. To support the deck planks while cutting, we typically use a reject board blocked up to the height of the chopsaw deck. However, if the deck planking is a full 1-1/2 in. thick, we will opt for a thinner piece of stock as a support. Secure the other end of the support board to the chopsaw deck by clamping or screwing it to the fence. Make sure to overlap the board’s end enough to make a fresh cut with the chopsaw once the board is secured in place. This cut is now the reference point to set your stops from.
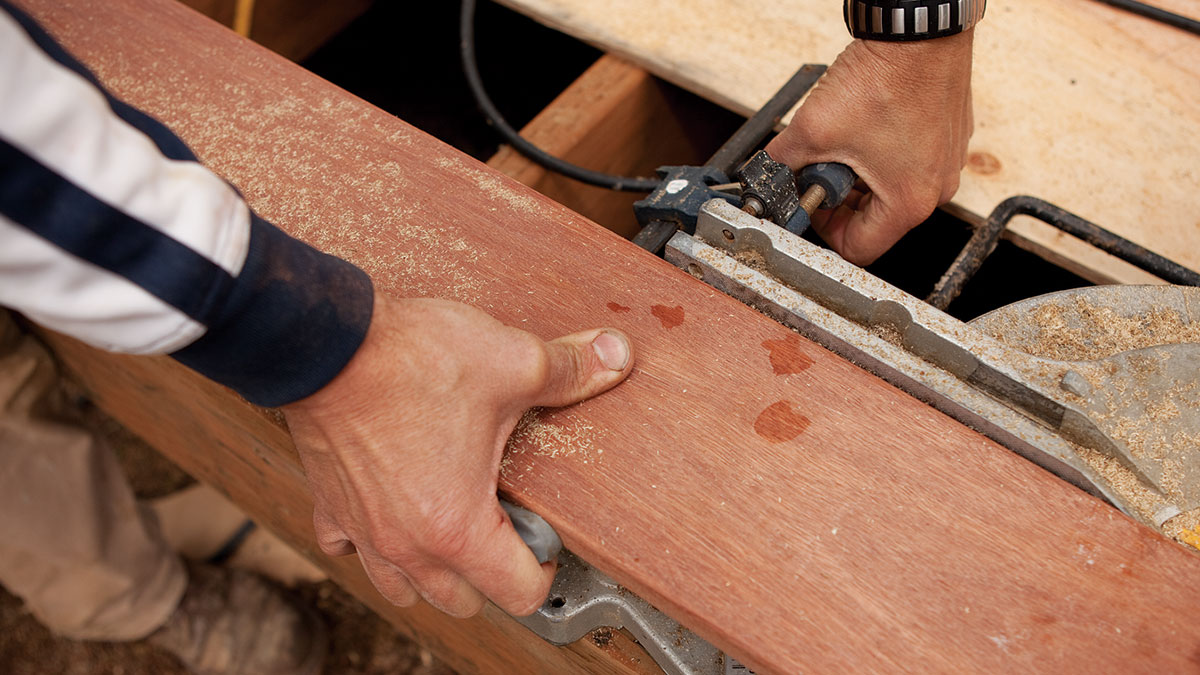
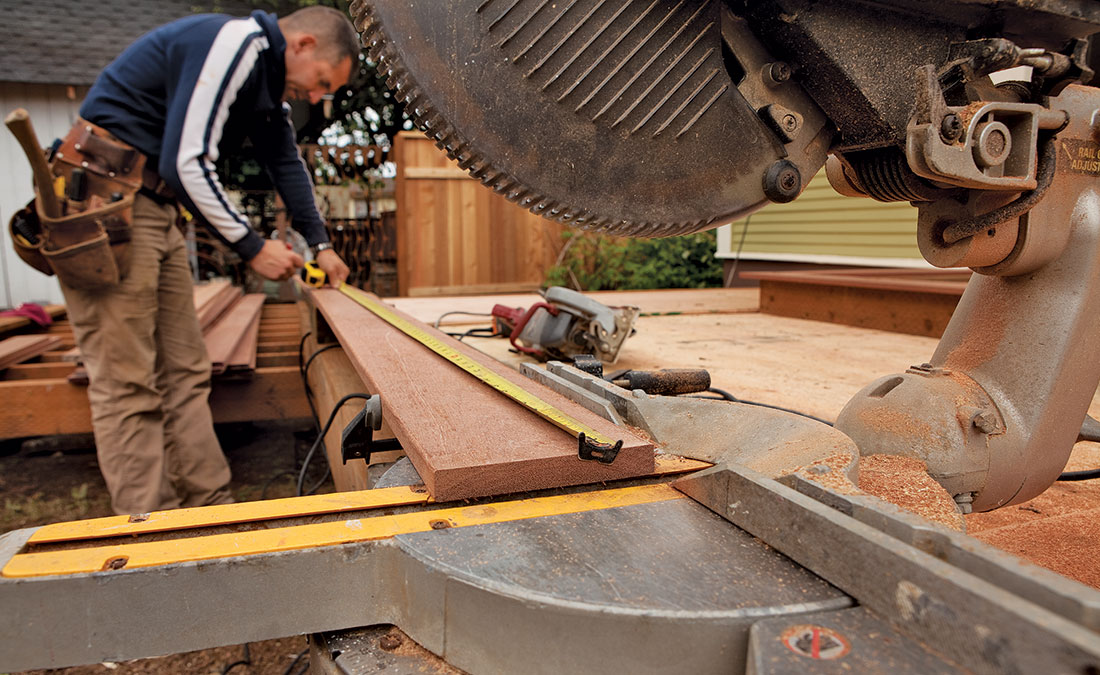
To set the stop, hook the tape on the fresh cut and measure back the length of the decking you want to install. Mark this spot and use that mark as a reference to secure a stop in the proper location. To make a cut, simply set the uncut plank onto your support board and align the end to the stop. It’s a good idea to make a test cut to check that the station is set up correctly.
1. Secure the chopsaw to the surface of the stand or framing lumber you are working from.
2. Use a 3/4-in. plank as the supporting surface. On the infeed side, raise the plank with blocks the same thickness as the chopsaw base.
3. Secure the other side to the chopsaw base and fence with clamps or screws. Double-check to make sure the plank is aligned.
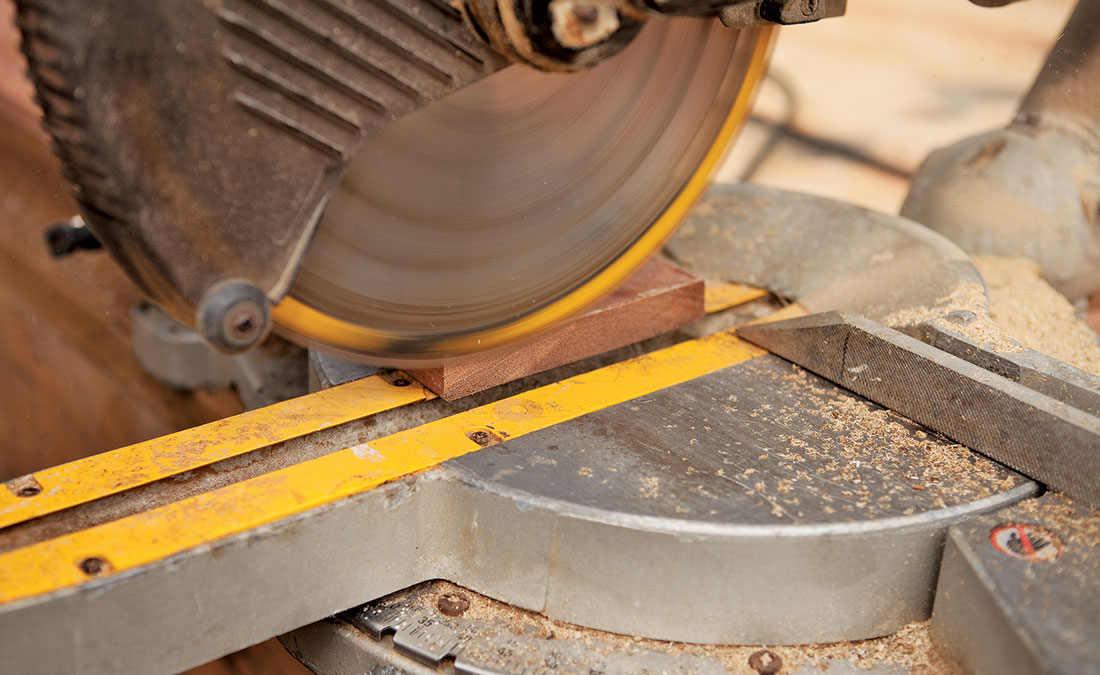
4. Cut off the excess support plank. If the plank doesn’t extend across the cut zone, readjust the plank until it does and cut off the excess.
5. Measure back from the fresh cut of the support plank to the desired length of the board to be cut.
6. Secure a stop to the mark to make repeated cuts at one length.
7. Cut the desired number of boards to length.
Fine Homebuilding Recommended Products
Fine Homebuilding receives a commission for items purchased through links on this site, including Amazon Associates and other affiliate advertising programs.
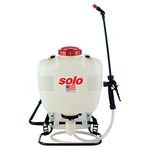
4-Gallon Piston Backpack Sprayer
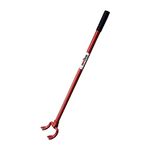
Angel Guard Deck Demon
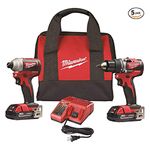
Drill Driver/Impact Driver

