
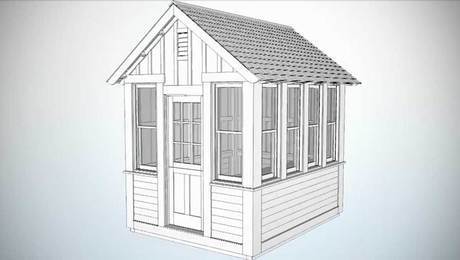
How to Install Cedar-Shingle and Clear-Polycarbonate Roofing on a Shed
Follow along with custom builder Justin Fink as he finishes each side of this simple shed roof with different materials.

On this side of the roof we’ll use cedar shingles. To fasten the cedar shingles, I use 1-½-in. stainless steel siding nails. They won’t rust or leave streaks on the roof, and they’re just long enough to secure the shingles without poking through on the inside.
With the under-course shingles in place, I need to remove the 2×4 spacer and ledger to make room for the next course of shingles. I use my combination square to ensure that I have an even ¼-in. overhang on my first visible course of shingles and place my nails just high enough up the shingle to be covered by the next course. The first course can be slow, but a jig helps to speed things up quite a bit.
Our shingle exposure is going to be 5 inches, but our nailing is a bit higher. I’m comfortable placing my nails by eye, but if you’re not, you can snap a chalk line or place a dry line between the two jigs to guide your nail placement as you’re going. The string is also helpful on windy days to keep the shingles from blowing around.
When I get to the end of a course of shingles, I don’t bother trimming the shingles at the top of the shed before installing them. Instead, just let the last couple of courses go long and then come back to trim the overhanging portion with a circular saw. Finally, straighten up the overhanging edge with a quick pass of the circular saw.
Ok, that does it for the cedar, now it’s on to the corrugated roofing.
On the back of the shed, I’m going to be using translucent corrugated panels that let in lots of sun–perfect for starting seeds in the spring. To get started, I need to cut the panels to length. To do this, clamp them together, and cross cut them with a circular saw. To get clean cuts, the roofing manufacturer recommends mounting the saw blade backwards.
While they’re still stacked, pre-drill the panels to make the fastening go more quickly. Remember, the fasteners will be placed through the raised portion of the panels, not through the troughs where water is more likely to seep in. Again, use a spacer board and cleat to establish an even overhang at the bottom of the roof, and attach the panels with screws with rubber washers to seal out water.
As I work my way across the roof, I overlap and fasten the panels. Unless you’re really lucky, the last panel will need to be ripped to width. Again, use a circular saw with the blade mounted backwards. And wear ear protection, because the noise isn’t pleasant.
To finish off the roof, I make a ridge cap from two pieces of cedar beveled so that they meet at the same angle as the roof slope and nail it over the top of ridge.
Videos in the Series
-
 How to Build a Garden Shed: Introduction
 -
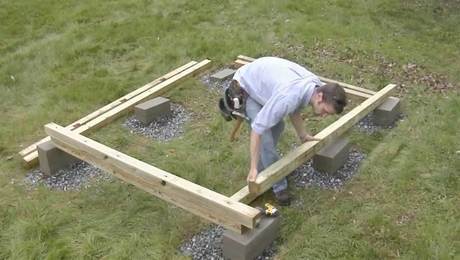 How to Build a Foundation and Frame a Floor for a Garden Shed
 -
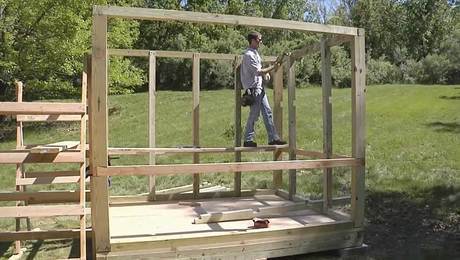 How to Frame Garden-Shed Walls with Half-Lapped 4X4s
 -
 How to Frame a Garden-Shed Roof and Install Skip Sheathing for Cedar Shingles
 -
 How to Install Cedar-Shingle and Clear-Polycarbonate Roofing on a Shed
 -
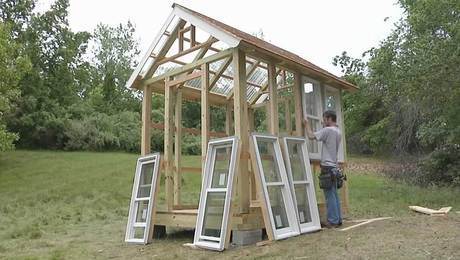 How to Install Garden-Shed Windows and Doors
 -
 How to Install Corner Boards, Skirtboards, and Clapboards on a Garden Shed
 -
 How to Install Board-and-Batten Siding on a Garden Shed

View Comments
Justin noted that the joint offset should be "inch to inch and a half". The Cedar Shingle and Shake Bureau and the IRC require that the joints in successive courses be offset by a minimum of 1 1/2 in. In addition, joints can't repeat through 3 courses. Two interceding courses of shingles must have joints offset by 1 1/2 in. or more before another joint in the forth course can match the joint in the first course.
And due to the 1 1/2 in. minimum offset, the narrowest shingle that can be installed is 3 in. wide.
Justin also didn't mention where to position the nails vertically or horizontally on a shingle. There is a code for that too, as well as the CSSB standard practice for shingle installation on roofs.