Adding Blocking Between Deck Joists
Use this quick and efficient method to cut and install blocks that will help to keep deck joists straight and square.
Blocking, sometimes called crush blocking, is installed to keep the joists upright and to prevent them from rolling to the side under load. Cutting blocking is a good way to salvage joists that were rejected for defects. In its simplest terms, installing blocking is just filling the gap between two joists. That said, there are as many blocks to install as there are joists, and if done correctly the job can be efficient and not too time consuming. On the other hand, if approached haphazardly, installing the blocks can take a frustratingly long time. Over the years we have developed a system that gets the job done correctly and quickly.
What can go wrongCheck the blade thickness. If you are using a chopsaw, be aware that most chopsaw blades are thicker than a hand-held circular saw and your blocks may end up too short. |
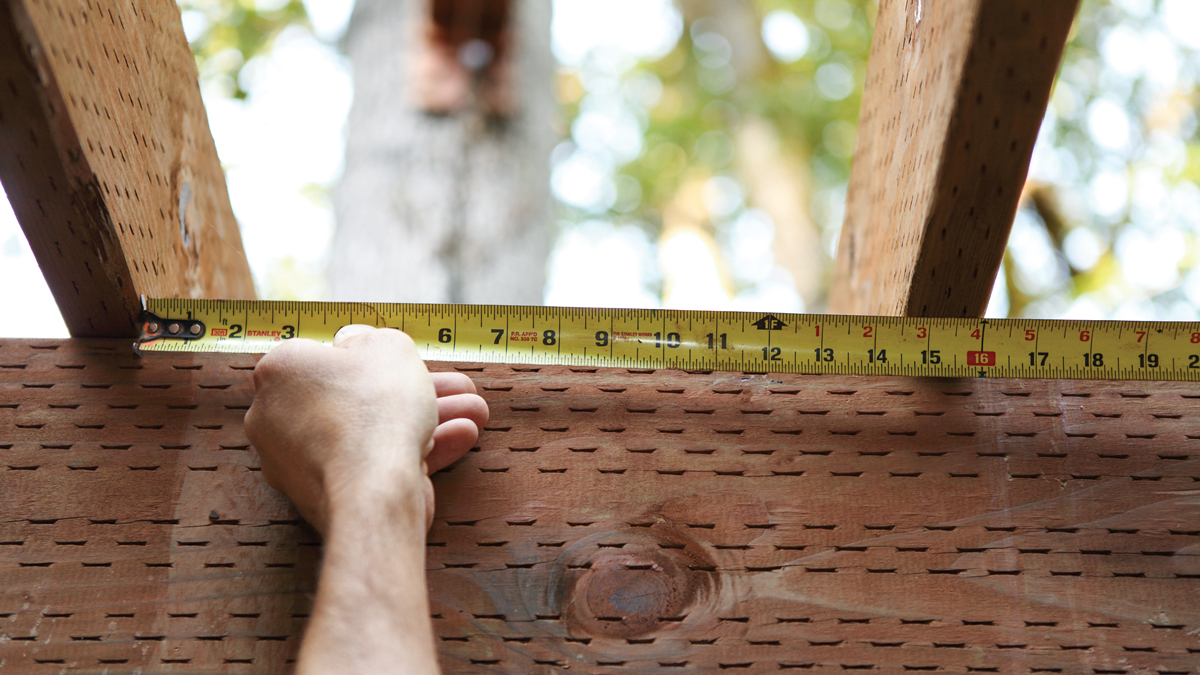
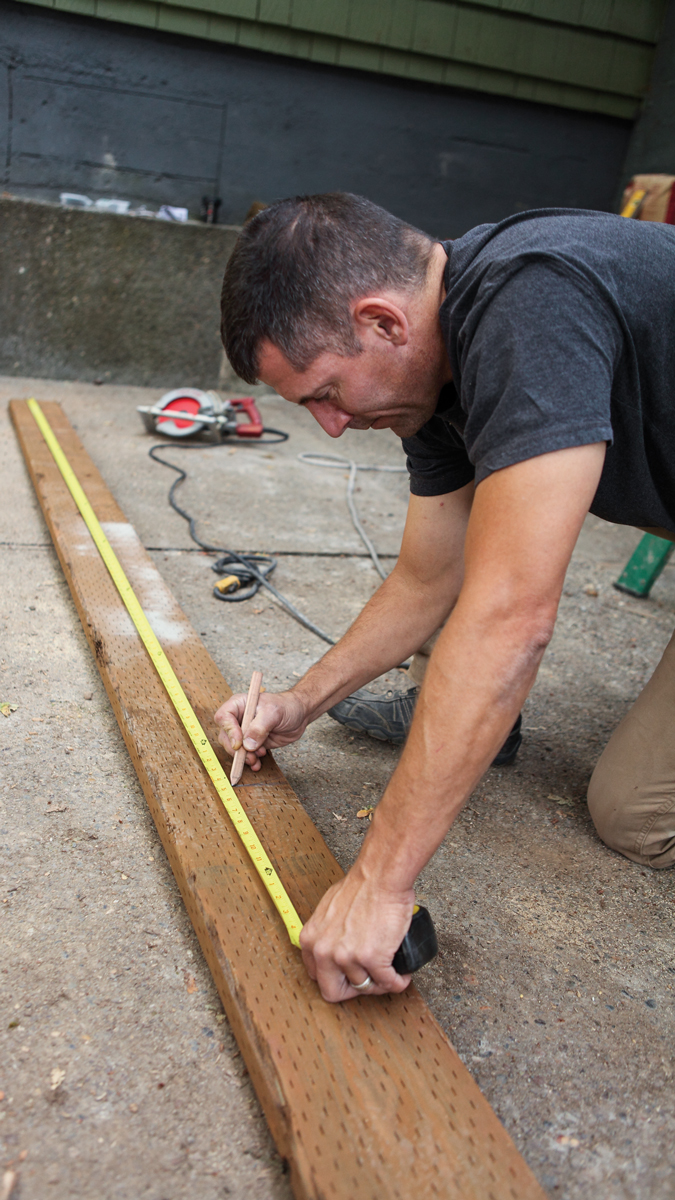
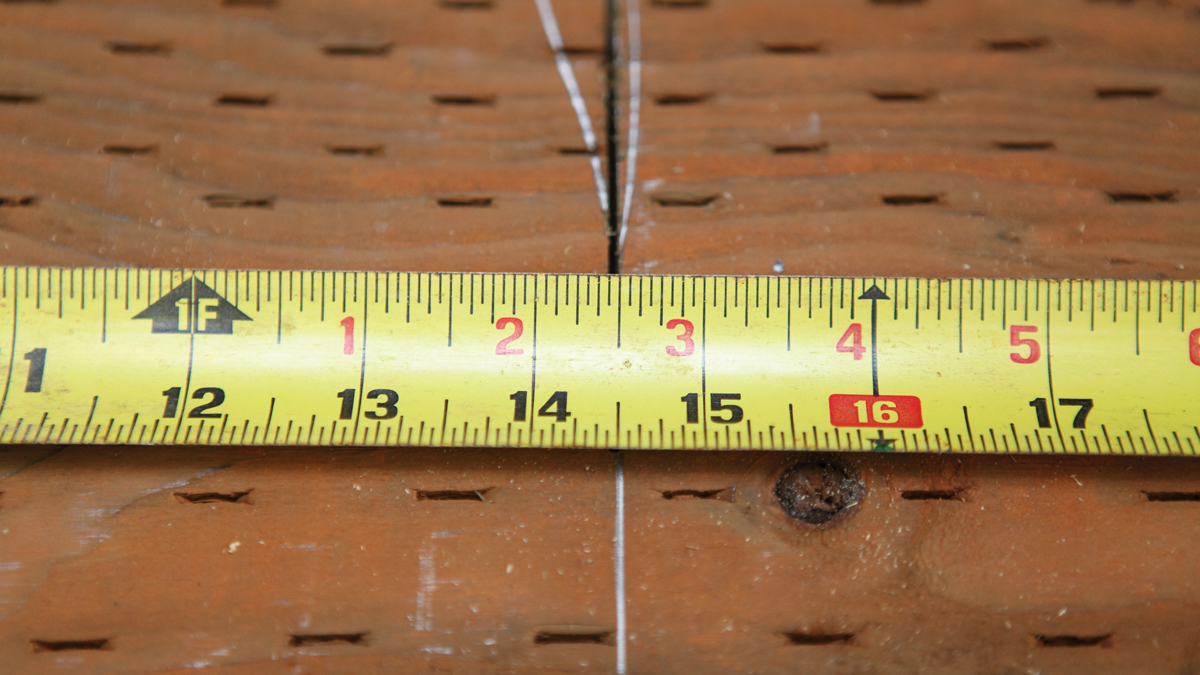
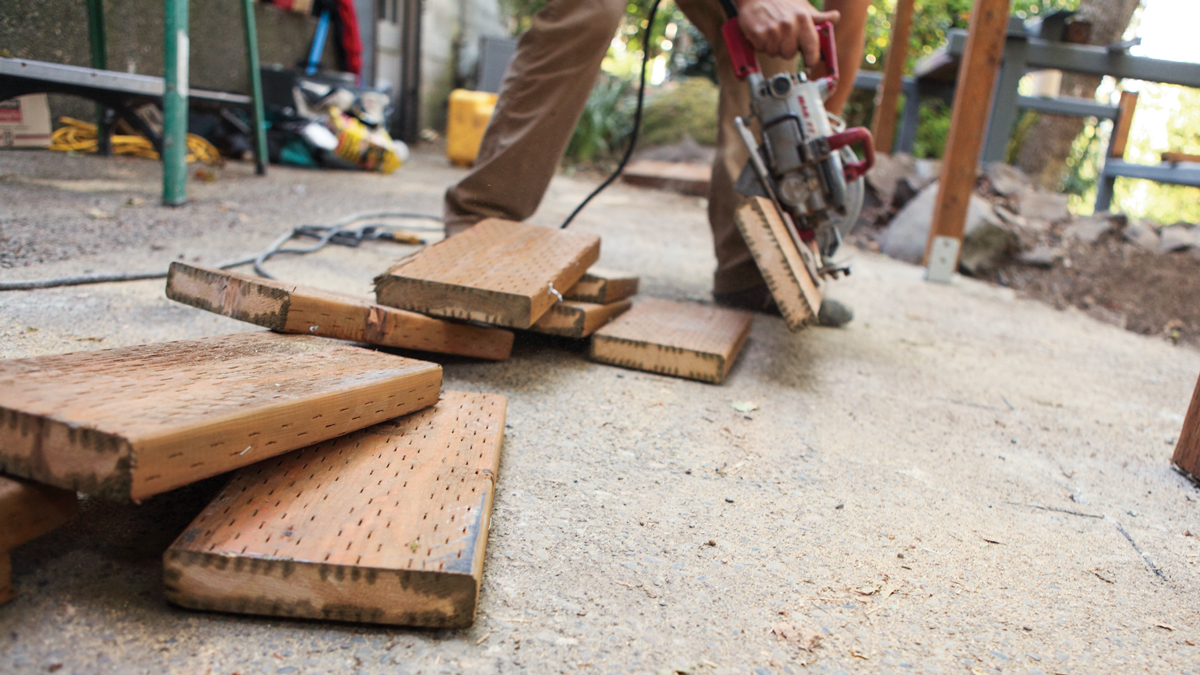
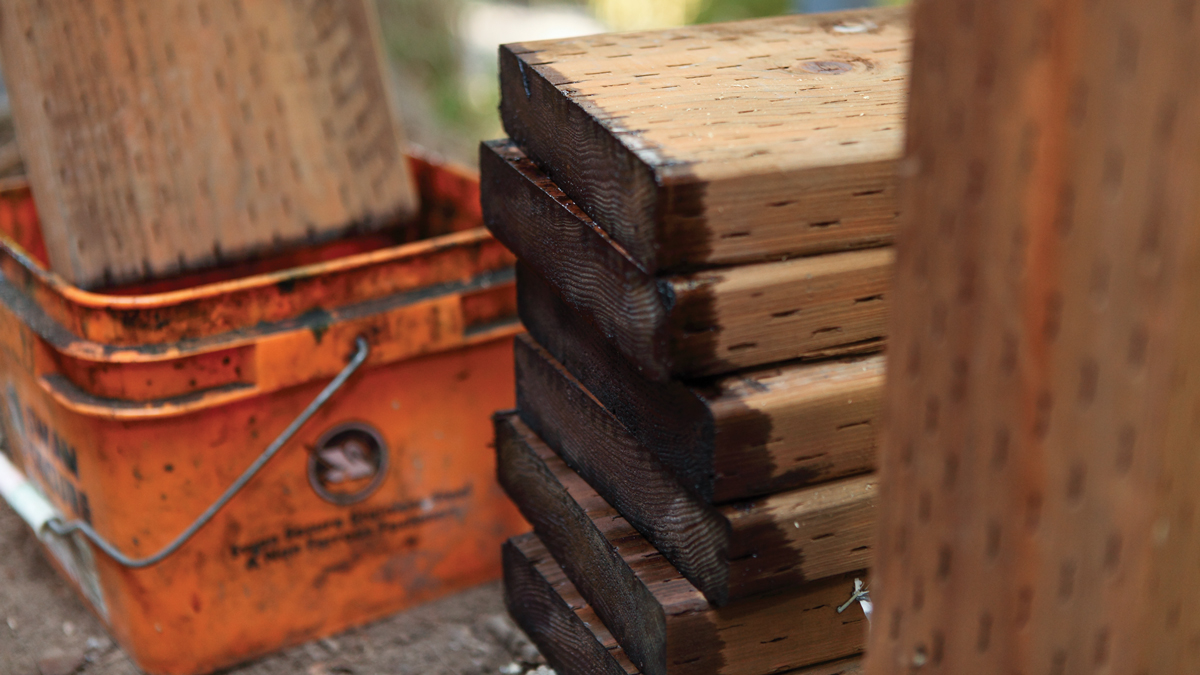
To begin, double-check to make sure the space between the joists is a consistent 14-1/2 in. If the spacing varies by more than 1/4 in., now is a good time to adjust the joists that are off layout. Cutting the blocking at exactly 14-1/2 in. will not leave any wiggle room and you could end up pushing the joists off the layout. To prevent this, cut the blocking at 14-7/16 in. There’s an easy way to do this. Measure and mark an entire board at 14-1/2-in. intervals. Using a circular saw, cut to the short side of the line, taking the line as you cut. This will result in blocks that are about 1/16 in. shy. Cut all the blocks at one time. Treat the ends of the blocks with wood preservative and set them aside to let the preservative dry before installing.
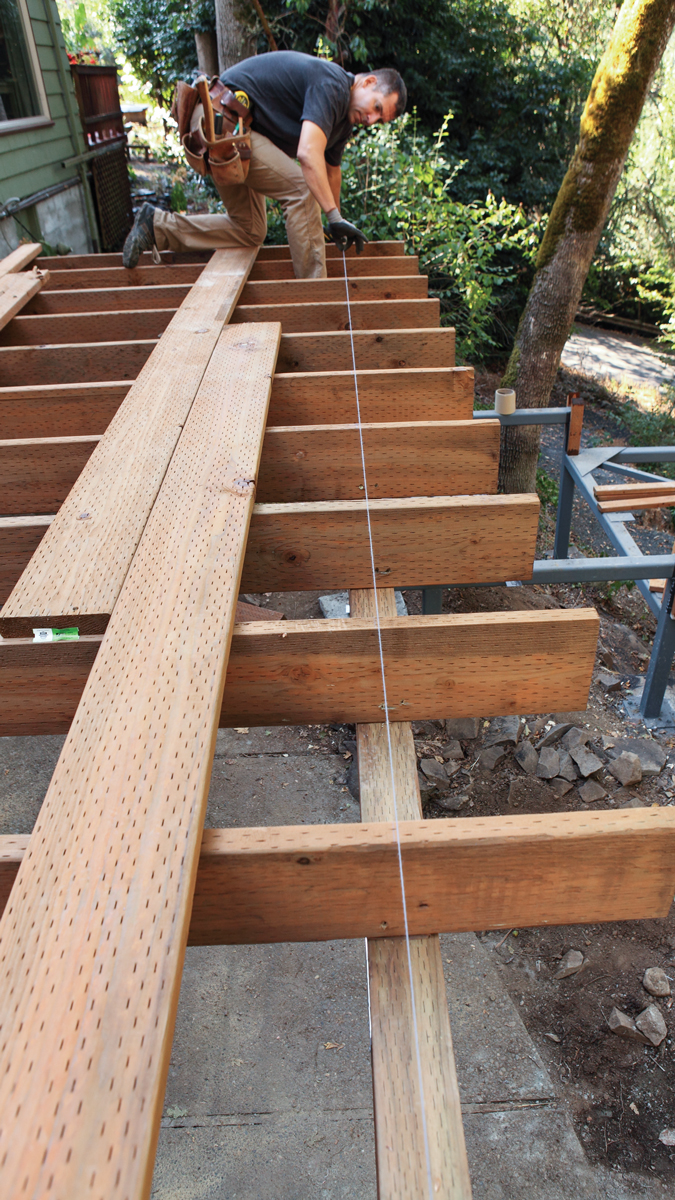
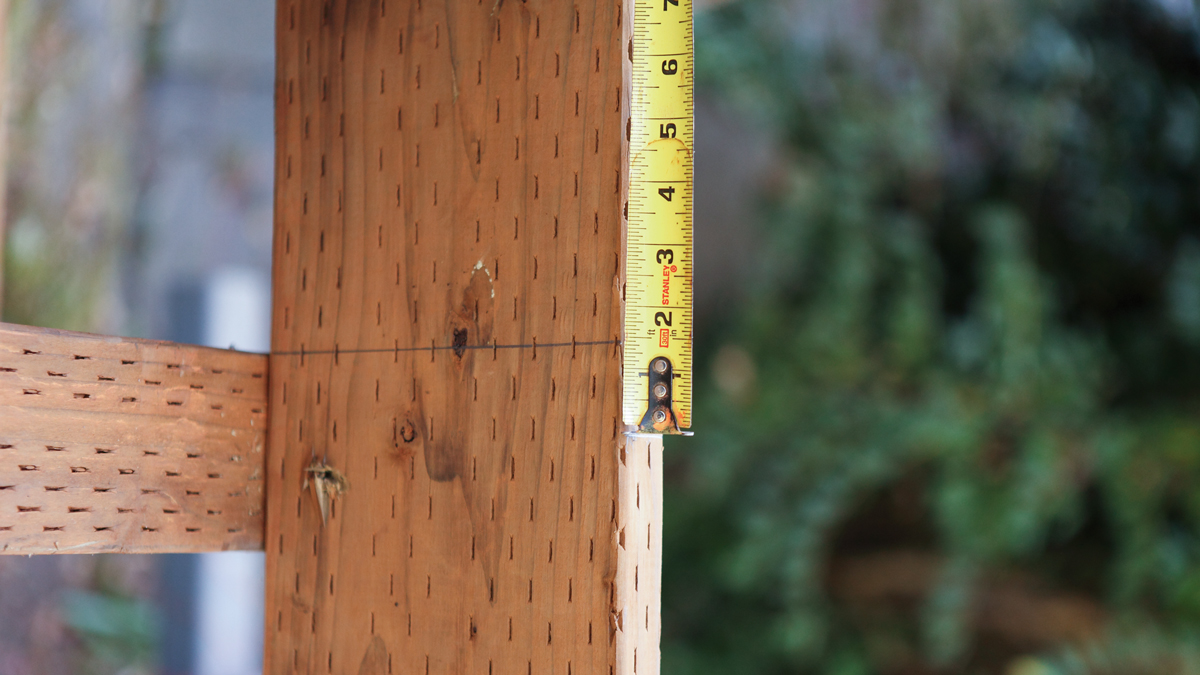
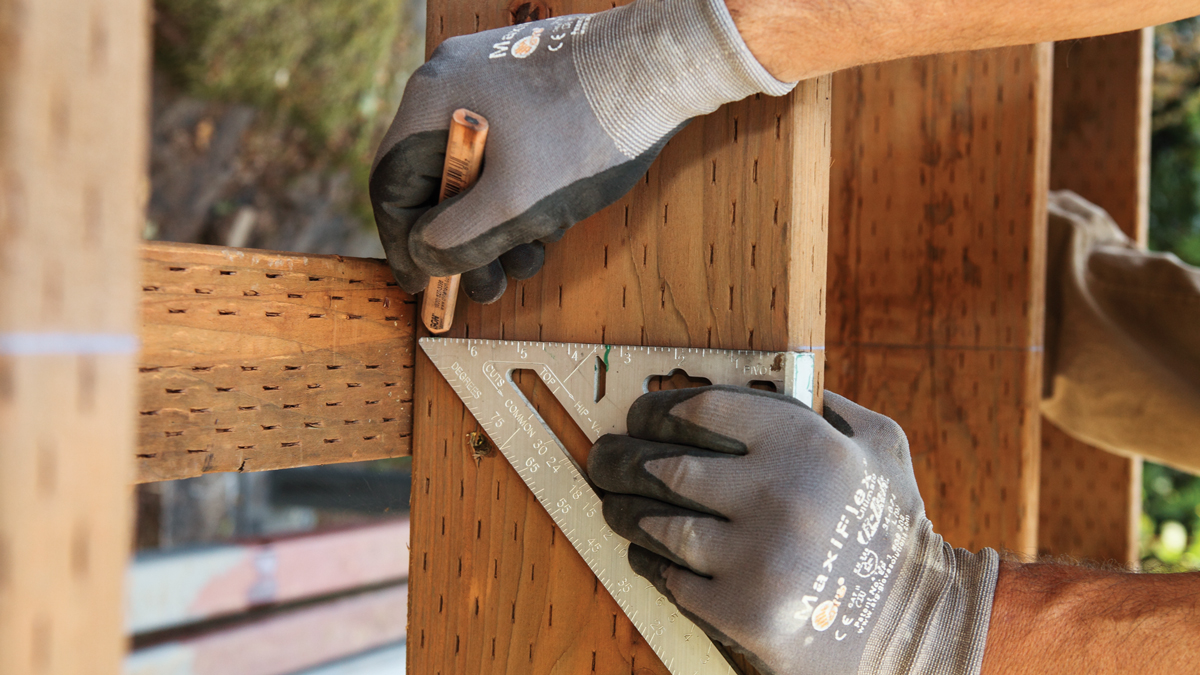
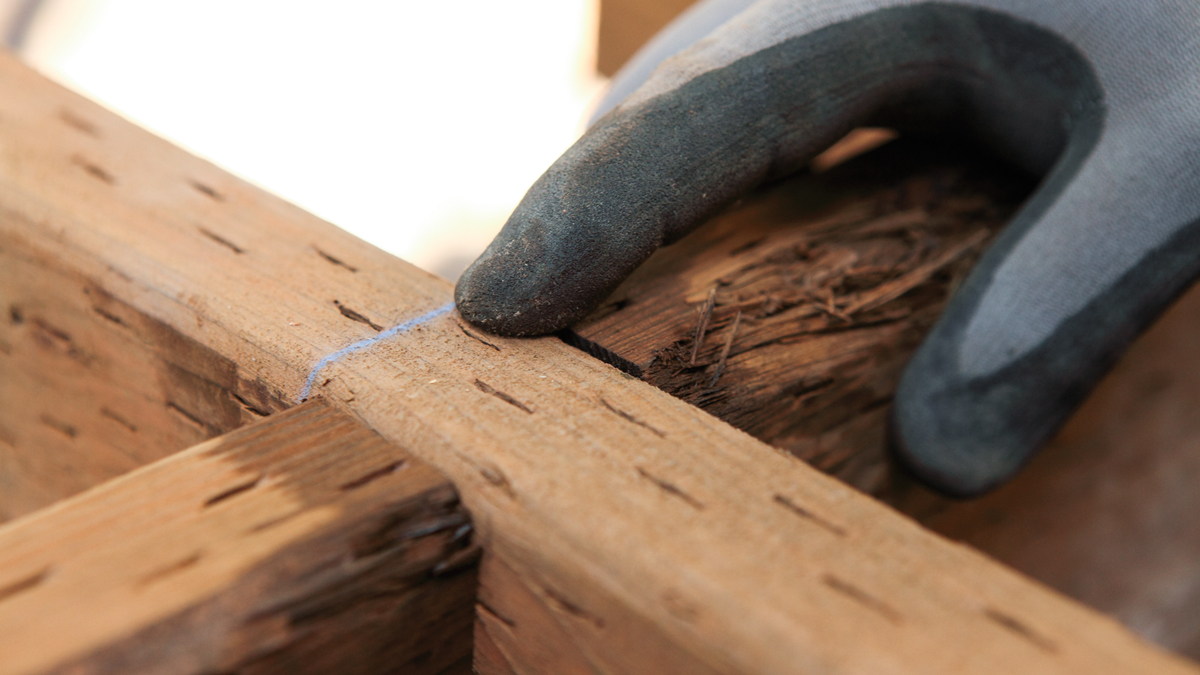
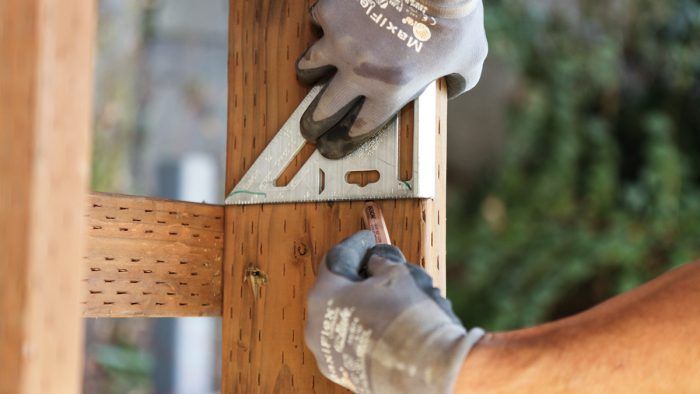
To lay out for the block installation, square up from the beam’s edge inside the last joist. This line represents one side of the blocking; it can be used to reference the blocking installation by setting all the blocking to the inside of the line. However, we prefer to measure over 1-1/2 in. and mark a crow’s foot to reference the chalkline. This does two things. First, it gives you two points of reference. You can sight down the face of the block and beam as well as align the edge to the line. It also allows an in-line installation over the beam or a staggered installation. Repeat the same layout process on the other end of the blocking run and snap a line along the joist tops. On one side of the joist, mark a plumb line down from the chalk mark to help align the block during installation.
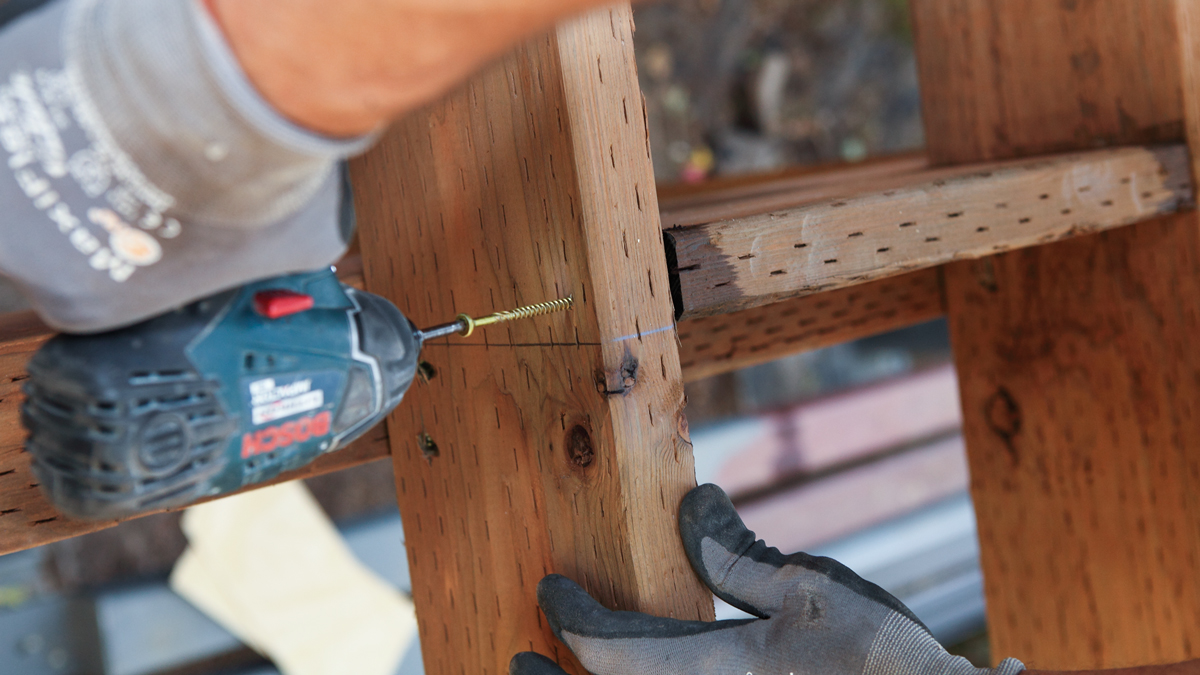
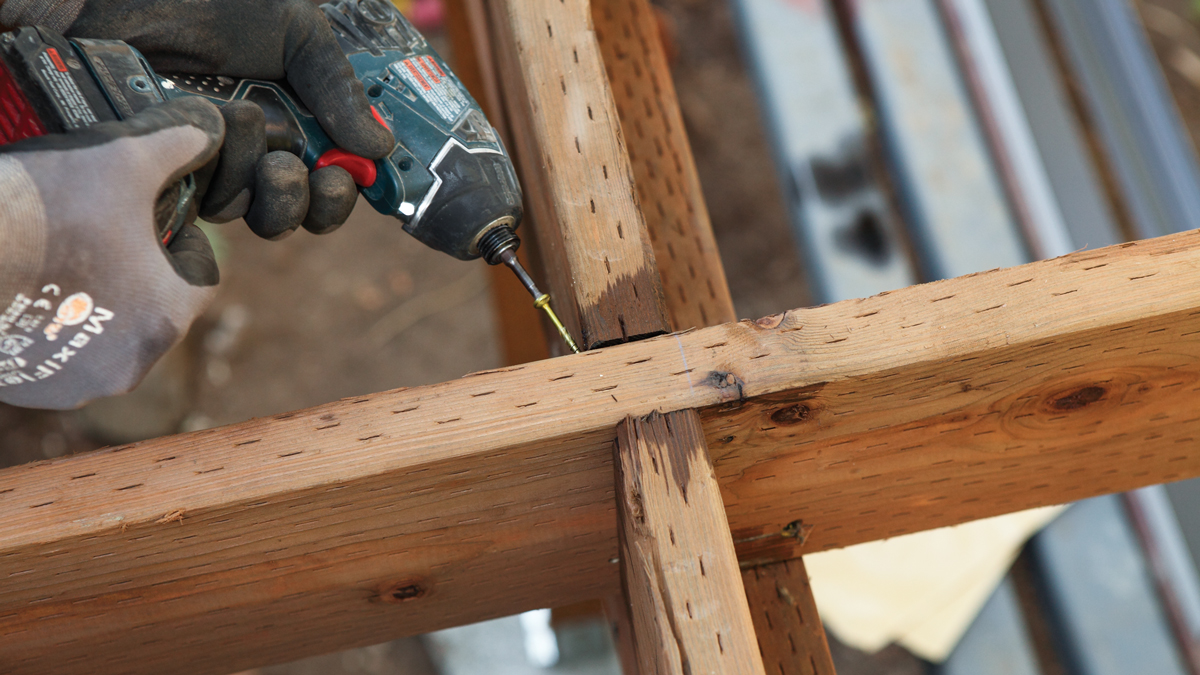
To install, align the block to the marks and through-screw (or nail) one end. The plan for this deck called for more joists to be sistered on at the beam. For this situation, the blocking needs to be installed in line to allow the end of the sistered joist to rest on the beam top. This means that at one end of the blocking, the screws have to be angled in. This is just as strong as running them straight in but takes a little more time. Take care to make sure that the blocking sits flush with the joist top. If necessary, trim any blocking that sits proud; otherwise, it will create a bump in the decking.
1. Measure the distance between joists and adjust any joists that are more than 1/4 in. off layout.
2. Mark a board at 14-1/2-in. intervals. If necessary, mark a square line across the board face to align the sawblade as you cut.
3. Cut to the inside of the line. This will leave you with blocking that is 14-7/16 in. long, or thereabouts.
4. Cut all the blocking using the same method and at the same time to increase efficiency.
5. Dip each end of the cut blocks in wood preservative to protect them from rot and insect damage.
6. Use a square to mark the joist face where it intersects the beam face.
7. Measure over 1-1/2 in. to mark the location of the line to which the blocks will be aligned.
8. Mark the joist at the other end in the same manner and snap a chalkline along the joist tops.
9. Square down from the chalkline on one side of every joist to provide a reference line for installing the blocking.
10. Through-screw the blocking where possible. Use at least two screws per end to secure the blocking.
11. Angle the screws to secure the blocking where necessary. Sight down from above to effectively align the screw.
12. Check the blocks to make sure the tops do not extend above the joists, which would create a hump in the decking.
Fine Homebuilding Recommended Products
Fine Homebuilding receives a commission for items purchased through links on this site, including Amazon Associates and other affiliate advertising programs.

Jigsaw
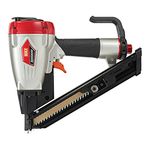
Metal Connector Nailer

Flashing and Joist Tape

