
Laying Out Deck Stair Railings
Establish measurements and reference lines from the bottom up to accurately determine the heights, lengths, and angles of the necessary railing parts.
The challenge to installing a handrail on a stair is that you can’t just level over or easily measure up. However, by using the stair tread’s nosings as a point of reference, the installation is not much more difficult than for a typical railing.
View the step-by-step photos below, or read on to get an explanation of the process
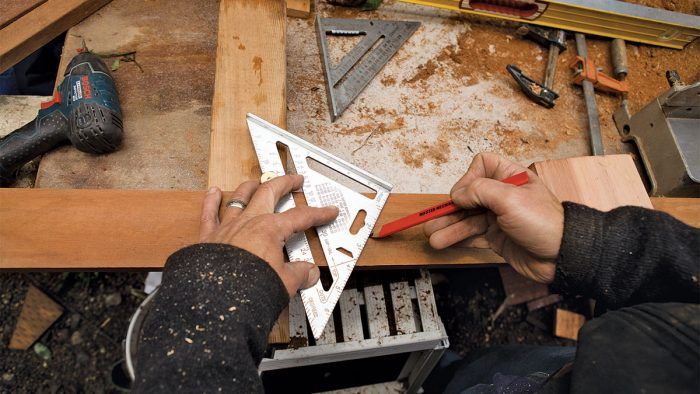
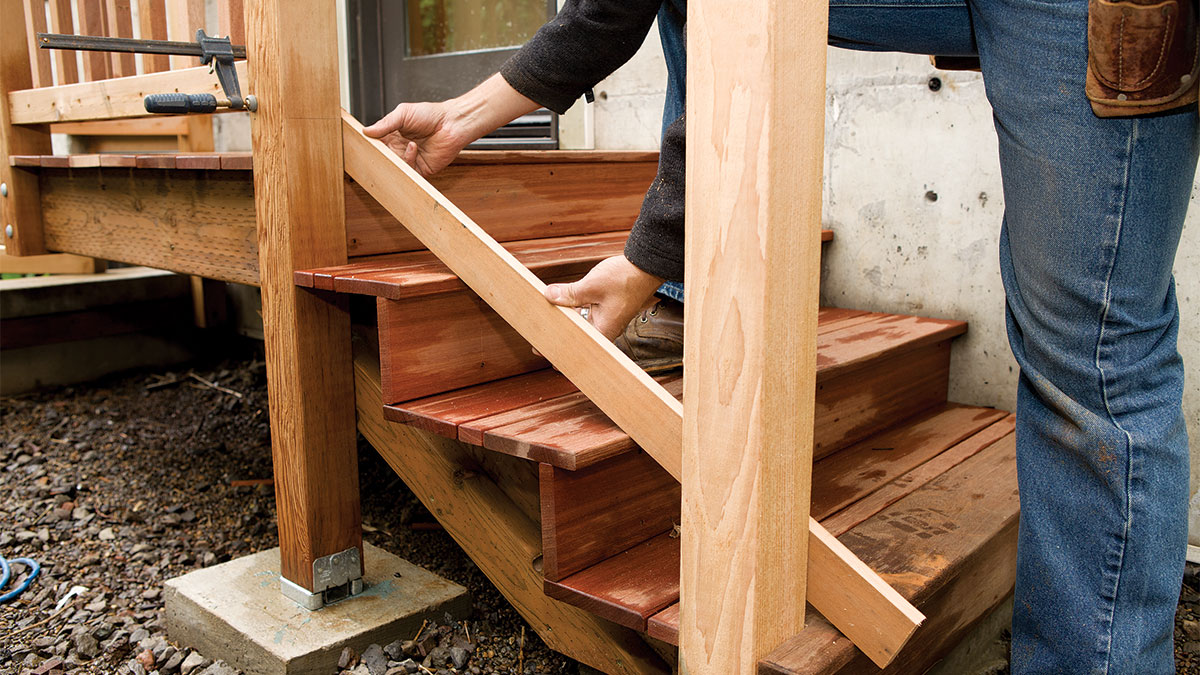
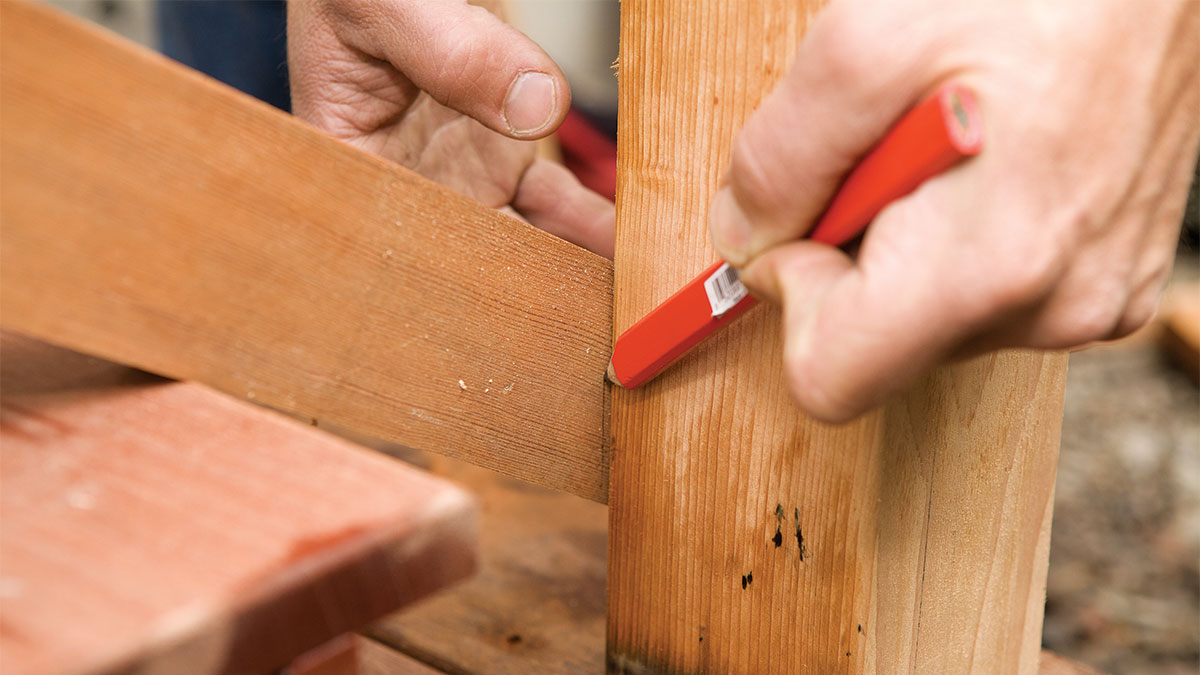
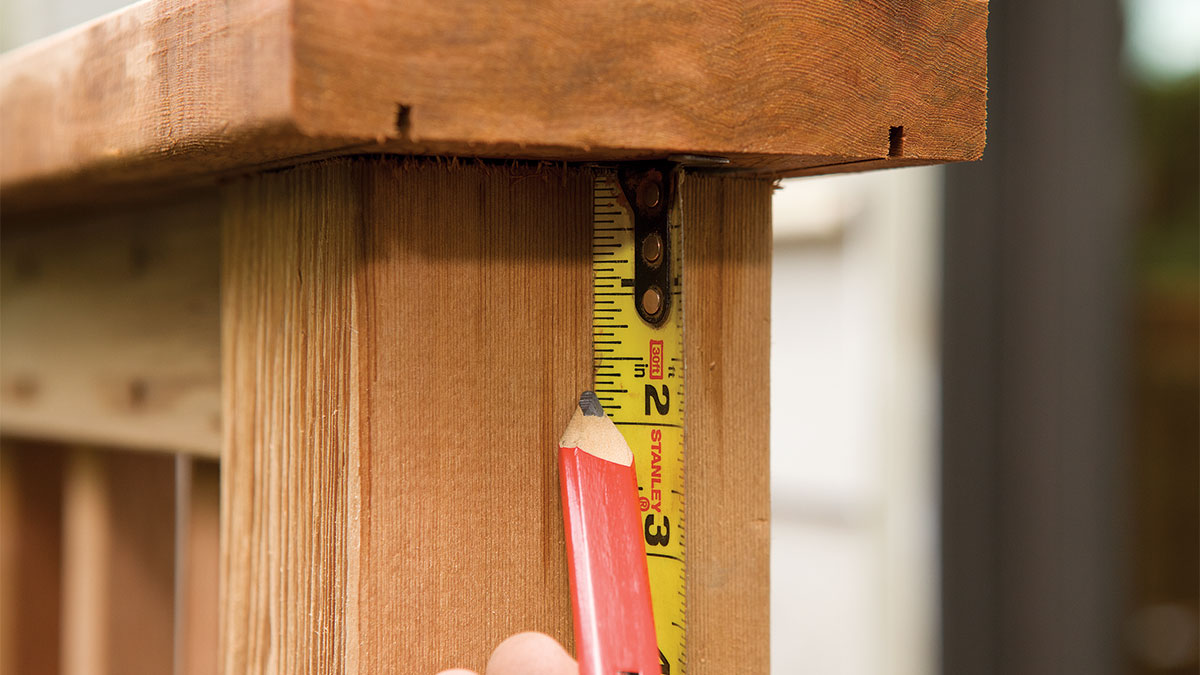
Start by aligning a lower-rail section on top of the stair nosings and clamping it in place, as shown in the photos below. Mark the cutline on the lower rail where it intersects the upper post. Also mark the bottom of the balustrade assembly by aligning a square across the post face where it intersects the top edge of the rail. Repeat this process of marking the rail cutline and the bottom of the balustrade where the rail intersects with the post at the bottom of the stair run.
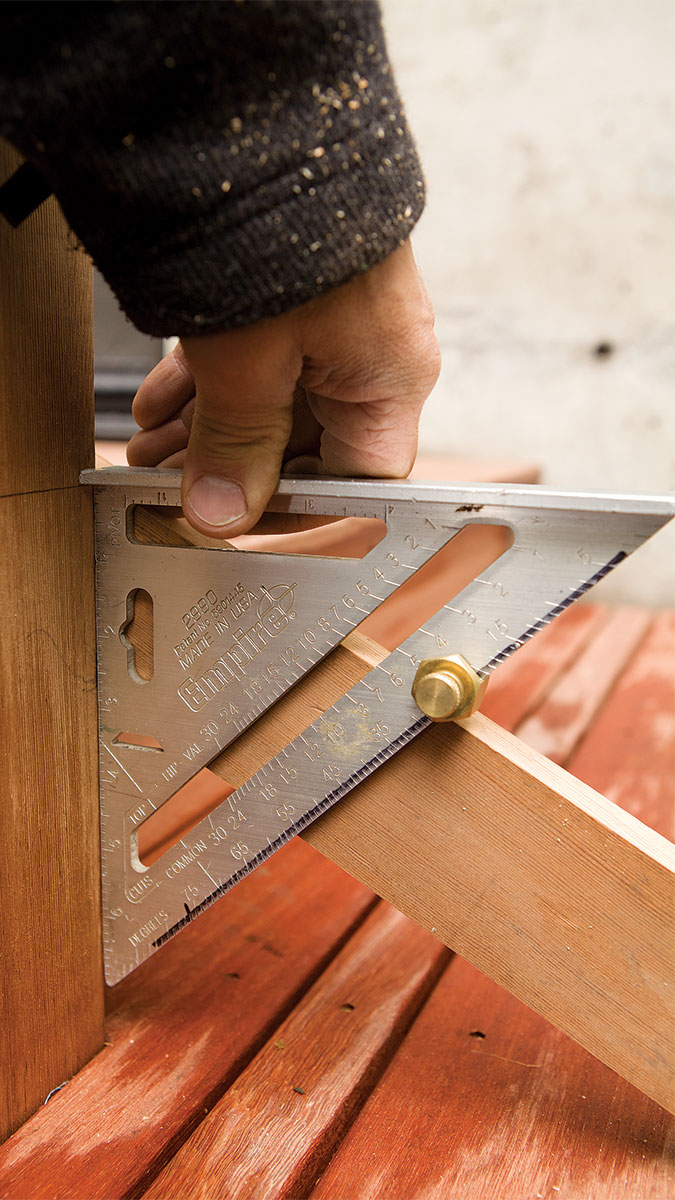
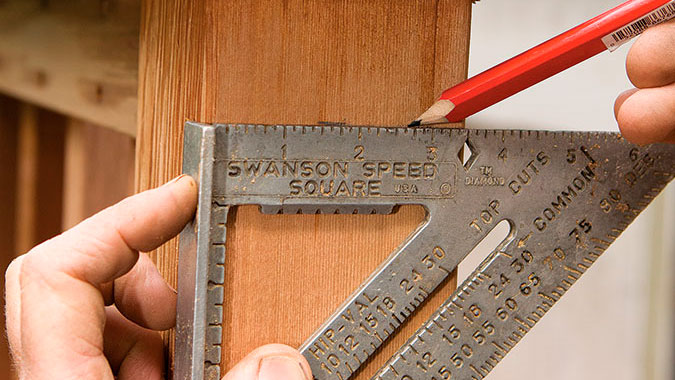
Next you’ll want to cut the post to height at the rake. With the lower section of rail still clamped in place against the tread nosings, take a reading of the rake angle with a Speed Square. Transfer that angle to a scrap board so you can record the vertical stand of the cap. To do this, position a section of cap on the angle you just made with the cap apex intersecting the rake angle. Measure the distance along the rake angle from the base of the cap to the apex. This is the cap’s vertical stand where it intersects the post. Now measure down from the underside of the typical railing cap. This represents the intersection of the underside of the cap and the post. Use a Speed Square to carry this line across the post face. Measure between the two lines drawn on the post face to establish the baluster length from long point to short point.
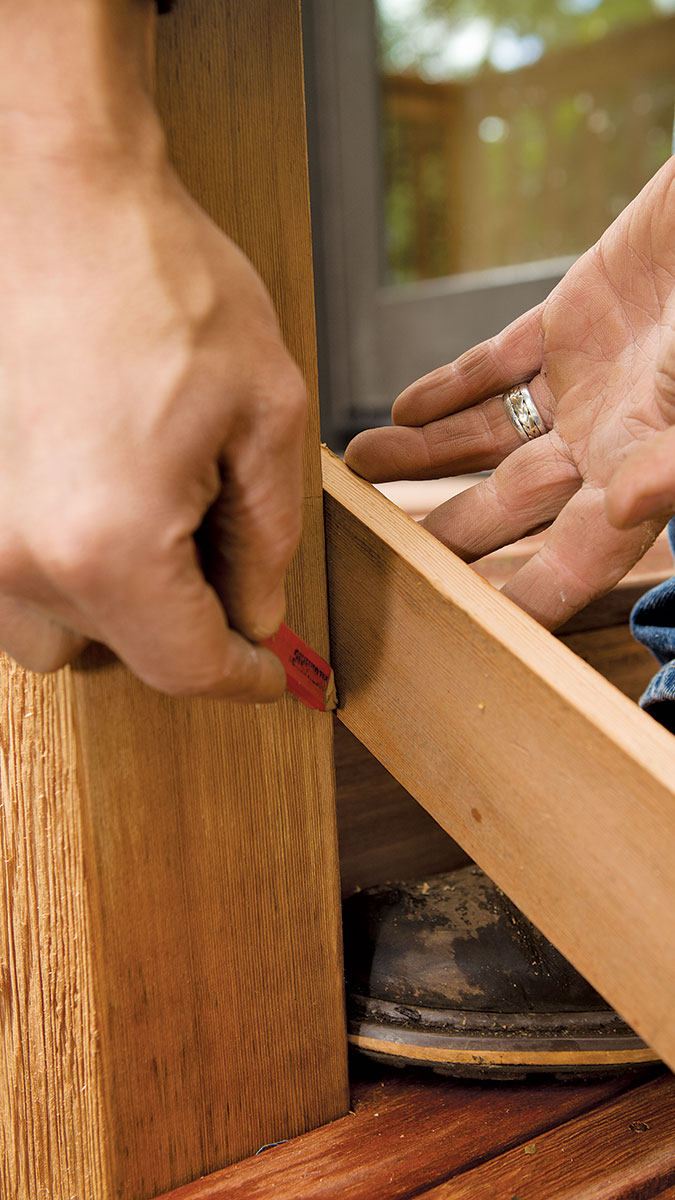
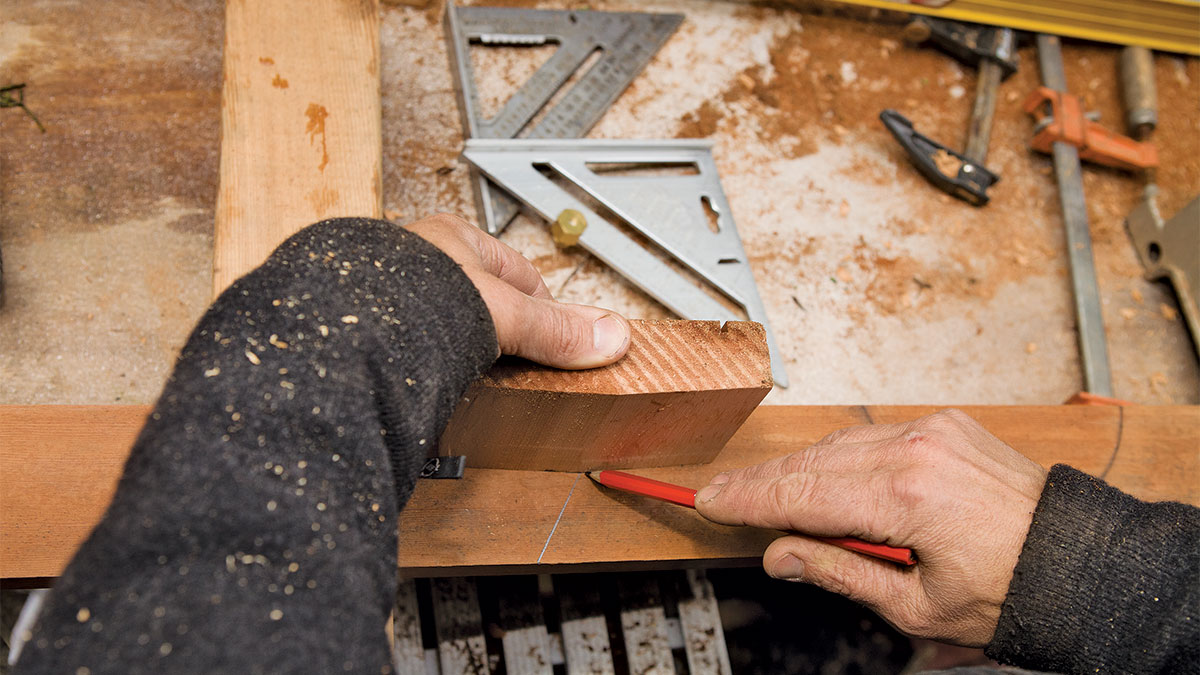
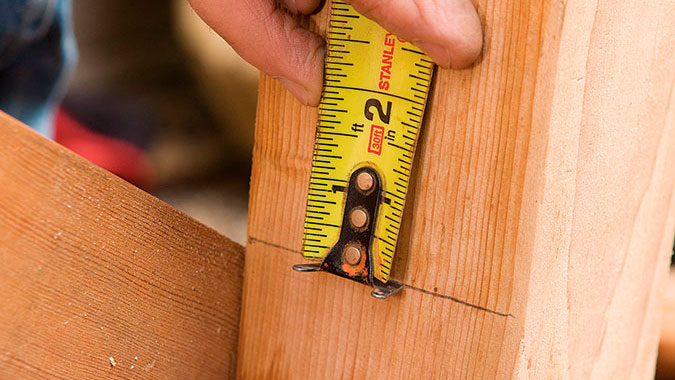
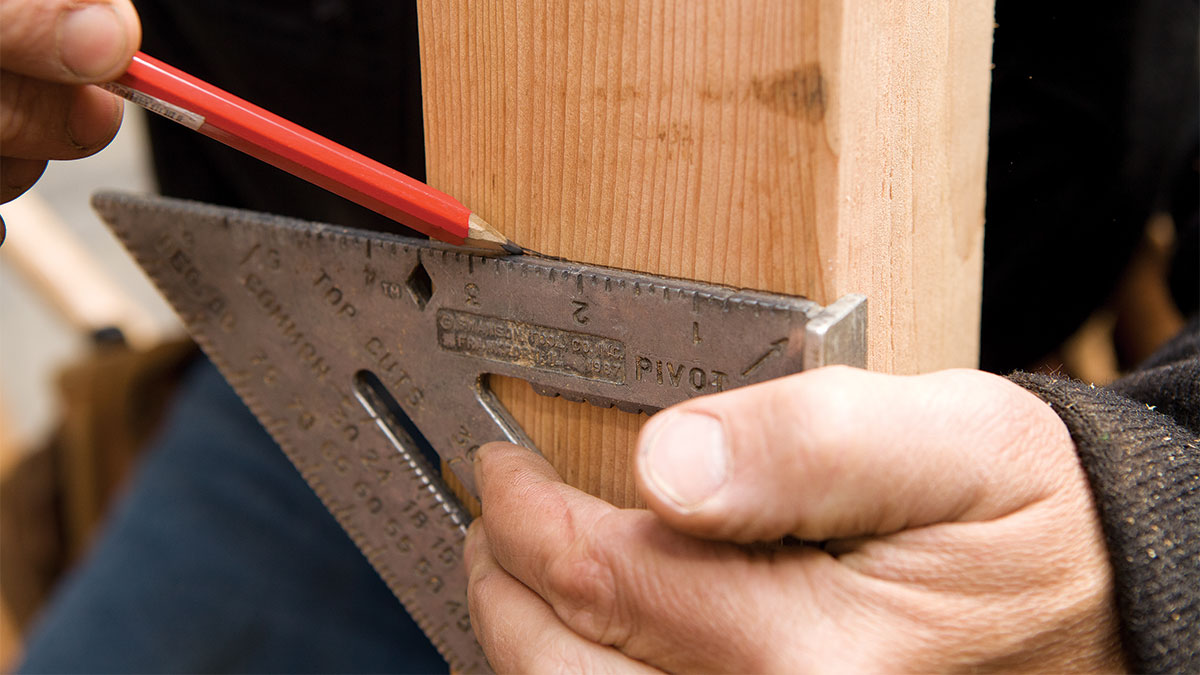
Transfer the baluster length (also the balustrade height) to the bottom post to locate where to cut the top of the post. To do this, measure from the bottom line already drawn on the post face. Measure up the distance of the baluster length and make a mark. With a Speed Square, extend this line across the post face. On the side faces, extend the line at the rake angle. Cut the top of the post at the rake angle.
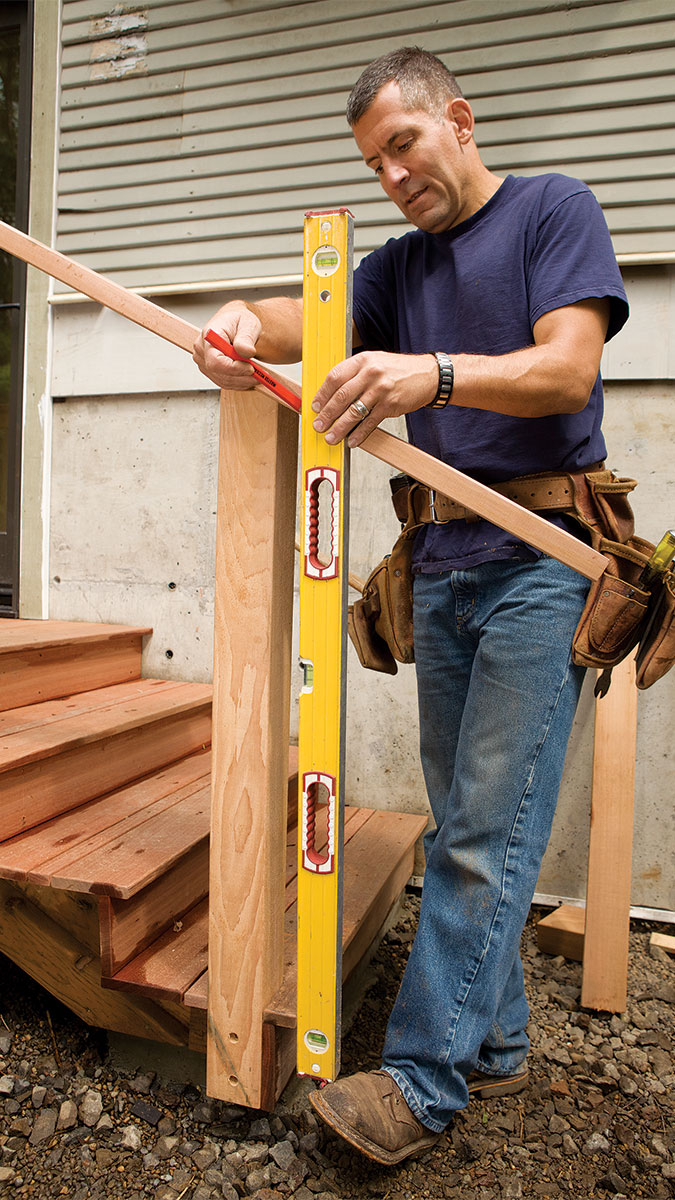
To fit a cap to the rake railing section, cut one end of a cap section (at least 12 in. longer than you need) at the rake angle and fit it in position at the upper post. At the bottom post, plumb a level 2 in. or so down the rake. Using the level as reference, mark the plumb line on the cap. At this point, you can set the cap aside until you are ready to install it.
View the photos below for a full breakdown of this process:
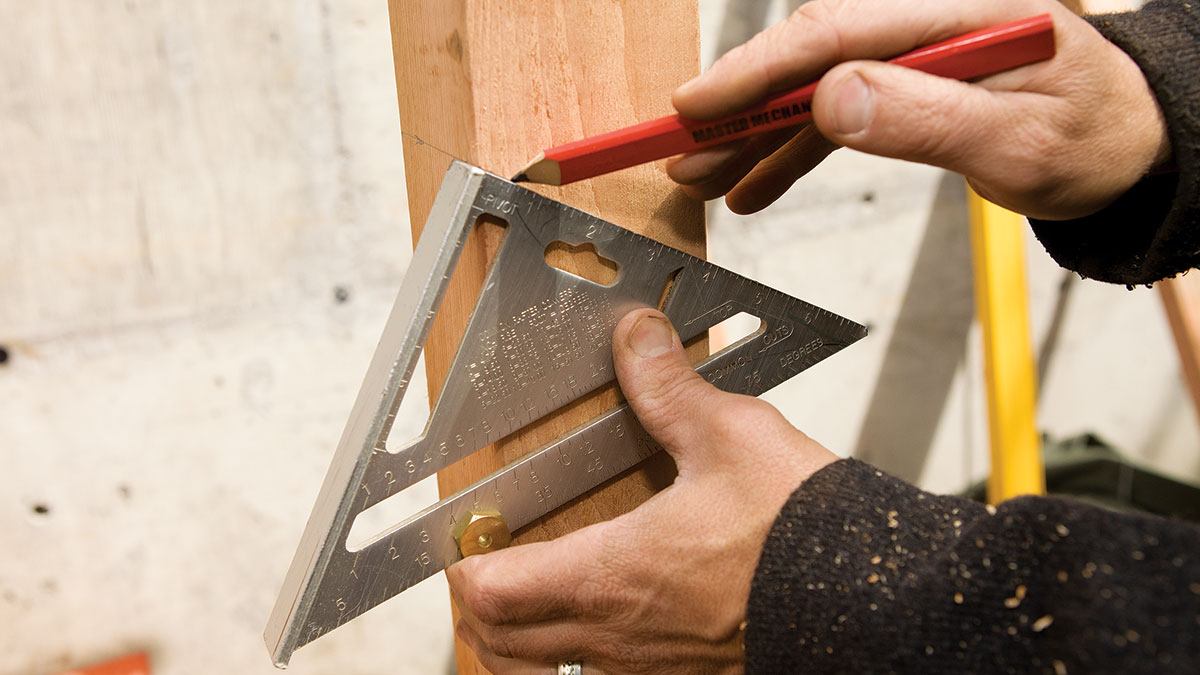
1. Align the section of rail along the tops of the tread nosings to establish the angle.
 |
 |
 |
 |

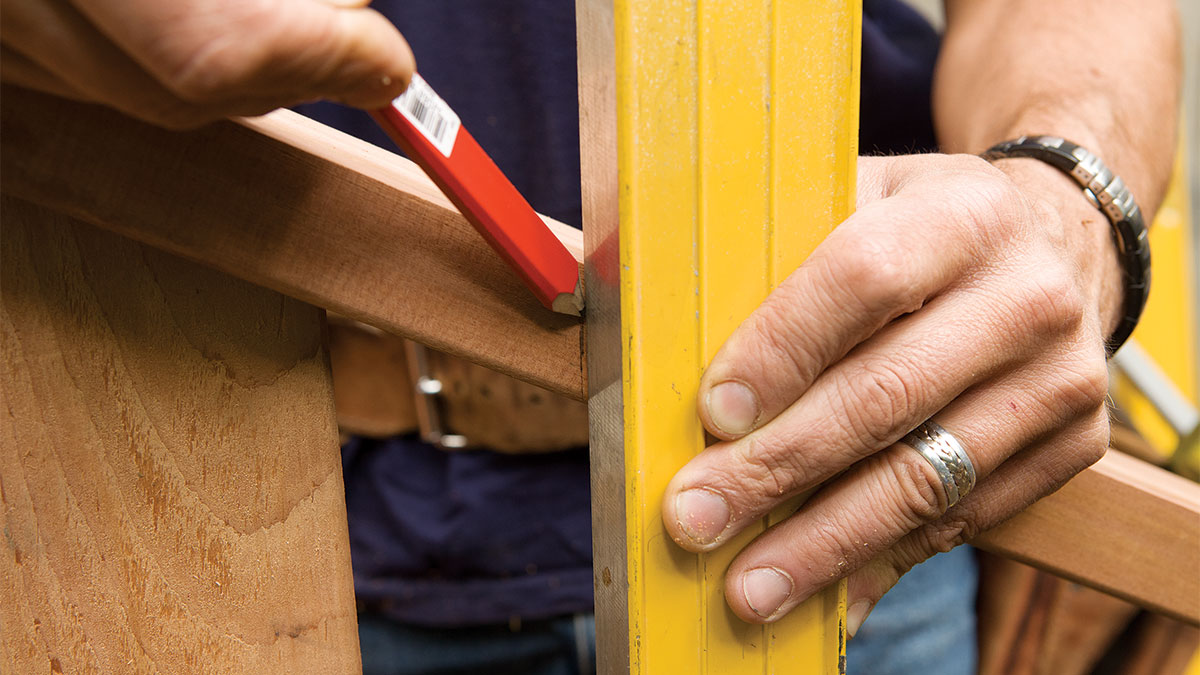
6. Transfer the rake angle to a scrap piece of railing to calculate the cap stand where it intersects the post.
 |
 |
 |
 |
 |
 |

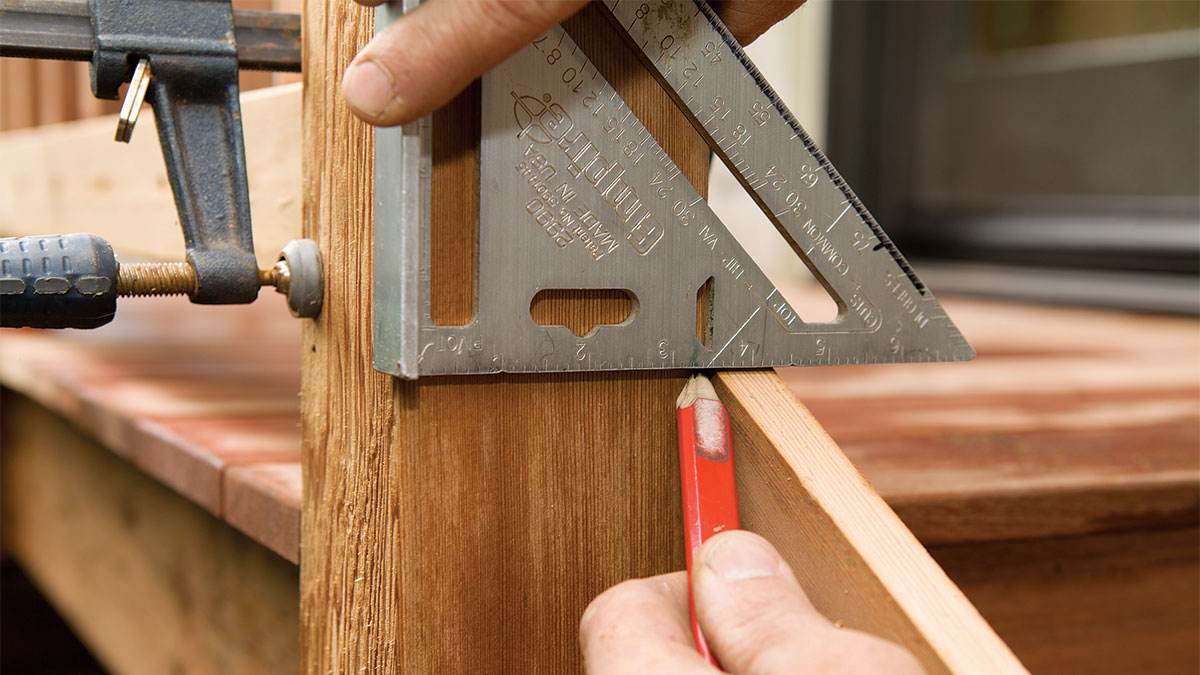
14. Extend the line across the face that represents where the underside of the cap will intersect the post.
15. Extend the line of the cap down the side of the post by aligning the Speed Square to the post at the rake angle.

16. Cut the post at the rake angle, using the lines you just drew as reference.
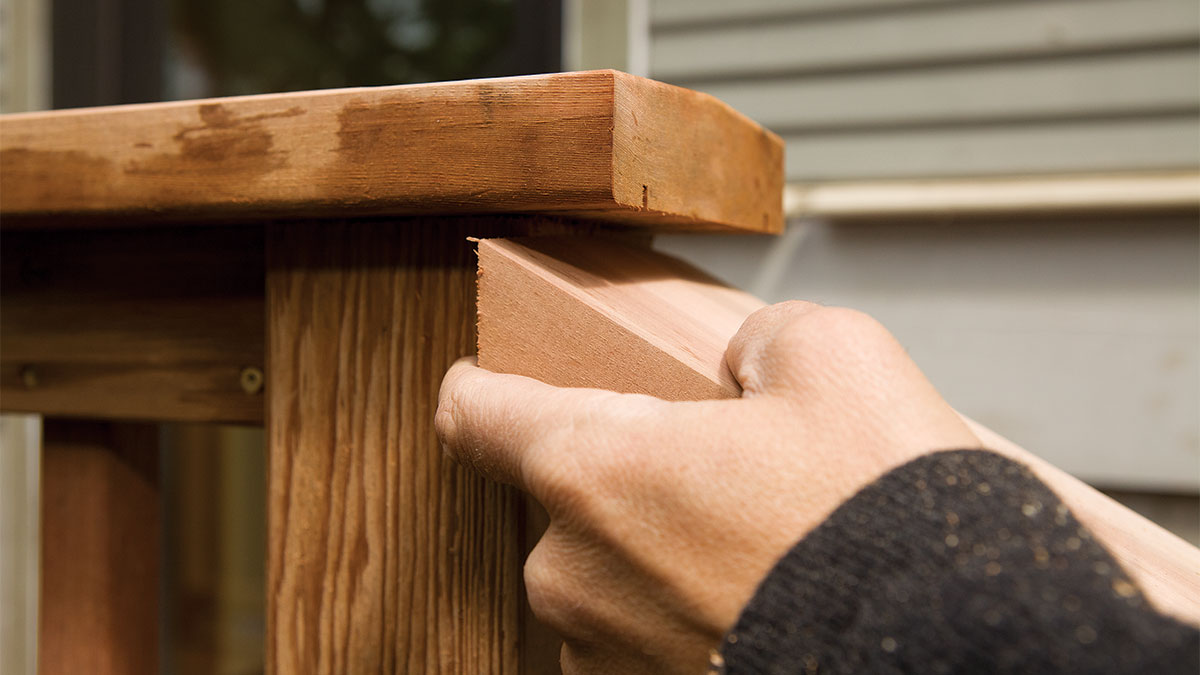
17. Fit a section of cap to the post with the end cut plumb to the complement of the rake angle.
 |
 |
Fine Homebuilding Recommended Products
Fine Homebuilding receives a commission for items purchased through links on this site, including Amazon Associates and other affiliate advertising programs.
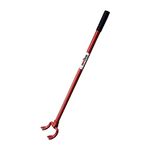
Angel Guard Deck Demon
N95 Respirator
Drill Driver/Impact Driver

