Installing Deck Planks
Using spacers to align deck boards and securing the boards with a pocket-screw fastening system are 2 ways to ensure a clean and consistent installation.
The basic steps of installing deck planks are not difficult. Cutting planks to length, spacing them correctly, and securing them are all operations that anyone with basic carpentry skills can easily accomplish. The difficulty comes in the repetition. Not only will you repeat these operations ad nauseam, but you will also need to keep your focus so you repeat them correctly from beginning to end.
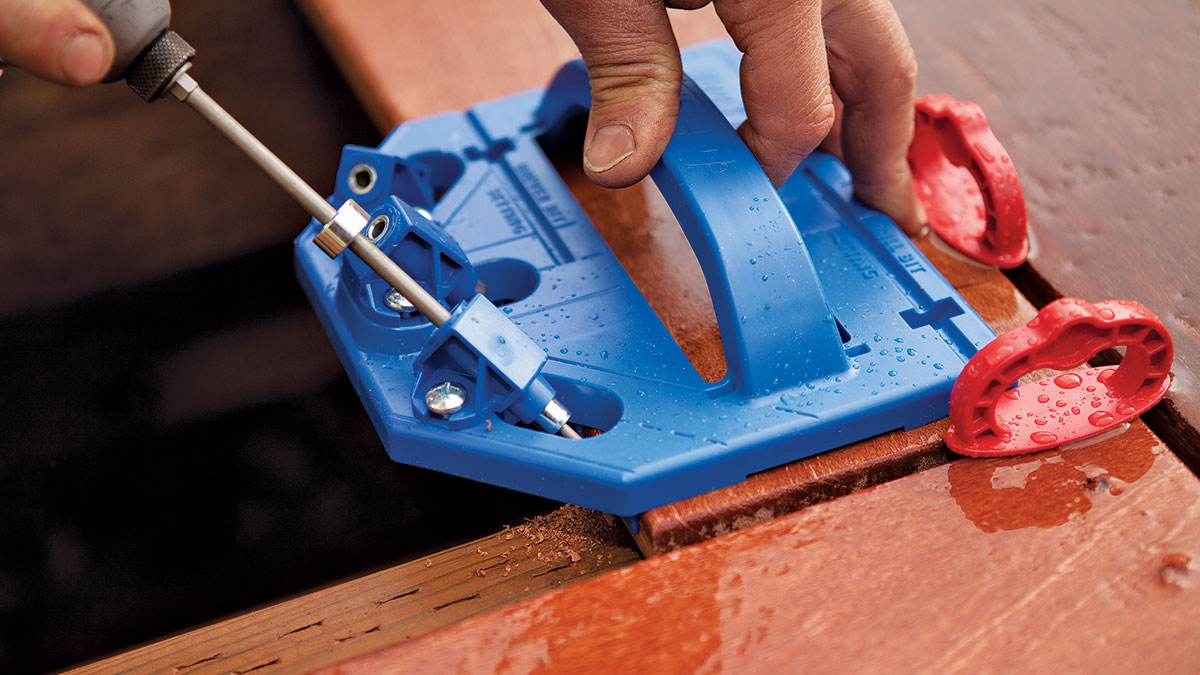
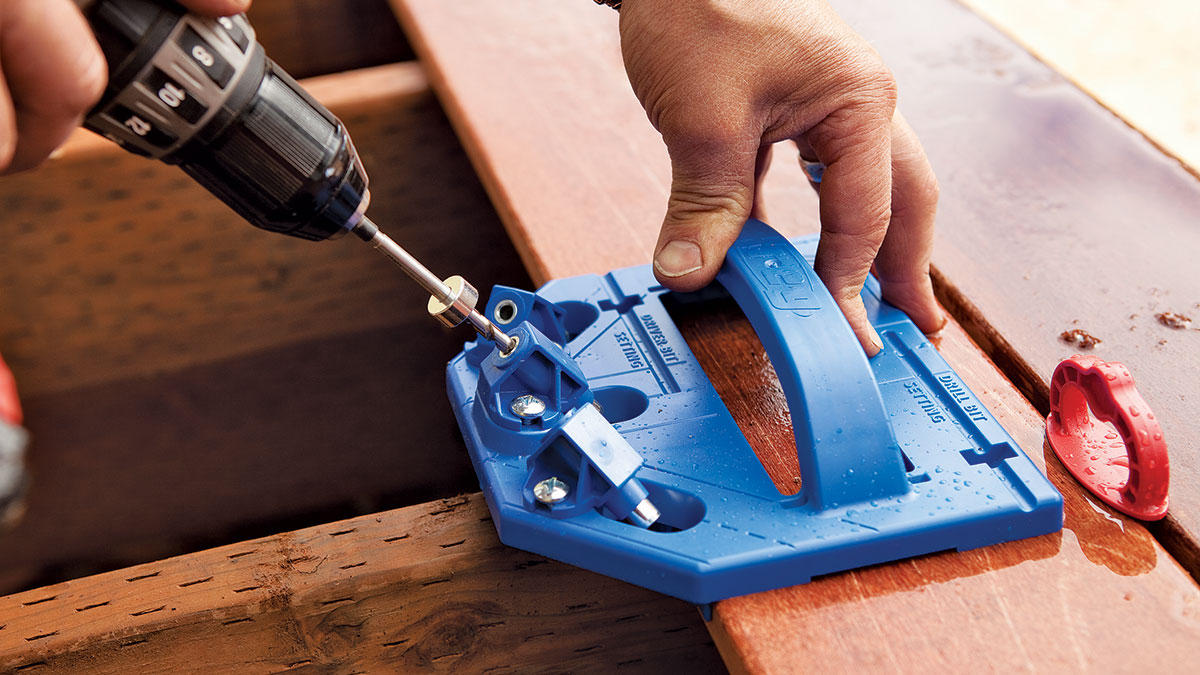
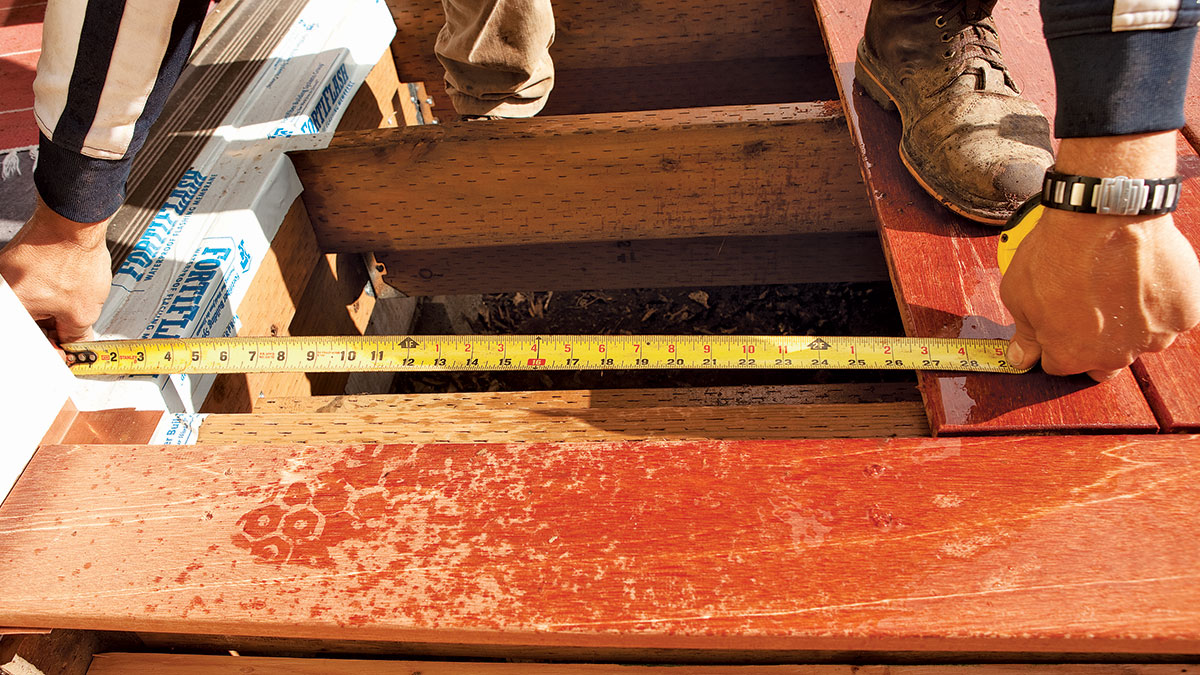
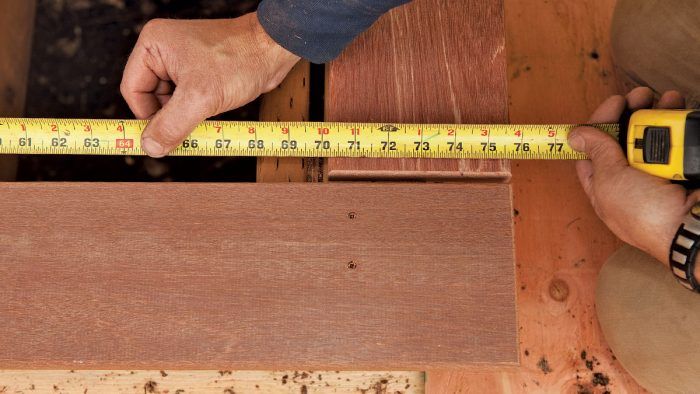
When measuring for field boards remember to account for the spacing on both ends of the board. To secure the boards on this deck, we opted for a fastening system developed by Kreg, which is famous for its pocket-screw systems. We have used many different types of hidden fastener systems and found this system to be among the best for both ease of use and fastening ability.
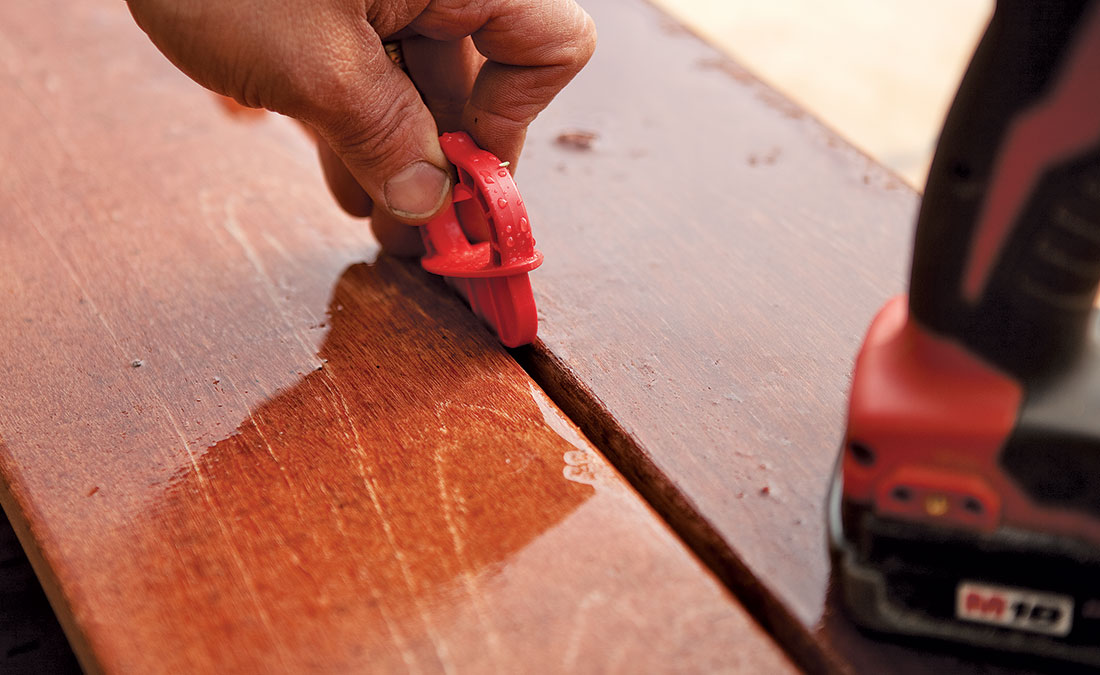
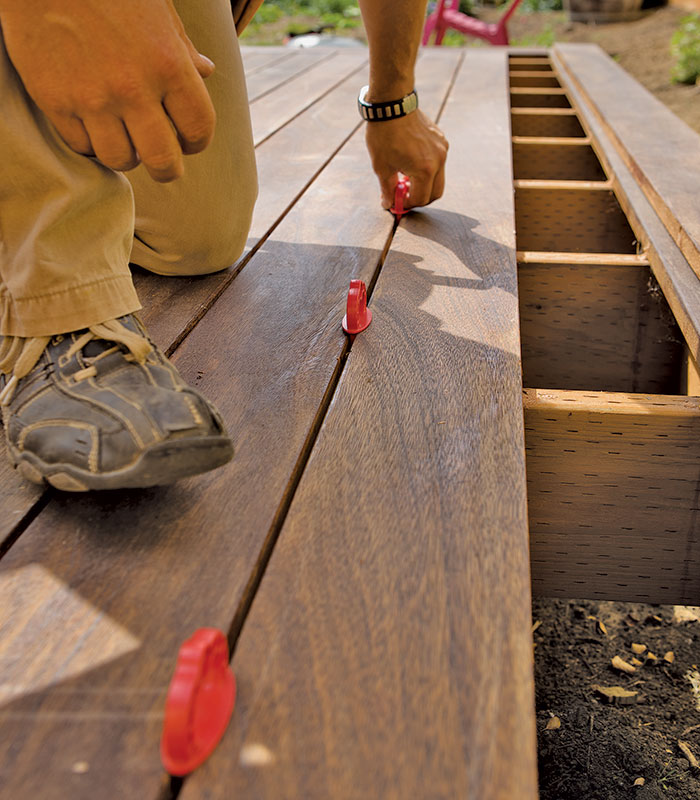
Whether you are using this system or another type, the general steps are the same. First, position the board and align the spacers (See photos below). Check the gaps at both ends to make sure that the board length is correct. If there is a bow to the board, orient the board so the bow pushes the ends away from the adjacent plank. This way you will always be pushing the board into place instead of trying to pull it. Align and fasten one end of the board to begin the installation. Once the end is secure, slide the spacer down to the next joist, push the deck board tight to the spacer, and fasten it in place. Periodically check both what has been installed and what is left to be installed to ensure that the calculated layout is accurate.
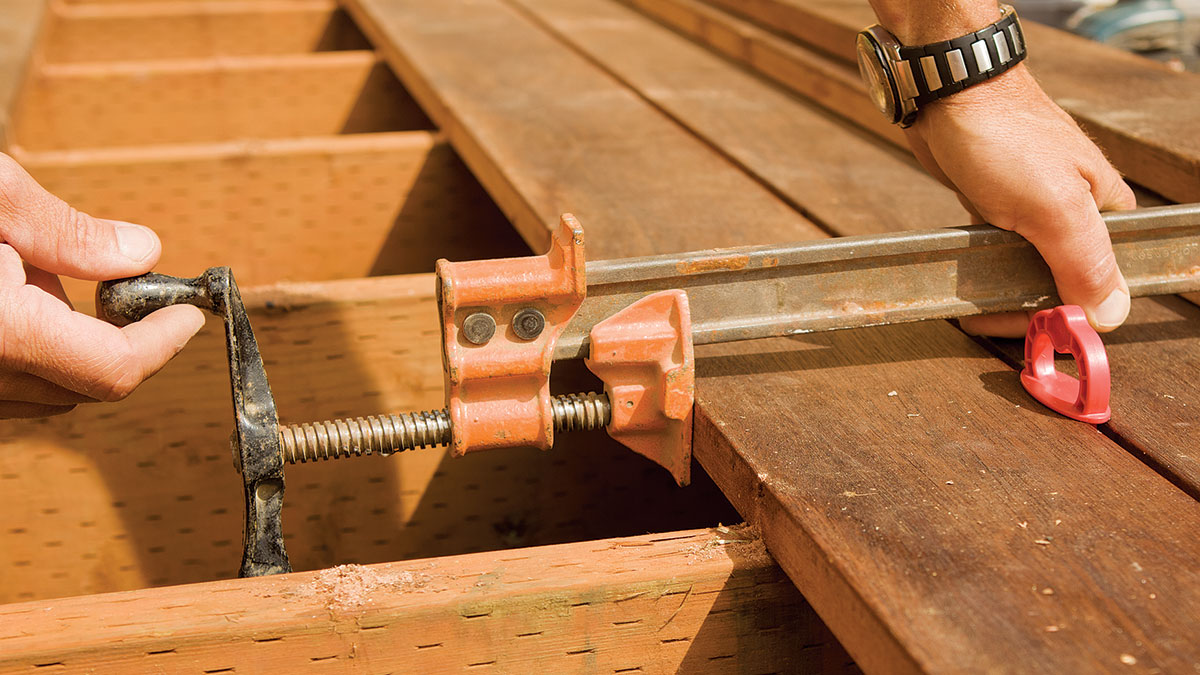
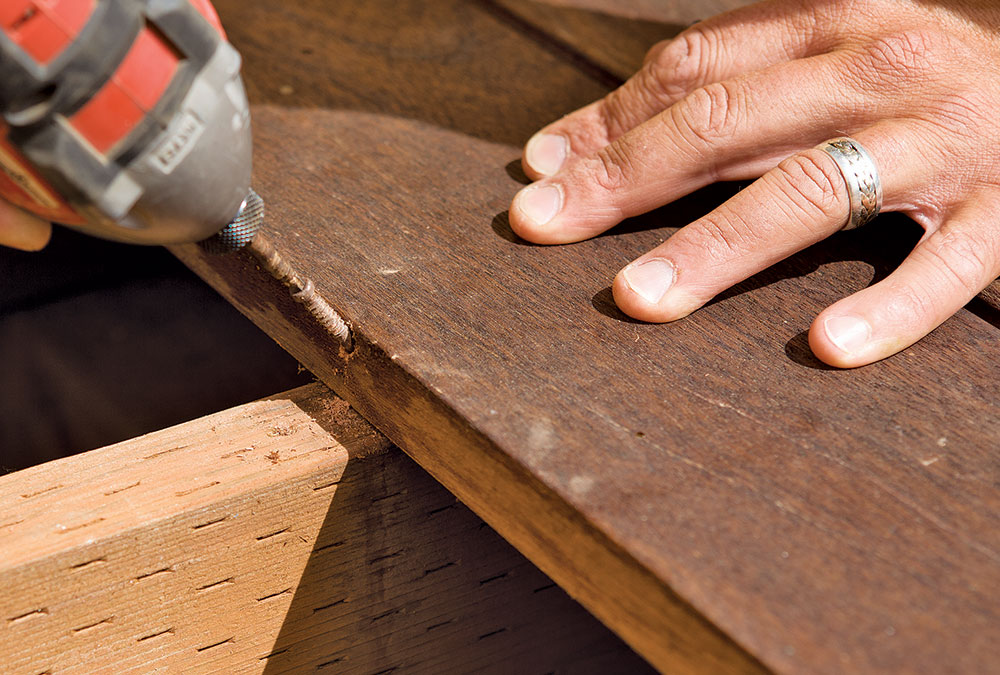
For wide decks with runs of longer planks, use multiple spacers across several fastening points. This will help the work go faster and even out variations of individual boards. If a plank has a bow to it and needs to be pushed or pulled into place, a bar clamp can apply a significant amount of persuasion. If you don’t have a clamp long enough to hook the edge of the deck, try reversing the clamp so it’s pushing instead of pulling. To hold a board in place under tension, predrill and toe-screw the plank from the side.
1. Use spacers to align the board. If the board has a bow, orient the arch toward the adjacent board already installed.
2. Fasten one end of the board with your chosen fastener system, using spacers at the side and end to align it.
3. Continue fastening the board at each joist location. The more consistent you are with your process, the neater it will be.
4. Check your progress every couple of boards to make sure that you are on layout and make any necessary adjustments.
5. Place spacers at each joist location. If the board is bowed, keep the spacers in place while securing the adjacent joist.
6. Use bar clamps to pull a board with a more drastic bow into alignment.
7. Toe-screw a board under tension to prevent springback. To prevent splitting, predrill for the fastener.
Fine Homebuilding Recommended Products
Fine Homebuilding receives a commission for items purchased through links on this site, including Amazon Associates and other affiliate advertising programs.
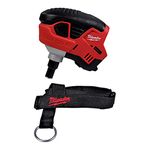
Lithium-Ion Cordless Palm Nailer
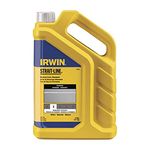
Standard Marking Chalk
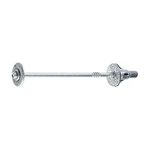
FastenMaster Screw Bolt Fastening System

