
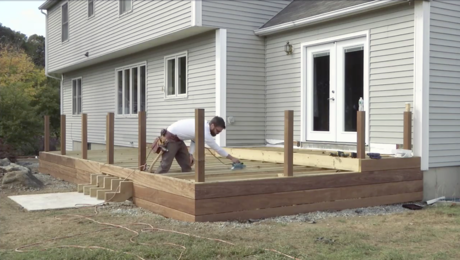
How to Install Railing Posts for Cable Rails
In order to meet code requirements for strength, railing posts must be reinforced with the same lateral-load connectors used at the ledger.
Installing Railing Posts for Cable Rails
Learn how to install strong and sturdy deck posts
Video Player is loading.
Installing Railing Posts for Cable Rails: Are you installing your deck railing posts so that they’re strong enough to do their job? Learn how to locate and install the reinforcing hardware and bolts to ensure that your tropical-hardwood deck posts go in plumb and can resist outward pressure.
Read the related articles:

The Complete Guide to Building a Deck: Woodbury Conn., 2015

Videos in the Series
-
 Ultimate Deck Build
 -
 Ultimate Deck Build: Fastening a Ledger to Concrete
 -
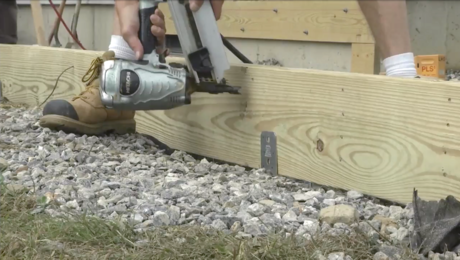
 Ultimate Deck Build: Pouring Accurate Concrete Piers
 -
 Ultimate Deck Build: Building and Leveling a Beam
 -
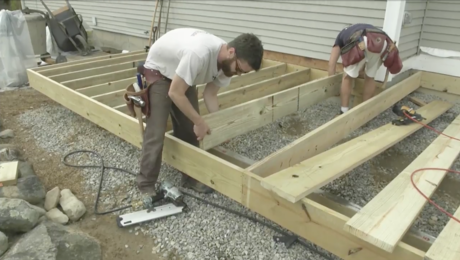
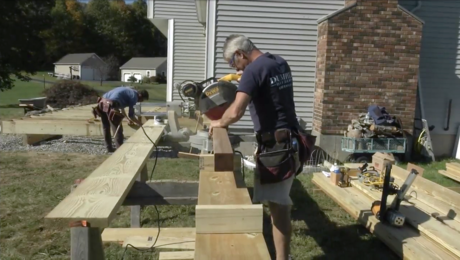
 Ultimate Deck Build: Framing the Deck
 -
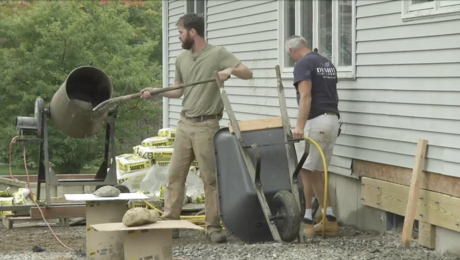
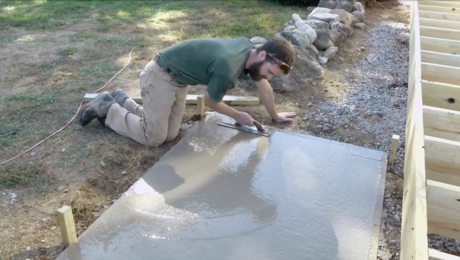 Ultimate Deck Build: Pouring and Finishing Concrete Slabs
 -
 How to Install Railing Posts for Cable Rails
 -
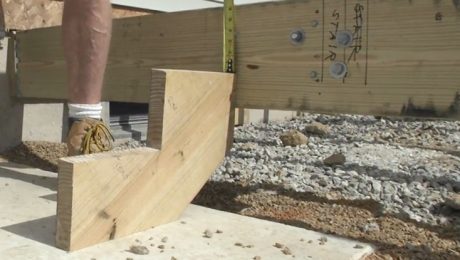 Ultimate Deck Build: Cutting and Installing Stair Stringers
 -
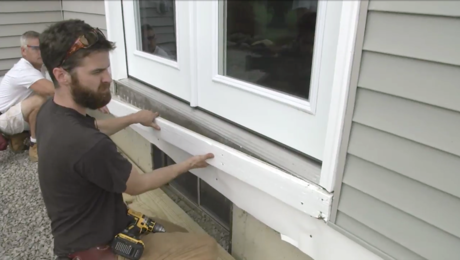
 How to Install Hardwood Decking and Skirtboards
 -
 Installing Cable Railings


View Comments
Mucho respect for including the concrete pad mistake.
All Simpson DTT2s (and the like) should be installed in the hole at the top of the ledger board. Simpson installation instructions show this, structural engineers calculate it this way, and even architectural tests point this out,... because the greater Moment of Inertia is on the top bolt. 10:1 greater than the bottom bolt.
In the video, cumaru decking, skirt boards and rail posts are used in combination with a pressure treated deck structure. Esthetically excellent but I question how sensible this is when resistance to rot is considered. Installing a more rot resistant material over a less rot resistant material seems like an invitation for some future nasty surprises – like when the PT reaches the end of its service life while the cumaru still looks fine.
The other issue I have regards the use of what looks like galvanized bolts in cumaru. I question whether the two are really compatible. Tropical hardwoods resist rot by virtue of the natural acids they contain. Not a real nice environment for galvanized steel, especially when you can’t see what’s going on inside.
My preferred practice is to use tropical hardwood sleepers to support tropical hardwood decking and posts. If it’s an on grade deck, the sleepers are on rubber pads on concrete. If it’s an above grade deck, then the sleepers are on rubber pads on a hot dip galvanized steel structure. (Galvanized steel in contact with tropical hardwood is okay, but galvanized steel in tropical hardwood is not good practice.) In my opinion, all bolts and screws that go into tropical hardwood need to be stainless steel.
I'm building a similar low deck using dropped beams (double 2 x 10) that will need to be attached to the concrete piers like these.
It looks like Simpson ABU posts bases were used but these are 3 9/16" wide and the beam is about 3".
I looked but cannot see. What is the typical practice? Inserting a PT spacer next to the beam or just what?